Monday, July 3, 2023

Keto Thai Meatballs with Cauliflower Rice


A lot of the meals I have been posting lately have the word “keto” in them. You don’t have to be following a low carb or keto eating plan to make them. They are delicious, healthy, hearty, beautiful, and also happen to be keto friendly. You can substitute cauliflower rice with regular rice or even something like quinoa if you prefer. 
The nutritional counts per serving (recipe makes 8) are: 247 calories, 14 fat, 7.5 carbs, 3 fiber, 26 protein. That’s 4.5 net carbs per serving. Counts would obviously change if you use white rice or quinoa. 
Recipe is easy to halve if you have a smaller crowd to feed or aren’t meal prepping. 


Keto Thai Meatballs with Cauliflower Rice

Ingredients 
Meatballs
2 lb ground beef
4 cloves garlic, minced
1 tsp red curry paste
1/4 cup green onions, diced
1/4 cup fresh basil, chopped
1 Tbsp Swerve sugar substitute 
1 Tbsp olive oil

Sauce
1 Tbsp butter
1/2 medium onion, sliced 
1 large red pepper, slivered
1 can coconut milk (~2 cups)
1 Tbsp red curry paste
1 Tbsp lime juice 
1 tsp fish sauce
1/4 fresh basil, chopped 

4 cups cauliflower rice

Directions
Combine meatball ingredients (ground beef through olive oil) and form into meatballs. I do 4 per serving, so 32 meatballs about 2 Tbsp in size. 


Cook using your favorite method - either in the oven or in a frying pan. I usually do 375 for about 15-20 minutes. Set aside when done.
Prepare sauce - sauté onion in butter until softened. Add in pepper and cook 2 more minutes. Add in coconut milk, curry paste, lime juice, fish sauce, and basil. Simmer to thicken, about 5-10 minutes.  
Add in meatballs and cook another 5 minutes. 
Heat up the cauliflower rice and put 1/2 cup serving on each plate or bowl. 


FYI - If you are not trying to make it look pretty, you can also just mix the cauliflower rice directly into the sauce. 


Top with 4 meatballs and 1/8 of the sauce and peppers. 


Serve immediately or let cool and place leftover in fridge. They will last several days, covered, in the fridge. 


For meal prepping I place them bowls with lids so they are stackable. 


My mom prefers quinoa for hers so I thought I would share a pic of that too. The meatballs and sauce are tasty on a variety of different things. Rice, zoodles, quinoa, couscous, etc. 
From start to finish in under an hour.
 If you don’t need 8 servings simply cut the recipe in half! 
If you aren’t counting carbs then throw in another pepper for more veggies. 


Monday, June 26, 2023

Lemon Donuts


I wasn’t sure if I was going to like these or not. Lemon can go either way for me. I love a good lemon pie but I’m not terribly fond of lemon cookies. 
Donuts are a favorite treat of mine and I absolutely will eat them in any way shape or form. Dipped in chocolate? Yes. Stuffed with jam? Of course. Rolled in cinnamon sugar? 100% 
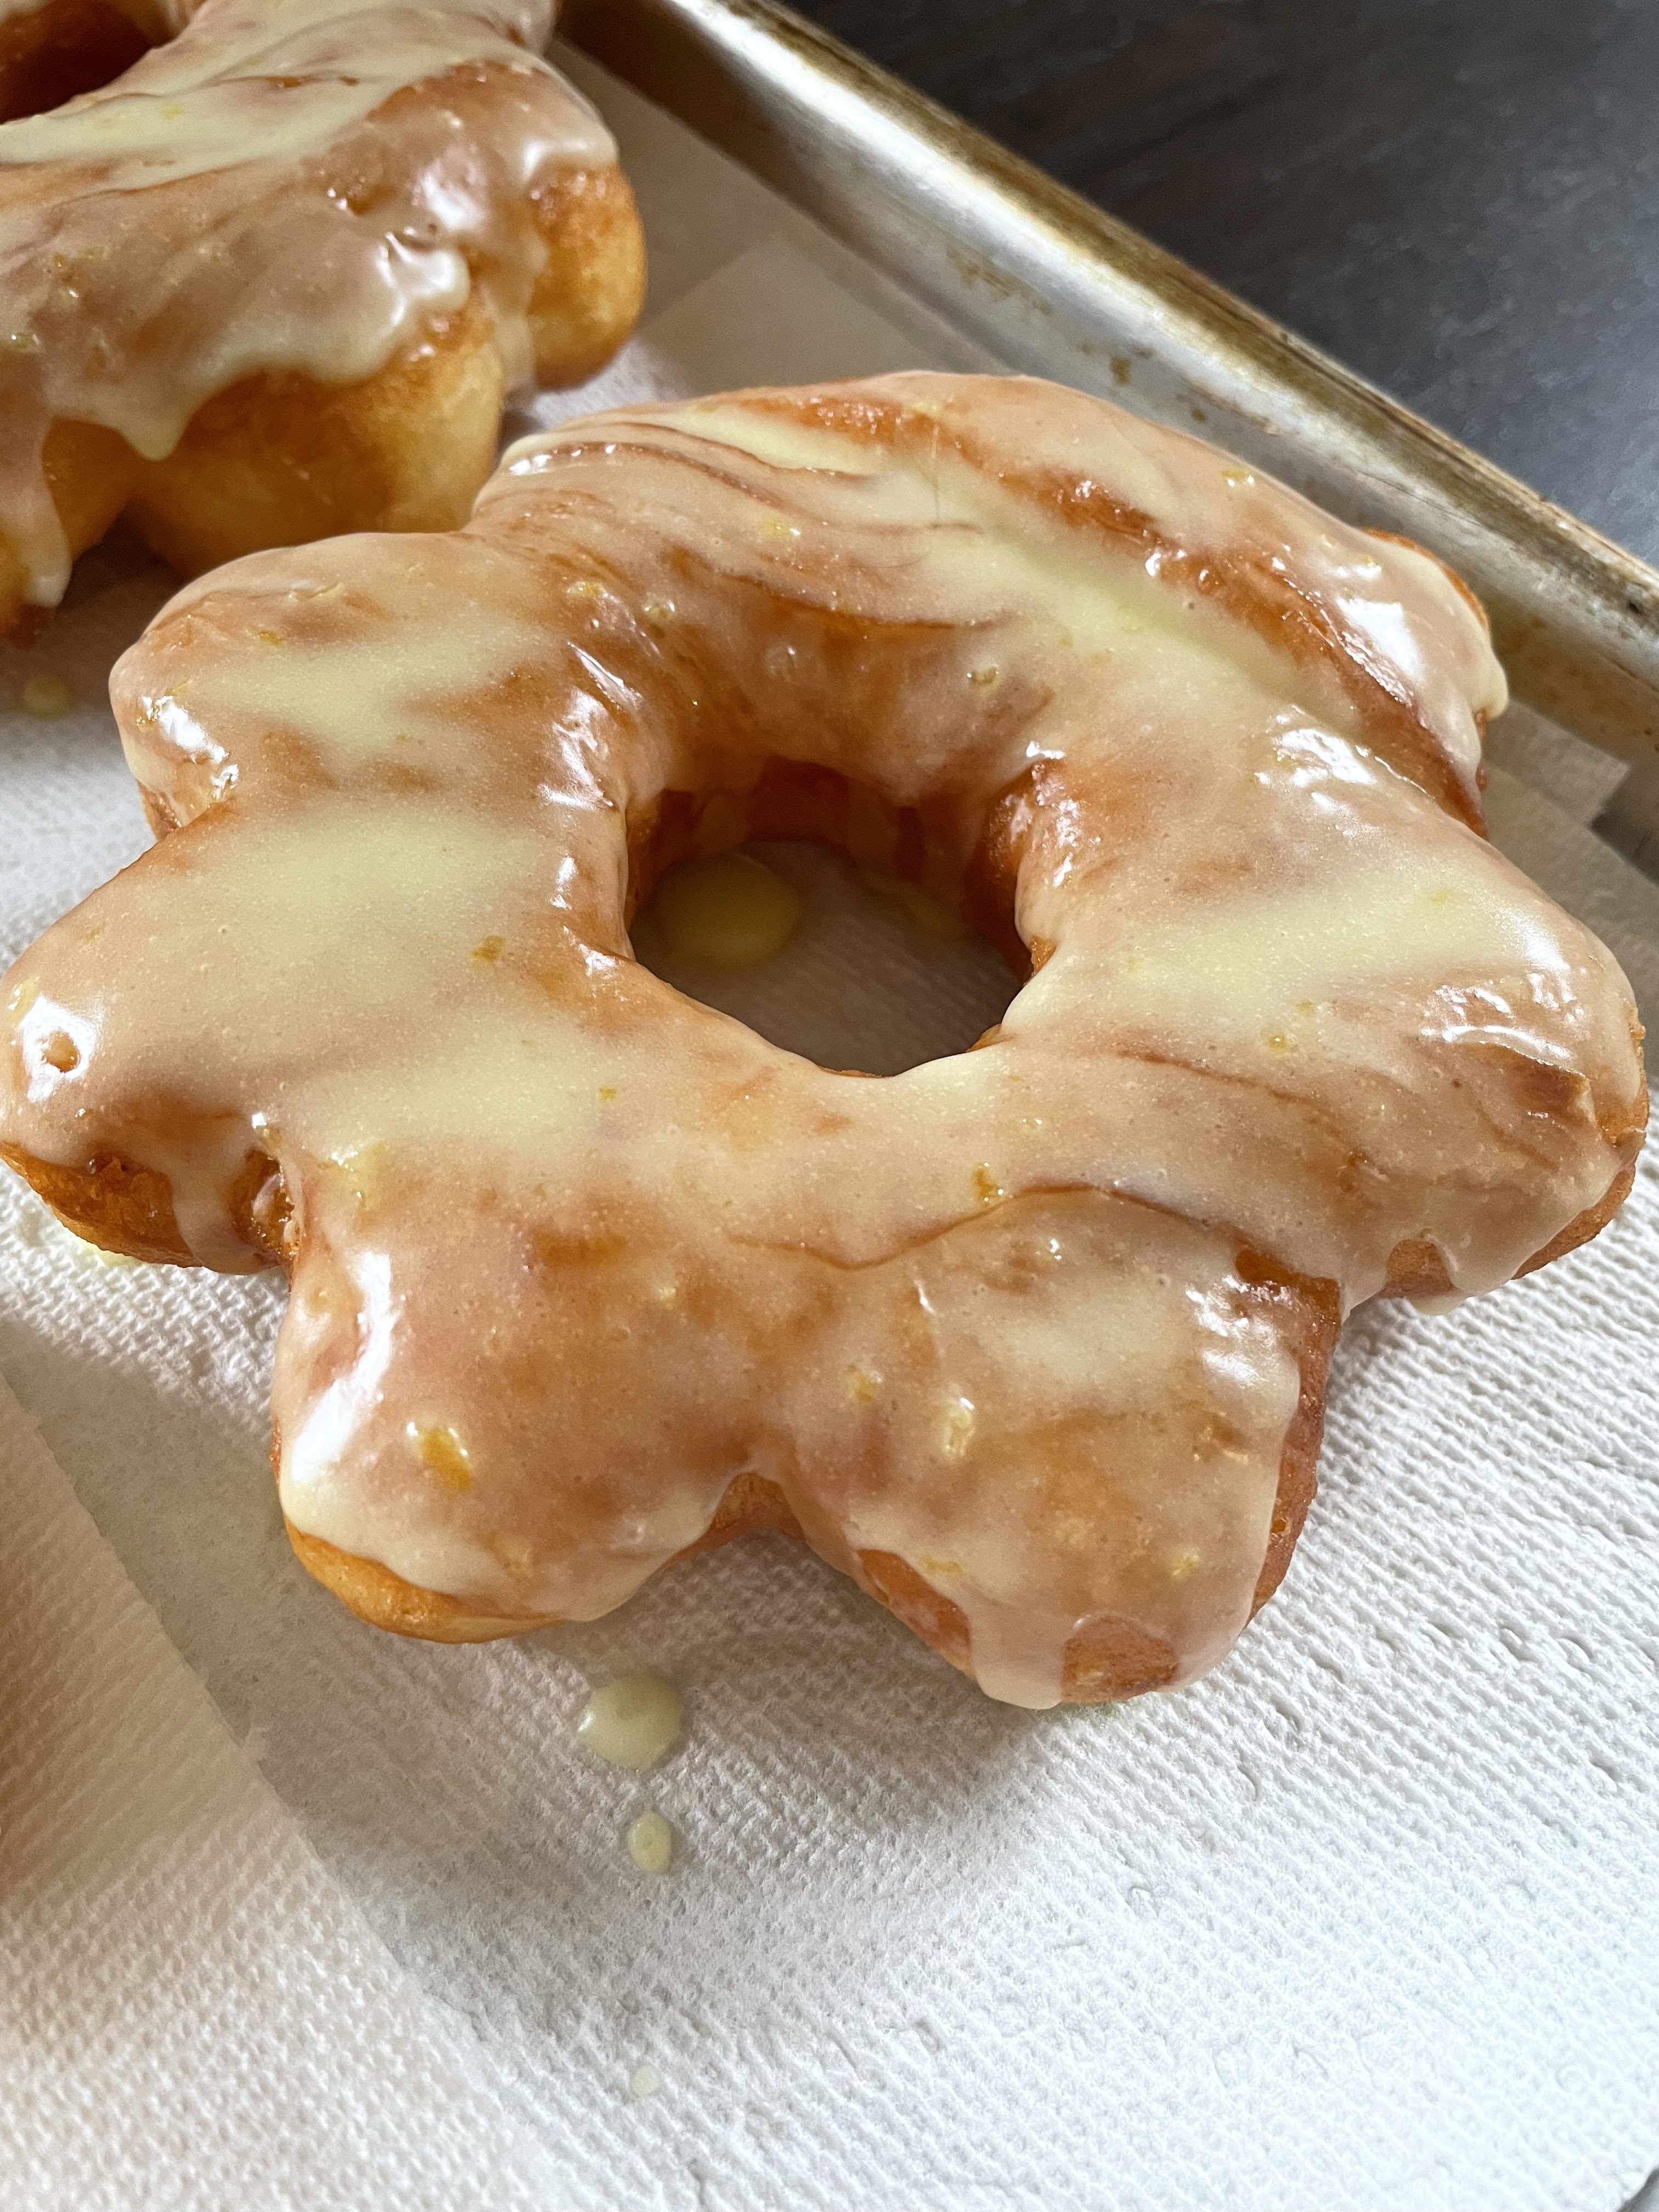
So lemon with a lemon glaze? Also yes. Not my top flavor choice for a donut but I’ll put it in the top 10. It is bright and cheery and unique. If you are a lemon lover then I recommend giving these a try. I used a flower cookie cutter to make them even more cheerful but, of course, you can use a regular round one… or any shape for that matter! I used our Old Fashioned Jelly Donuts - Here as the base recipe but feel free to use your favorite plain donut recipe as a starting point. 


Lemon Donuts with Lemon Glaze 
Ingredients
Donuts
Zest and juice of 1 large lemon
1 tsp lemon extract

Glaze
2 cups icing sugar
Zest and juice of 1 lemon 

Directions
Prepare dough as per instructions (click link above if using ours). The only thing you will do differently is add in the zest and juice of a lemon, plus the lemon extract into the dough before the first rise. 
After first rise, roll out dough, cut out and place on parchment paper lined cookie sheet. (I cut the parchment paper into individual pieces to make lifting them into the fryer even easier! 
Let rise in warm place for another hour, until doubled in size. 


Heat oil in large pot (or deep fryer) to 350 degrees. 
Fry donuts 2 or 3 at a time - don’t overcrowd the pot as the oil temperature will drop lower.


Approximately one minute on each side, until a golden brown color. 


Carefully remove from oil and place on wire rack or directly on paper towel, to drain excess oil. 


Let cool completely on paper towel. 


Prepare glaze by whisking together icing sugar, lemon zest, and lemon juice. It should be the consistency of glue. If it is too thin, add more icing sugar; if it is too thin add more lemon juice or a spoonful or two of milk. 


Dip the tops of each donut into the glaze then place back on paper towel so excess can drip off. 


Repeat until all donuts are dipped. 


These are best eaten the day they are made but are okay the next day. If you want to make them ahead of time you can freeze them before applying the glaze. When you want to use them: let them thaw and then glaze them. They won’t be as quite as good as freshly made, but they will be tasty still. 


One batch will yield 1 1/2 to 2 dozen donuts. You can easily half or double the recipe without affecting the results. The glaze is the star of the show with a strong lemon flavor. The donuts themselves are quite mild. If you want a stronger lemon flavor in the dough add the zest of another lemon. 
Let us know if you give this recipe a try! 


Monday, May 15, 2023

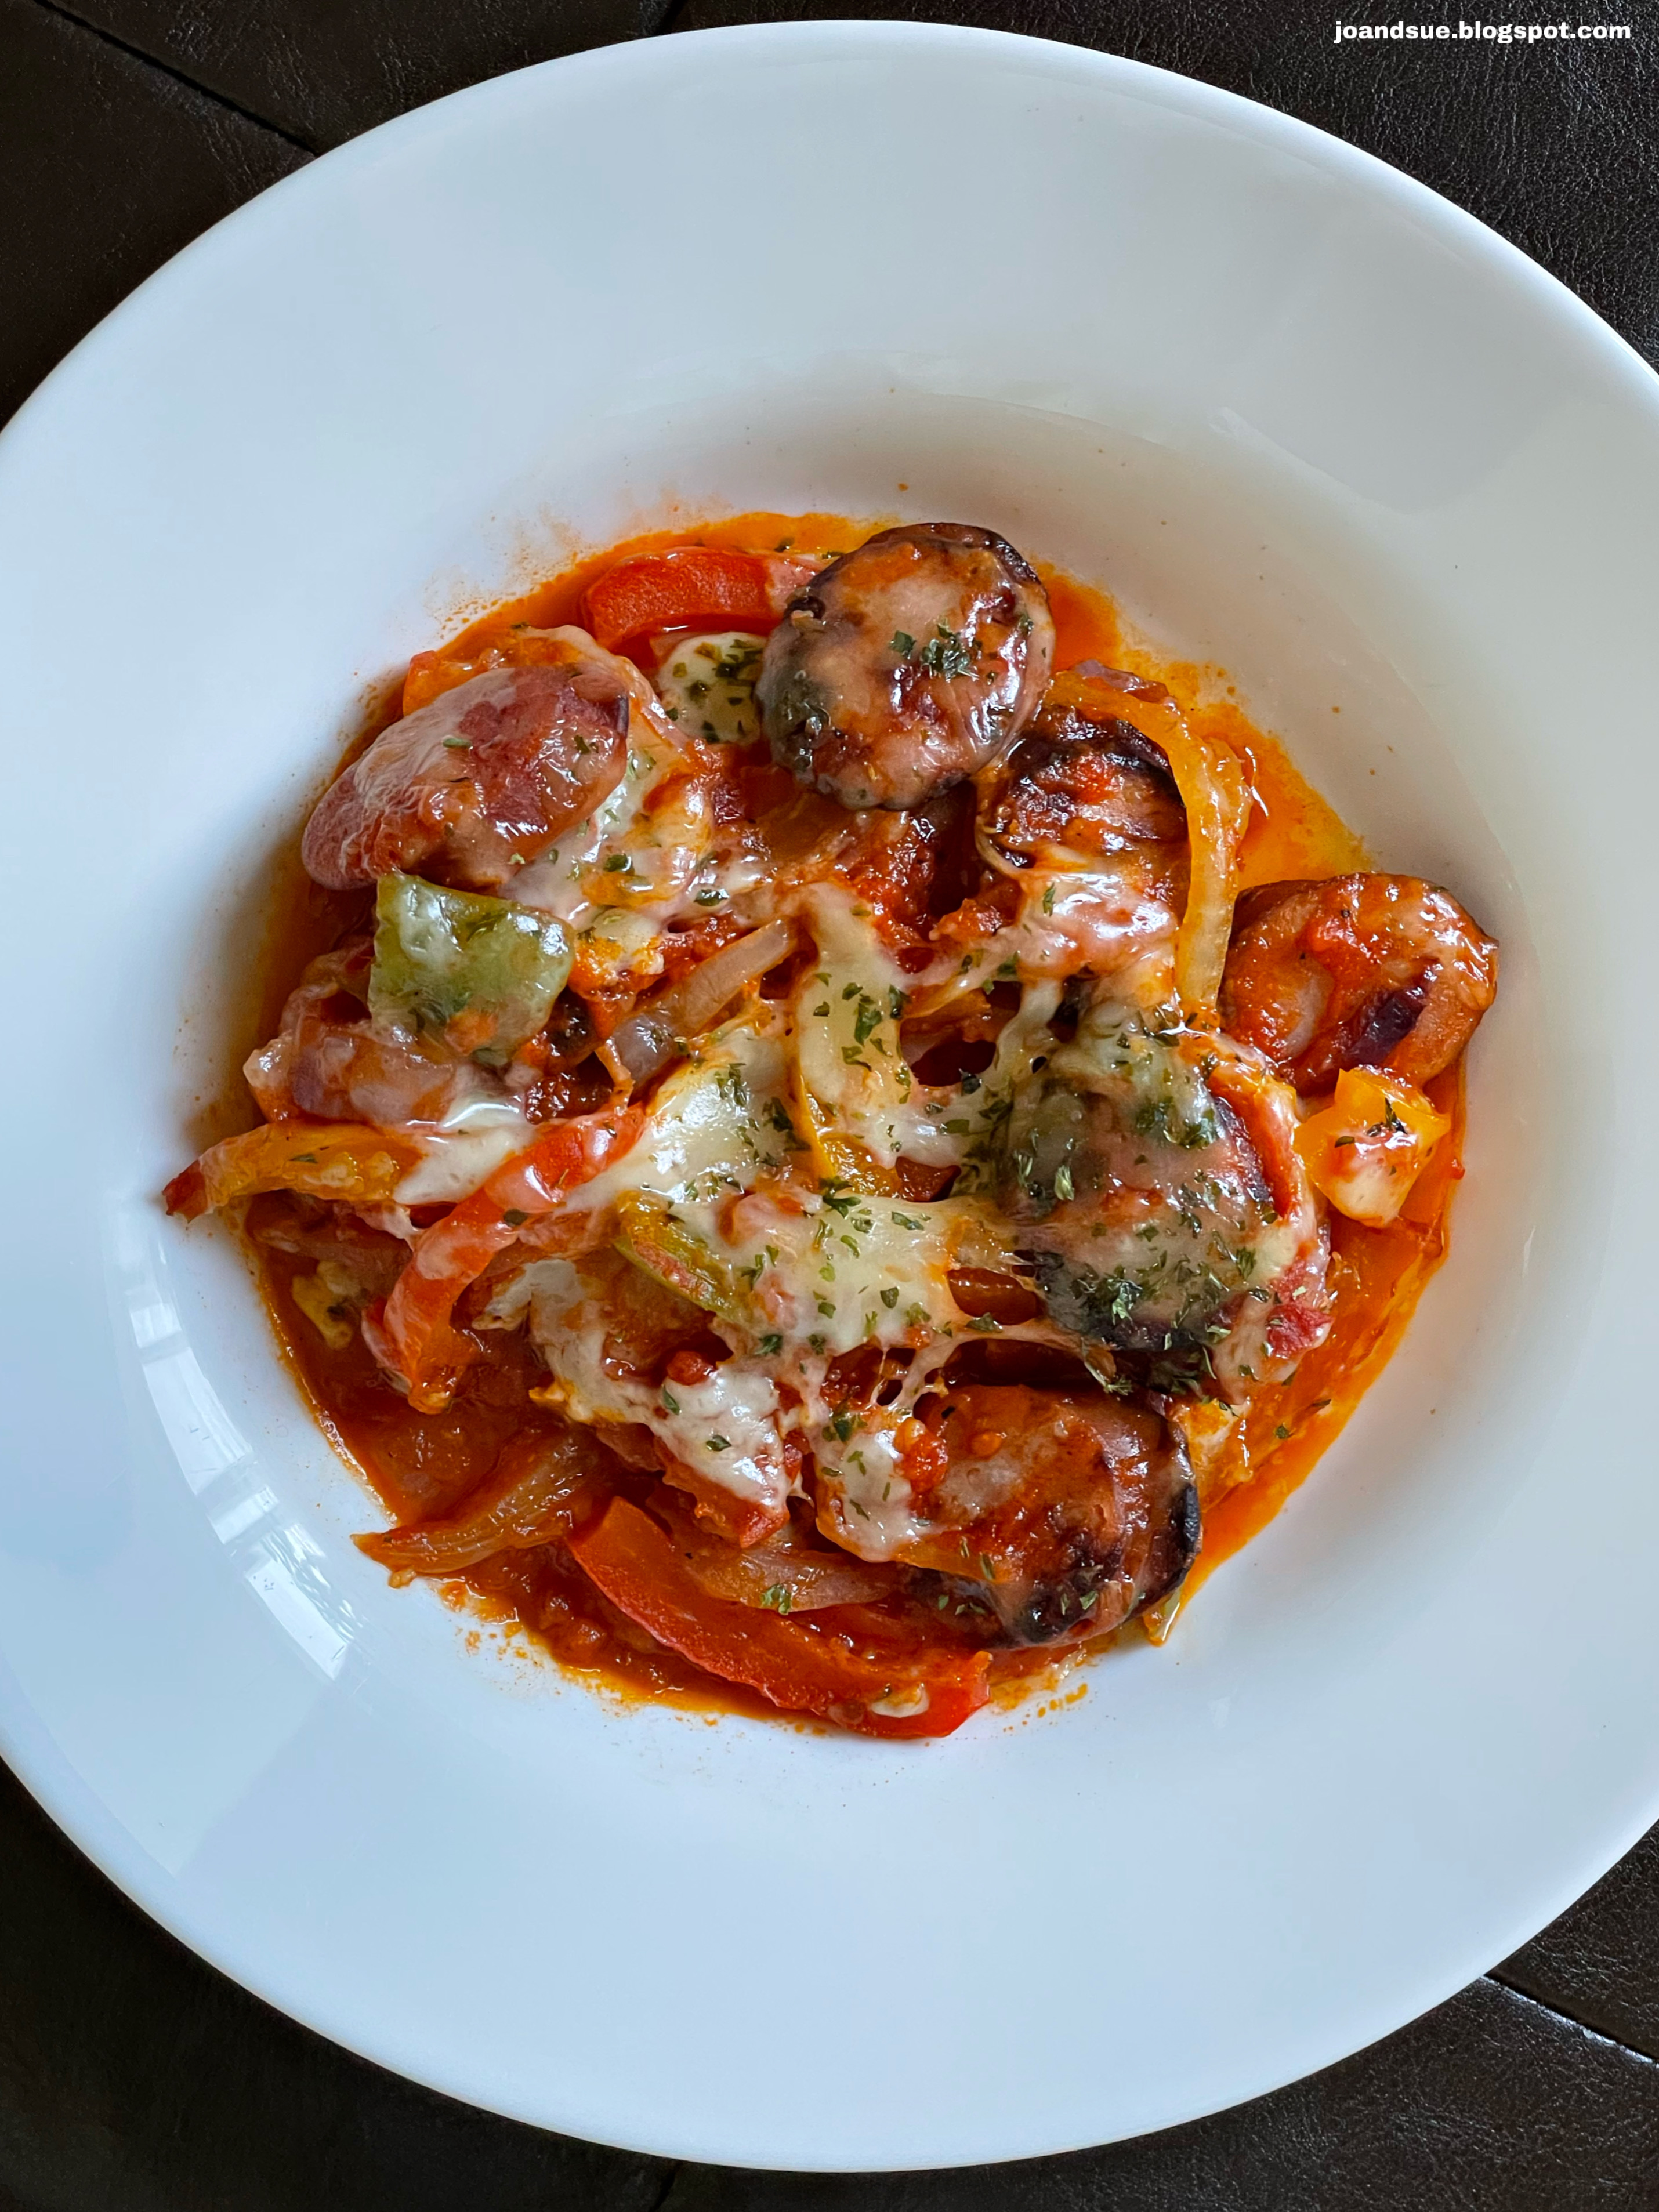
Keto Kielbasa Sausage Bake


I fell in love with this meal after I had it at a friend’s house. They were kind enough to share the recipe with me and give me permission to share on the blog as well. 
It is chock full of flavor and can easily be doubled for meal prepping. 
According to MyFitnessPal it is: 480 calories, 34 fat, 11 carbs, 3 fiber, 25 protein, and 8 net carbs per serving. (Recipe makes 5 servings) 
The counts are going to vary a bit depending on what sausage or brands you use so, as always, I recommend entering ingredients into your own nutritional calculator for more accurate tracking, 


Keto Kielbasa Sausage Bake 

Ingredients
5 kielbasa sausages, sliced
2 bell peppers, sliced
1 medium onion, sliced
1/2 tsp garlic salt
1/2 tsp pepper
2 cups Raos marinara sauce
1 cup mozzarella, shredded 

Directions
Turn on broiler. Place sliced kielbasa in a single layer on parchment paper lined cookie sheet. Broil until browned, flip over, and broil until other side is also browned. (You can also do this on a barbecue) Remove from oven and set aside. 


Preheat oven to 375. 
In a frying pan over medium heat, cook pepper, onions, and seasonings until softened - about 5 minutes. 


Stir in the cooked kielbasa. 


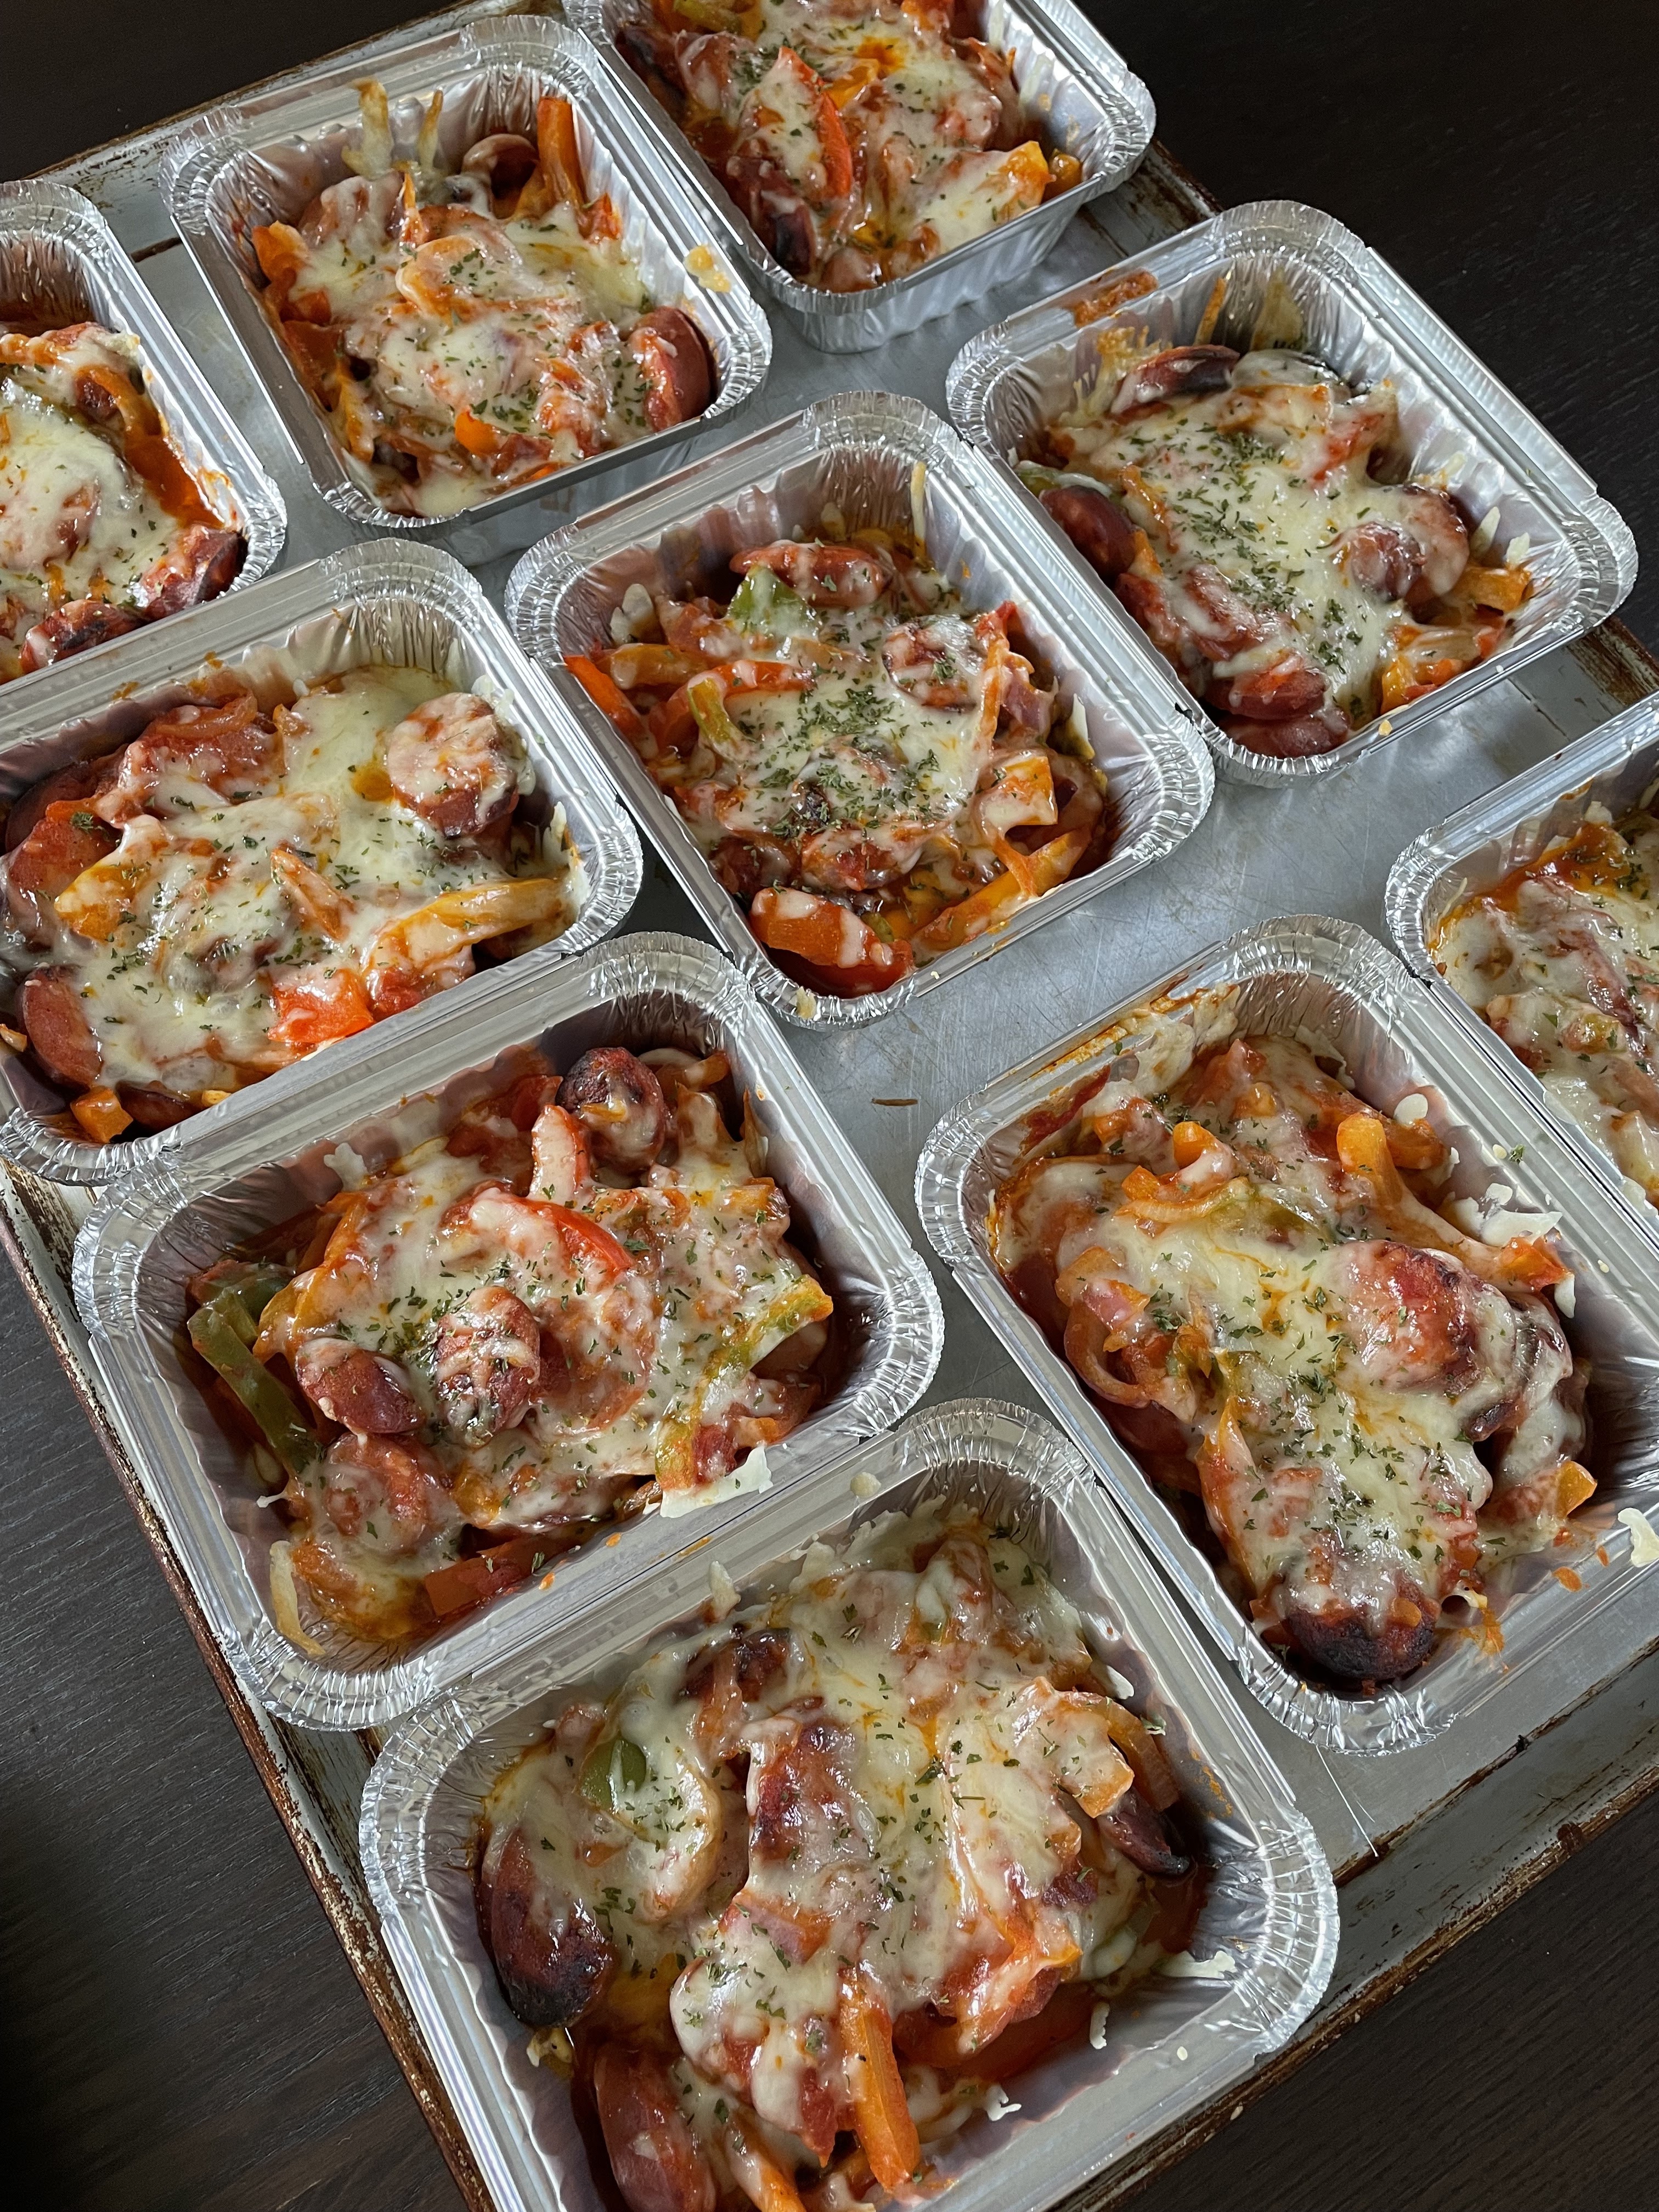
Stir in the marinara sauce and then spoon into a 9 x 13 pan, or 5 individual serving pans if meal prepping. 


Top with the mozzarella cheese. 


Bake at 375 until bubbly and cheese is melted, about 15 minutes. 


Serve hot. If freezing for later, let cool completely before covering and freezing. It will also last for a couple of days, covered, in the fridge. To reheat from freezing: place in preheated 350 oven until heated through. Can also be placed in microwave safe dish and microwaved. 


I double it quite often as my keto clients love it. It’s a great freezer meal for when you are short on time. 
I realize I didn’t put how big the kielbasa sausages were - I don’t actually know the size. I use the ones that are about 6 inches long and, when sliced, are about 1 (heaping) cup of slices…. Hopefully that helps. I’ve also used the large rings of kielbasa and measure a serving as about 1 cup of slices. 
Let us know if you give this a try! I absolutely love the flavors and textures of this dish 😊


Sunday, April 16, 2023

Keto Sushi


One of the things I miss while eating keto/low carb is sushi. All that tastiness packed into pretty little rolls is irresistible! I found some recipes online for keto sushi and made a few tweaks to suit my tastes and came up with these rolls. They are super close to “the real thing” if you ask me (just not as sticky), and can easily be changed to whatever your favorite fillings are. 


Keto Sushi 

Ingredients
3 cups cauliflower rice
1 Tbsp rice vinegar
5 Tbsp cream cheese, softened
5 nori sheets
Cucumber slices
Carrot shreds
Imitation crab sticks

Sauce
1 Tbsp mayo
1 tsp sriracha 

Extras
Green onions
Sesame seeds
Crunchy fried onions
Soy sauce
Wasabi

Directions
Cook cauliflower rice in microwave for 1 minute. Stir in rice vinegar and cook 1 more minute. The cauliflower should be softened but not soggy. Let cool then stir in the softened cream cheese. 
Place a nori sheet down, top with  heaping 1/2 cup of the cauliflower rice, and then top with cucumber slices, carrot shreds, and crab sticks. 


Roll up tightly, as you would for regular sushi. If you’re like me then it takes a few attempts to get it good and tight! If it is too loose then the filling will fall out when the roll is cut. 
Repeat until rice is used up. I got 5 rolls. 


Using a VERY sharp knife, slice each roll into 7 or 8 pieces.


Serve with the sriracha mayo sauce drizzled on top and your favorite toppings. I used green onion, sesame seeds, and crunchy fried onions. 


If not eating right away - these will keep, covered, in the fridge for a day. Any longer than that they get soggy. 


You could use avocado, prawns, salmon, bell pepper, mushrooms, even pork or chicken. Whatever your favorite low carb fillers might be! 


Be sure to use a sharp knife or the delicate nori will tear and the fillings will spill out. Still delicious but not as pretty. 


My first 2 rolls were pretty loose and I ended up using a fork to help eat them. My last 3 rolls were nice and tight so I was able to pick them up with chopsticks and they held together very well. 
According to MyFitnessPal, one serving (a roll is one serving so recipe above makes 5 servings) is: 
119 calories, 6.3 fat, 8.9 carbs, 3.1 fiber, and 6.4 protein. That’s 5.8 net carbs for a whole roll! 
FYI - nutritional counts include the sushi and sauce but not the extra toppings. 


Saturday, April 1, 2023

Keto Chicken Fajita Casserole


This is one of those meals that you can enjoy even if you aren’t following a low carb or keto eating plan. 
It’s very rich and hearty, super tasty, and goes perfectly with a (keto or not) cheese quesadilla on the side. 
MyFitnessPal puts one serving (recipe as written makes 8) at: 
300 calories, 19 fat, 5 carbs, 1 fiber, 25 protein. That’s 4 net carbs. 
I make the full 8 servings because this meal is great for meal prepping. You can cut the recipe in half if you need to though. 


Keto Chicken Fajita Casserole

Ingredients
4 boneless, skinless chicken breasts cut into bite sized pieces
1 pkg taco seasoning
2 large bell peppers, cut into strips
1/2 large onion, sliced
1/4 cup diced tomato
1/4 cup green chilies, finely diced (or use canned)
8 oz cream cheese, cubed
1/4 cup heavy cream
1 cup shredded cheddar (or mozza) 

Directions
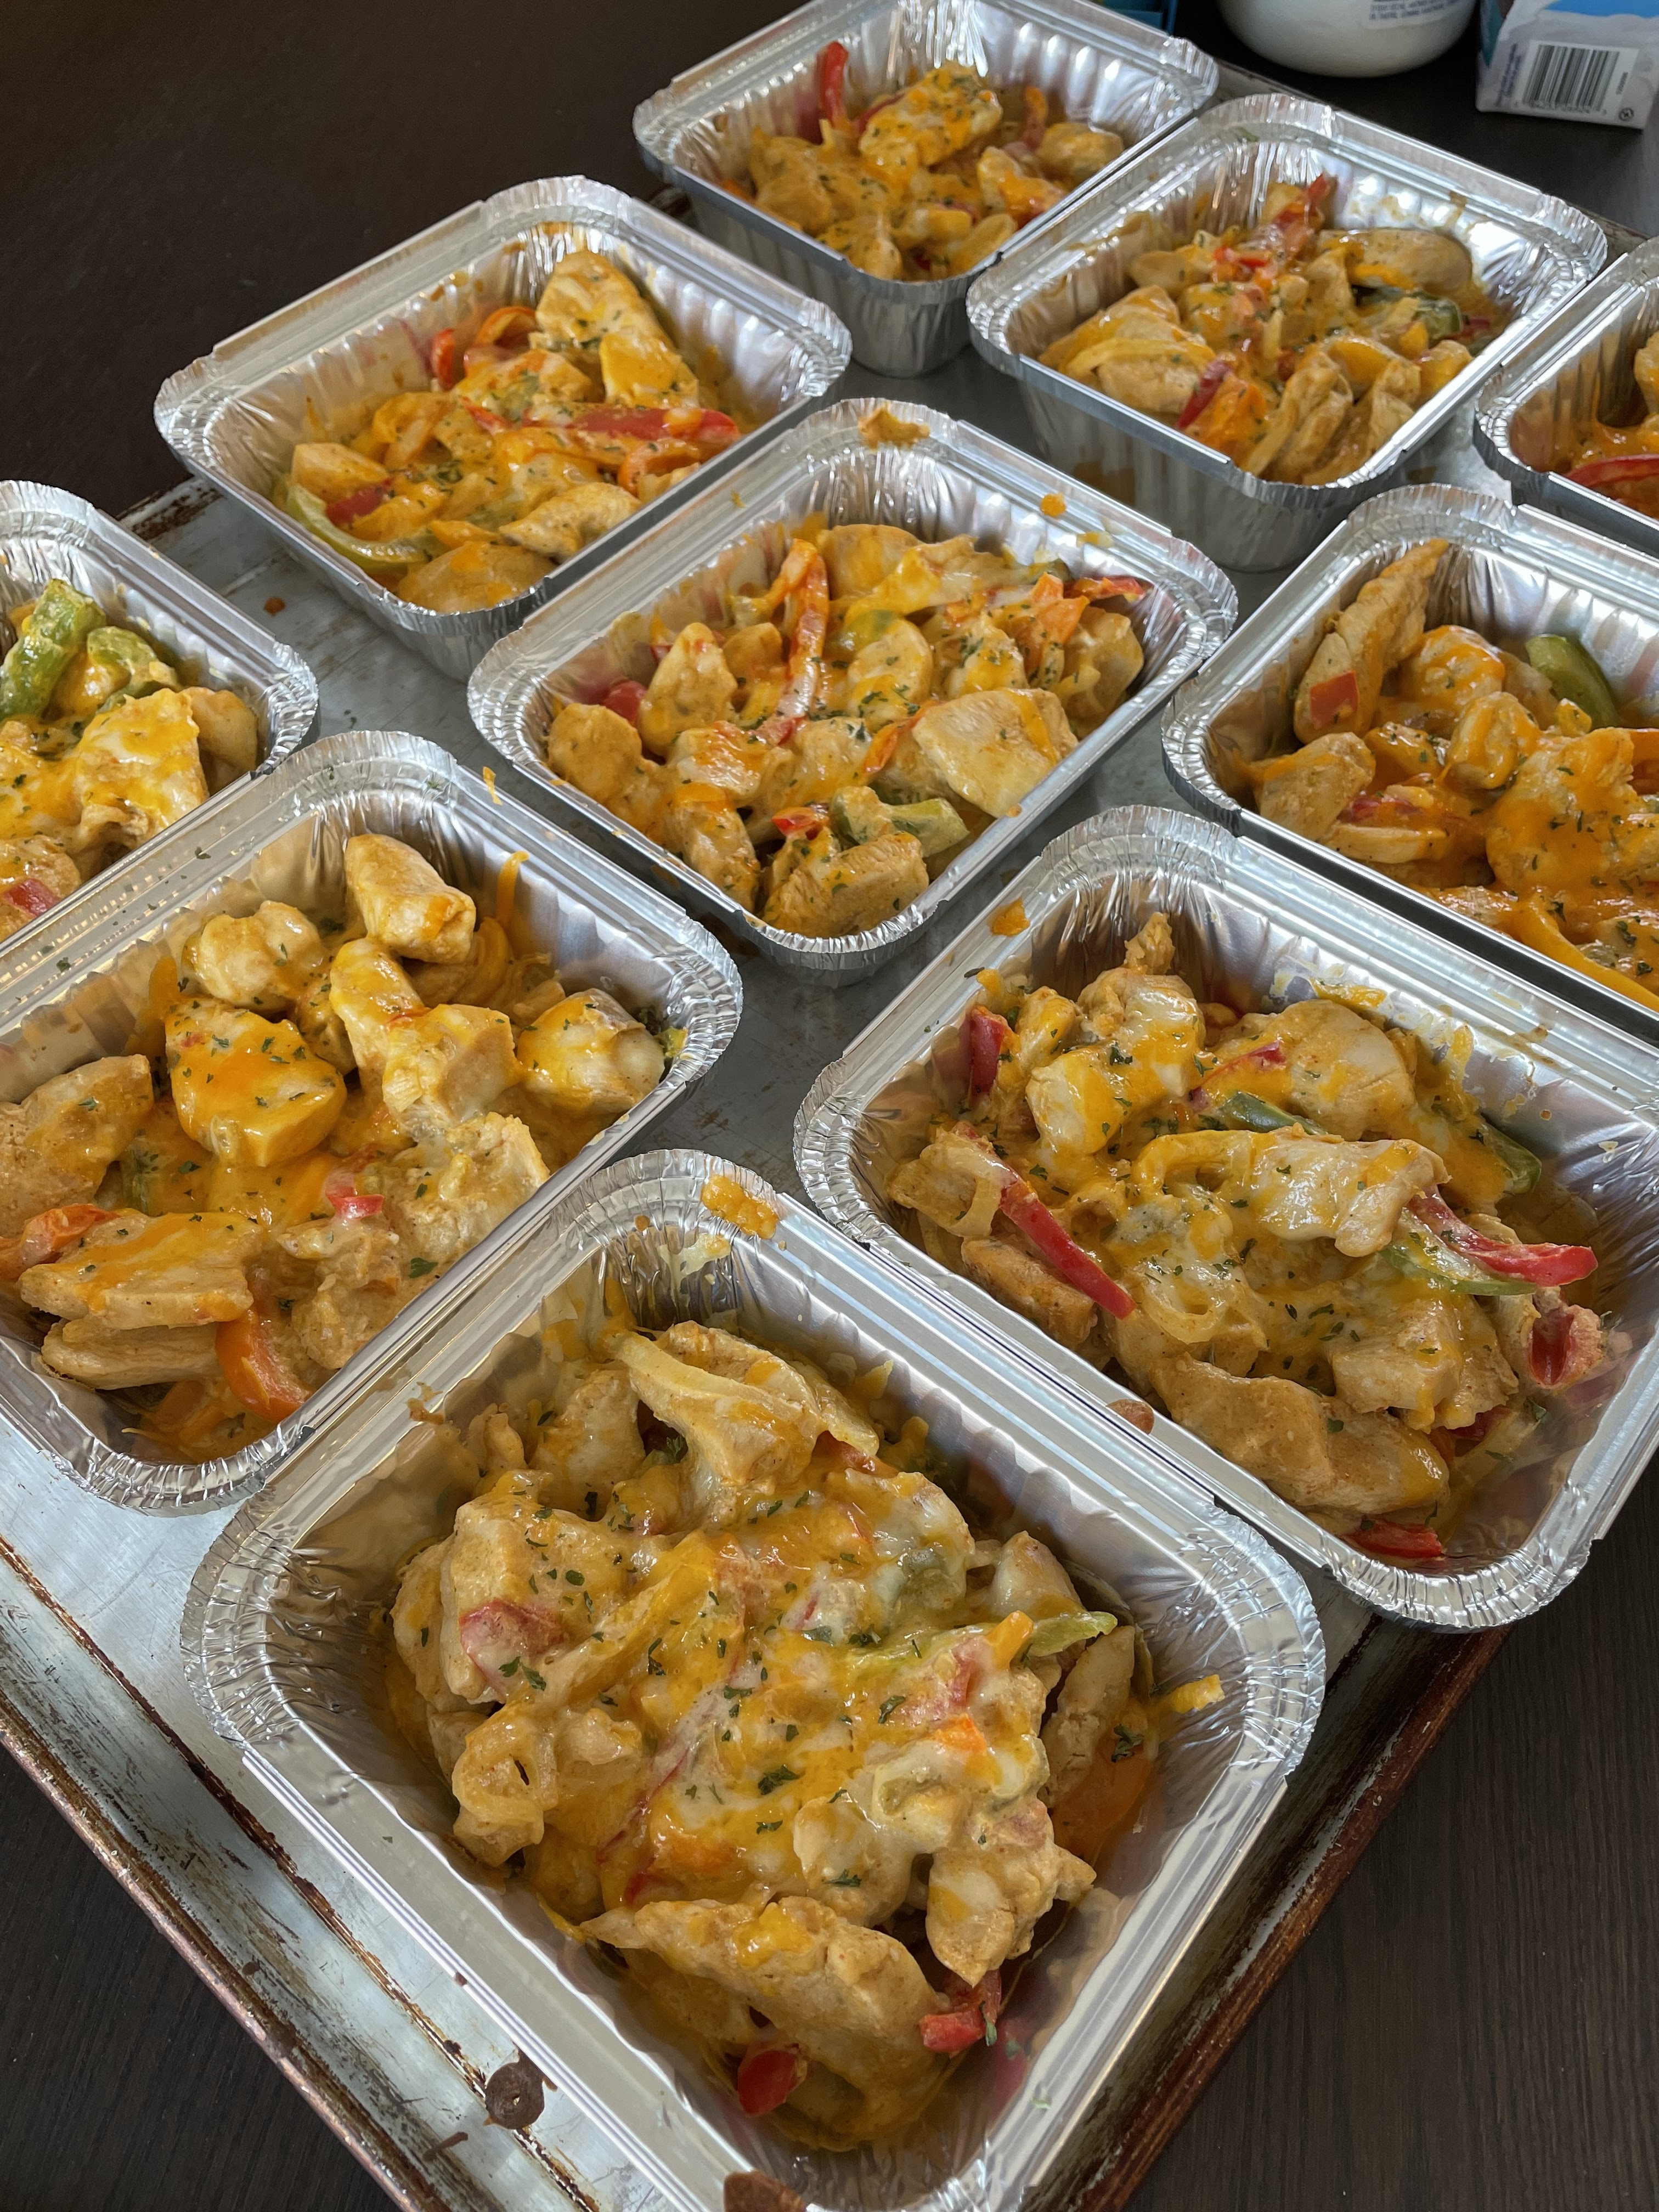
Preheat oven to 350. Spray 9x13 with cooking spray and set aside. (If I am meal prepping I will use individual dishes to make things easier, but this is totally optional) 
In a large pan, cook chicken until no longer pink. Sprinkle with the taco seasoning and stir to evenly coat. Drain any excess liquid from the pan. Place chicken on plate. 


Add peppers, onions, chilies, and tomato to the pan. Cook over medium heat until vegetables soften, about 5-8 minutes.


Add in cream cheese and heavy cream and stir until smooth and evenly mixed in. Stir the chicken back in.


Scrape into 9x13 pan (or individual pans - see photo below). Top with the shredded cheese. 
Bake at 350 for about 30 minutes - until cheese is melted and casserole is bubbly. 


Serve hot. 
This casserole will last for several days, covered, in the fridge. It can be frozen as well but will release a little water when reheated in the microwave. I just drain it off and it’s good to go. 


From start to finish in about an hour, if you include all the prep. A healthy and filling meal that is gluten free, keto friendly, and easy peasy to whip up. 
I turn a keto friendly tortilla into a cheese quesadilla and *voila* full keto friendly meal that doesn’t leave me feeling hungry. 


Monday, March 27, 2023

Keto Cheesecake


When I create keto recipes my goal is to make them as close to “the real thing” as possible. 
This recipe was a huge success in that regards. Except for a bit of difference in the crust, you can’t tell it’s keto. The taste and texture are amazing. 
You can make it as a 10 inch cheesecake, 2 - 7 inch, or 24 to 30 muffin cup sized. The only thing you have to change is the cooking time. The bigger it is, the longer it takes! 


Keto Cheesecake

Ingredients
Crust
2 cups almond flour
1/3 cup melted butter
3 Tbsp brown sugar Swerve (or similar sugar replacement)
1 tsp vanilla

Cheesecake
5 - 8 oz pkg cream cheese, softened
1 cup powdered Swerve (or similar sugar replacement)
4 eggs
2 Tbsp sour cream (or Greek yogurt) 
 1 tsp vanilla

Directions
Preheat oven to 350. 
Combine crust ingredients and press firmly into pan. Bake at 350 for 10 minutes. Remove from heat and set aside while you prepare filling.
Beat cream cheese until smooth, scraping bowl as needed. Beat in Swerve and then eggs, one at a time. Beat in sour cream and vanilla. Pour over crust in pan. 


If you are using muffin trays, be sure to fill evenly so they bake evenly. Reduce heat to 325 and cook until done - approx 50 to 80 minutes. (Depending on size of pan) Top should look dry and filling shouldn’t jiggle when the pan is moved. 


Let cool completely before removing from larger, springform pans. If you make them in muffin tins lined with paper cups then you can remove them carefully and let them cool on wire racks. 


Let chill overnight (or at least several hours) before topping with your favorite toppings.


I went with a sugar free lemon curd, keto caramel sauce, and keto strawberry jam. Try blueberries or strawberries, or even just some whipped cream! 


According to MyFitnessPal, one serving (if you divide in 12) is: 
500 calories, 49 fat, 7.5 carbs, 2 fiber, 13 protein. 5.5 net carbs.
If you make 24 muffin sized it’s is: 
250 calories, 25 fat, 3.75 carbs, 1 fiber, 6.5 protein. 2.75 net carbs
FYI - These counts are for the crust and filling only, not the toppings. 
Everyone I have made this for has loved it! It is diabetic friendly, gluten free, low carb, keto friendly, and still super delicious!