Showing posts with label chocolate. Show all posts

Wednesday, February 15, 2023

Keto Chocolate Mug Cake


This keto mug cake can be whipped up in about 15 minutes. Seriously. From start to completely finished in a ridiculously short amount of time.
I’ve been following keto eating for a long time and when the need for a sweet indulgence hits, trust me, this comes in super handy! According to MyFitnessPal, the nutritional counts are: 
Without frosting - 306 calories, 27 fat, 8.7 carbs, 4.3 fiber, 12 protein
And
With frosting and chocolate candy - 520 calories, 45 fat, 10.2 carbs, 4.3 fiber, 13.6 protein.
Mug cakes can be tricky to cook so I always start with a lower time, check it, then add more time if needed. If you start off with too much time you might overcook your cake! 


Keto Chocolate Mug Cake

Ingredients
1 Tbsp butter
2 Tbsp Swerve granulated
3 Tbsp almond flour
1 Tbsp unsweetened baking cocoa 
1/2 tsp baking powder
1/8 tsp instant coffee granules
Splash of vanilla
1 egg, beaten

Frosting
1/3 cup whipping cream
1 Tbsp no sugar chocolate pudding mix 
1 no sugar Russell Stover chocolate, chopped

Directions
Melt butter in ramekin or coffee mug in microwave (about 15 seconds should do it). 


Stir in Swerve, almond flour, cocoa powder, baking powder, instant coffee, vanilla, and egg. Stir very well.


Microwave 60 seconds and check if done. Toothpick should come out clean. If not done, microwave in 20 second increments until cooked through. I found for my microwave I do 1 minute, check, then 30 more seconds and it’s perfect. 


Let cool 5 minutes before running a knife around the edge and inverting onto wire rack. 


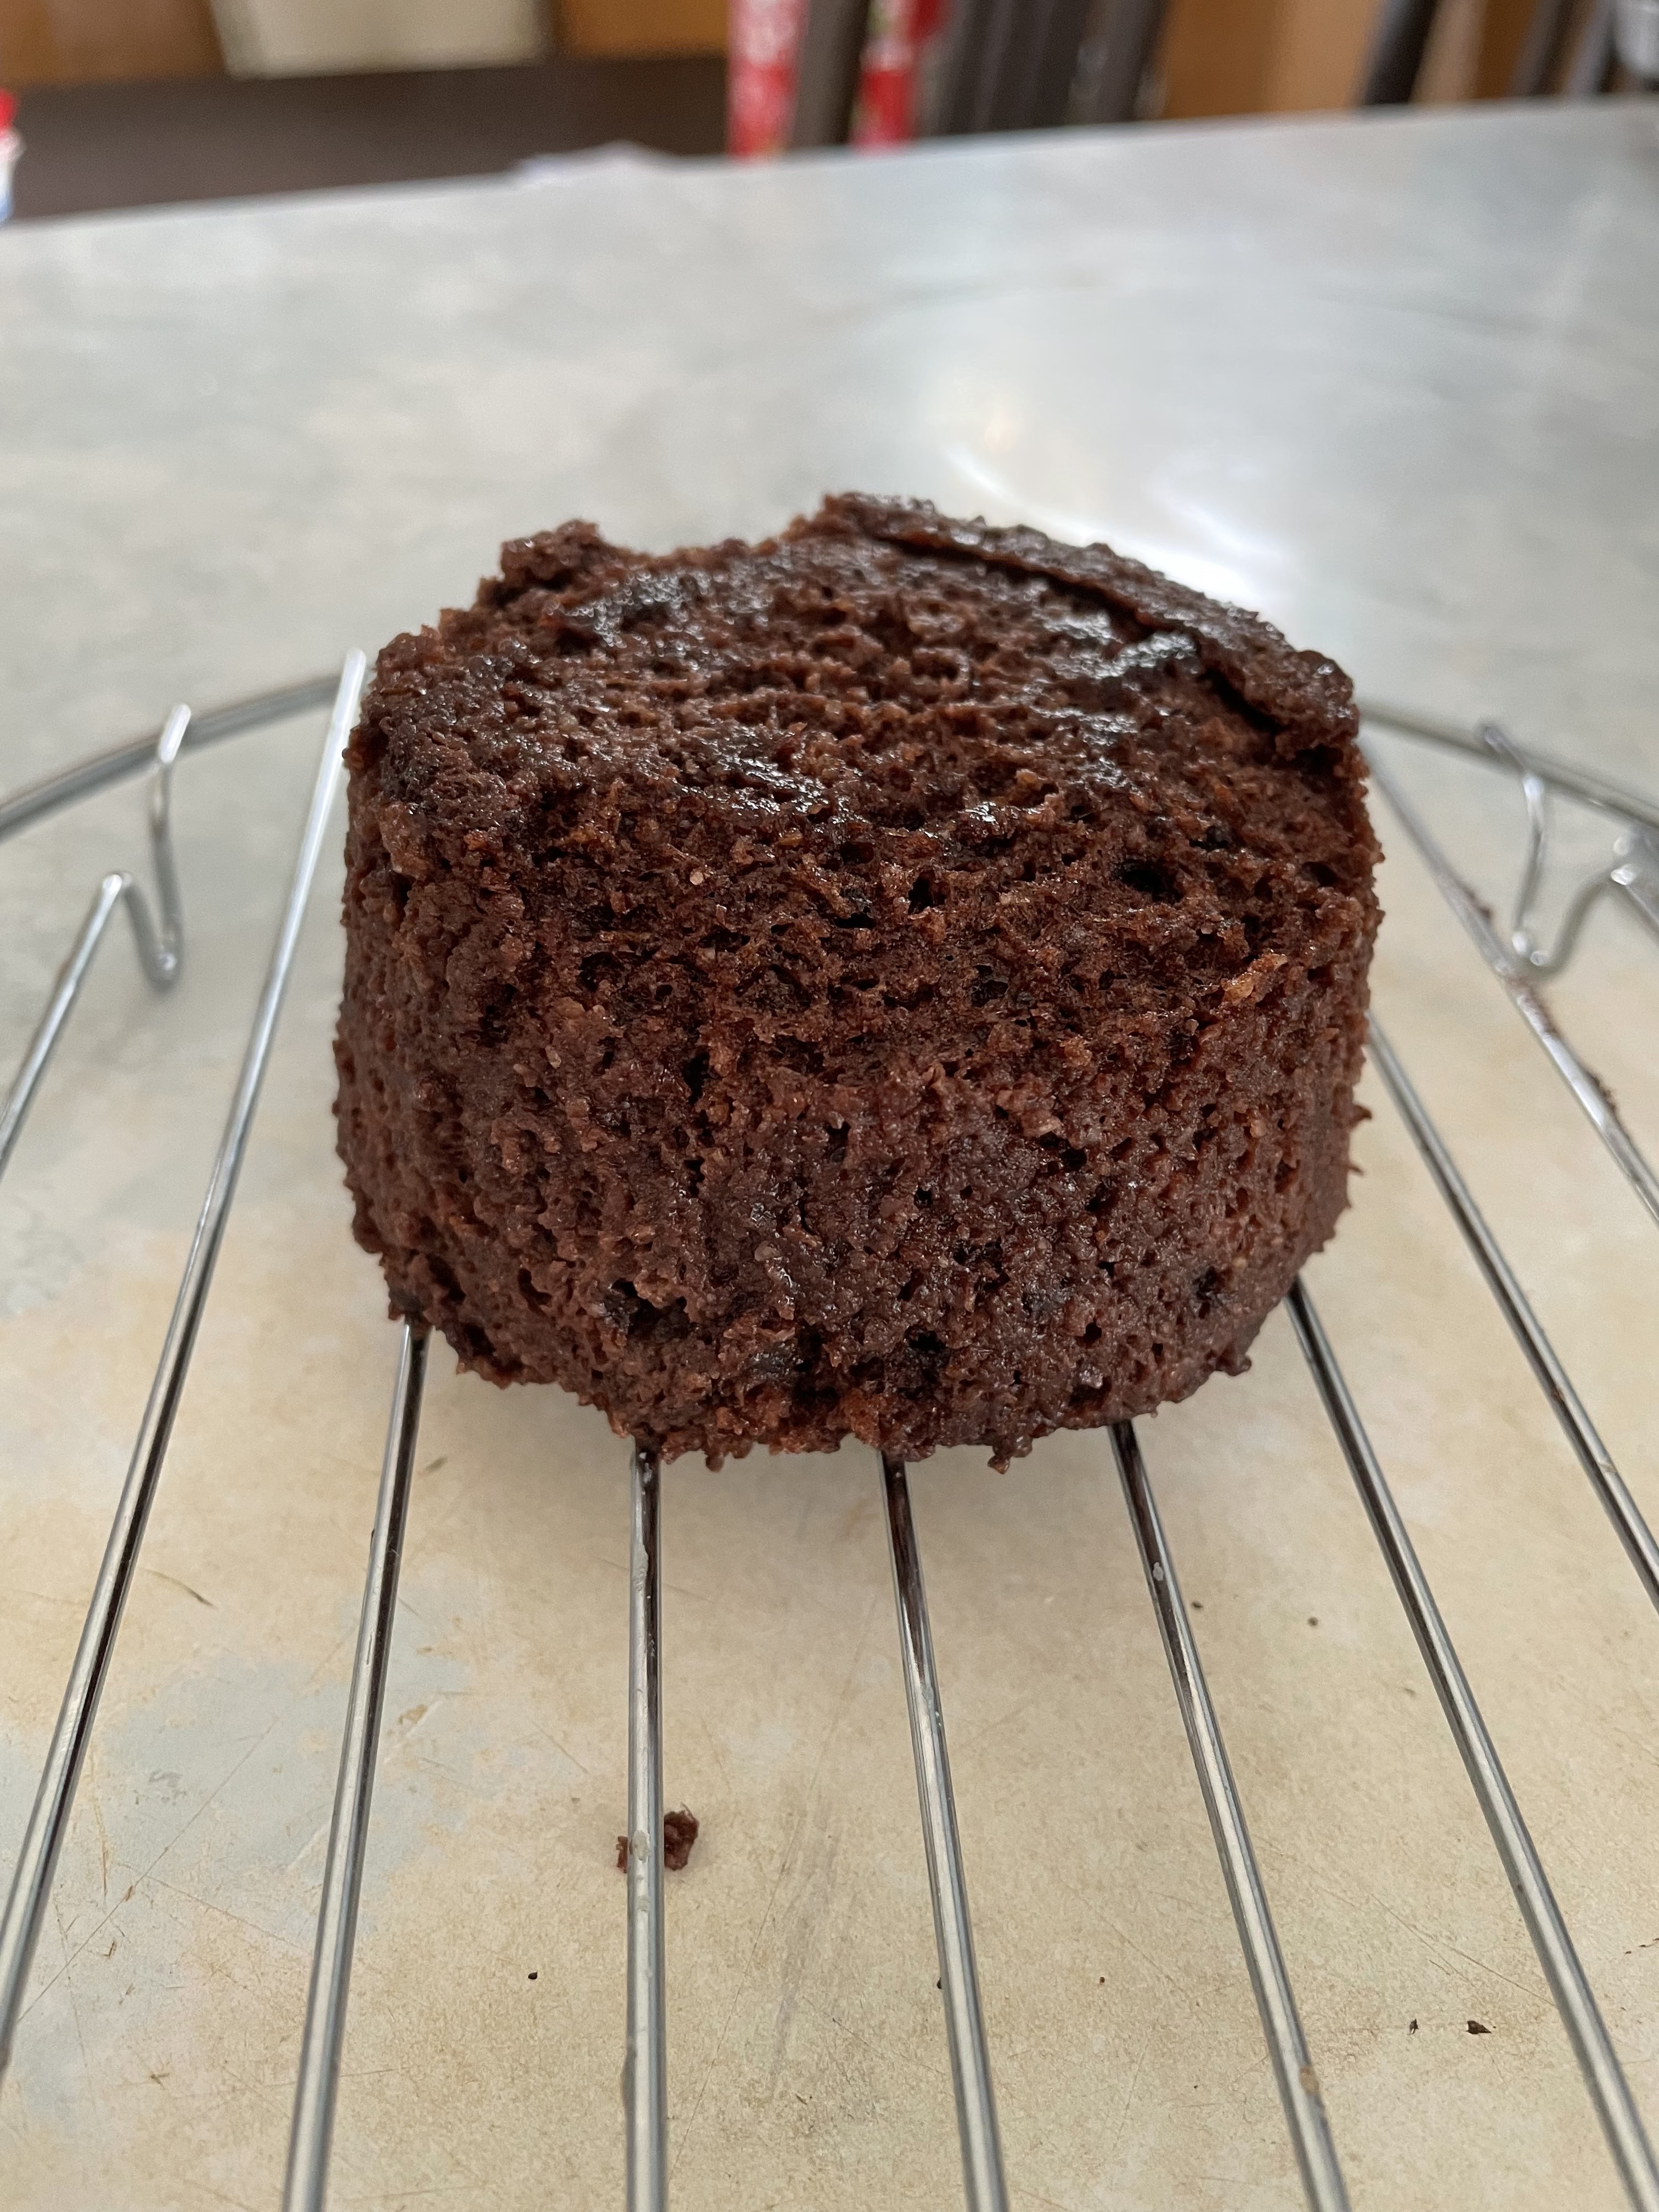
Pop cake into freezer while you prepare the frosting (or enjoy warm without frosting!) 
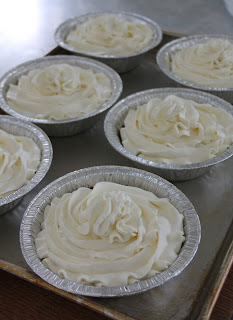
Prepare frosting - beat whipping cream with sugar free pudding mix until stiff. This only takes a minute or two. 
Frost cooled cake.


Sprinkle crushed sugar free chocolate on top. 


Enjoy now or refrigerate until ready to serve.


There are 2 cakes in these photos because this recipe is also super easy to double. 
I make 2 batters up at the same time but cook them individually as cooking both at the same time changes the microwave cooking time. If you do both at once, start at 1:00 minute and check every 20-30 seconds until done. FYI - the icing amount listed here will cover both cakes albeit thinner. If you want to cut a few calories then don’t double the icing. 😊 


A prefect keto friendly Valentine’s treat for you and your partner! 
Also note - make sure your batter doesn’t go more then halfway up the side of your baking container. In the microwave it bubbles up and if your container is overfilled it will make a mess! 
You can also bake these at 350 if you don’t want to microwave them. I would start checking at about 12 minutes for done-ness. 


Saturday, December 11, 2021

Nutella Biscotti


If you know Sue and I, then you know we are not normally fans of crunchy cookies. Soft and chewy is the way to go! Unless, of course, we are talking about biscotti. Dipping crunchy cookies into hot chocolate or coffee or tea makes them a million times more delicious!
I had a jar of Nutella to use up and decided that Nutella biscotti would be a good idea. Turns out I was right. I usually find Nutella too sweet (hard to believe, I know) but there is just the right amount in these cookies so the sweet is balanced out. Dip them in your favorite hot beverage for a lovely afternoon treat!.


Nutella Biscotti

Ingredients
2 1/2 cups flour
2 Tbsp baking cocoa powder
1 Tbsp baking powder
pinch salt
3 eggs
1 cup sugar
1/3 cup melted butter
1 tsp vanilla
1/3 cup Nutella

Drizzle
1/4 cup Nutella

Directions
Preheat oven to 325. Line a large cookie sheet (or 2 regular sized) with parchment paper, set aside.
Whisk together flour, cocoa powder, baking powder, and salt.
In a separate bowl, beat together eggs until frothy, about 2 minutes. Beat in sugar for another 2 minutes. Beat in butter and vanilla. Lastly, beat in the Nutella, scraping the sides of the bowl as needed, until just combined. 
Divide dough into 2 equal pieces. Flatten into logs approximately 2 1/2 by 13 inches long. They should be about 3/4 inch thick. Place on prepared cookie sheet.


Bake at 325 for 30 minutes, rotating cookie sheet at the 15 minute mark. 


Remove from oven and let cool 5 minutes.
Reduce oven to 300. Carefully transfer one of the logs to a cutting board. Using a serrated knife, cut the log into 1/2 inch slices. Repeat with the other log. You should get 48 slices.
Place them back on the cookie sheet, cut side up. Place back in oven and bake for 15 minutes. Remove tray from oven and carefully flip all the cookies so the the side that was touching the cookie sheet is now facing up. return to oven for 15 more minutes.


Remove from oven and let cool completely. 
Place the Nutella for drizzling in a plastic bag and microwave for about 10 - 20 seconds, just until warm. Snip the corner of the bag and drizzle the Nutella over the cooled biscotti. 


Store at room temp for a day or two, in the fridge for a week, or freeze them. 


Biscotti, on their own, seem to be a little dry to me..... BUT dip them in hot chocolate and *wow*.... jazz hands for sure happening over here. 


Biscotti take a little longer to make because of the double baking but for the little extra effort you get 4 dozen delicious, crunchy cookies to share with friends and family (or keep for yourself). FYI - These are great at Christmas time for a cookie exchange too. 

Friday, November 26, 2021

Sugar Cookie Hot Chocolate Cups


The cuteness factor of these cookies is off the charts, am I right? 
And, believe it or not, they aren't that complicated to make. The kids will have a blast helping you out with these ones! You can use your favorite sugar cookie recipe for this or even store bought sugar cookie dough. We used Sue's Sugar Cookie recipe AKA Dinosaur Footprint Cookies (HERE)
I think I got 18 cookies from the recipe, but I'm not 100% on that. I had helpers in the kitchen that may have sampled as we went along....


Sugar Cookie Hot Chocolate Cups

Ingredients
1/4 cup white chocolate chips, melted
small, hard pretzels
1/2 cup chocolate chips, melted
1/2 cup super mini marshmallows


Directions
Preheat oven to 350. Lightly spray a mini muffin tin with cooking spray, set aside. 
Prepare sugar cookie dough as per instructions. Pinch off golf ball sized amounts of dough and roll into a ball. Place into prepared muffin tin. Use your thumb to gently press in the center of each ball. 
Bake at 350 until edges are light, golden brown, about 8 - 10 minutes. 


Remove from heat and gently press down center of cookie with the bottom of a shot glass or something similar. This indent will hold the chocolate. 
Remove cookies from tray to a wire rack and let cool completely. 


Prepare the handles of the cups by carefully cutting the round bits from the pretzels. Be sure to have extra pretzels as you will lose some to cracking!


Dip the ends of the round piece of the pretzel into the melted white chocolate and press to the side of the cookie cup. Hold it for a few seconds to make sure it adheres. Continue with the rest of the cups and pretzels bits. 


Take a small spoon and carefully fill each indent on the top of the cookies with about a tsp or so of melted chocolate. Don't fill the indent all the way to the top! Just enough to cover the bottom of the indent. 


Now all you have to do is sprinkle in a few of the super teeny marshmallows!


How cute are they?


Yes, they are a bit fussy to make but so worth it when you see them on display. Make a dozen and throw them in with your Christmas cookie tray. I bet they will be the most commented on by your guests. 
FYI - if you have trouble with the handles sticking; try propping the cookies on their side and then the pretzel can stand on top until it is dry. That way you don't have to hold it until it dries!

Tuesday, June 23, 2020

Brownie Ice Cream Sandwiches


Is there anything better than ice cream sandwiches? Seriously... 
I mean you take two delicious things and sandwich a third delicious thing in the middle.... basically heaven, am I right? 
These bad boys only take about an hour to whip up, if your using store bought ice cream, and are sure to be a big hit with friends and family! Use any flavor ice cream you like - I went with vanilla and chocolate, but I imagine salted caramel, maple walnut, mint chocolate chip or pretty much anything would be delicious as well. 


Brownie Ice Cream Sandwiches

Ingredients
Brownie Cookies
8 oz chocolate chips (about 1 1/3 cup)
1/2 cup butter
3 eggs
1 cup sugar
1/4 cup brown sugar
1 Tbsp vanilla
1/2 tsp baking powder
salt
3/4 cup flour
1/4 cup cocoa powder
1 cup walnuts, chopped

Filling
Ice Cream

Directions
Make cookies - In a microwave safe bowl (or on the stove top), melt the chocolate chips and butter, whisking until smooth. Set aside.
In a large bowl, beat eggs for 2 minutes. Beat in sugars, vanilla, baking powder, and salt. Beat in the melted chocolate until combined, scraping sides of bowl as needed. 
Add in flour, cocoa powder, and walnuts, stirring until just combined. Chill batter for 30 minutes. (Do not skip this step!) 


When batter is chilled, preheat oven to 350. Line a cookie tray with parchment paper. Using a large cookie scoop, scoop batter about 2 inches apart onto prepared cookie sheet. They will spread. 


Bake at 350 for 10 - 15 minutes, until tops are crackled. Don't over bake or cookies will be crispy not chewy. If you make the cookies smaller then your cooking time will vary. 


Cool completely on wire racks before filling with ice cream. 
Let ice cream soften on the counter for about 10 - 15 minutes before scooping onto the flat side of one cookie. Flatten gently with a spoon before topping with another cookie. You need to work fairly quickly as the ice cream will start to melt and get very messy!


Store in freezer. 


You can wrap them individually to make storage easier. 


FYI - these go great at bake sales if you have a cooler with ice to keep them in! 
I made some with brownie cookies, some with chocolate chip cookies, some with vanilla ice cream and some with chocolate ice cream and they all sold in about 5 seconds! 
These are, as the little one Sue babysits would say, deeeeeeeeelicious. 

Wednesday, June 10, 2020

Chicken Mole Fries


In the spring Sue and I were running a Chopped-style food competition on Facebook for our friends and family as something to do while self isolating. One week we had chocolate and peanut butter as our mystery ingredients. I knew a lot of entries would be sweet ones so I decided to go savory! 
There are not too many chocolate and peanut butter recipes that are savory. It took me a long time to come up with this recipe. I spent many hours scouring Pinterest and Instagram looking for inspiration. 
I think this has the right amount of spice with definite hints of both the peanut butter and chocolate. 
No... I didn't win the challenge that week. But I did get a delicious new recipe to make and that's never a loss. 


Chicken Mole Fries

Ingredients
Mole Sauce
2 Tbsp olive oil
1 medium onion, diced
4 garlic cloves, minced
1 chipotle pepper
2 tsp adobo sauce
398 ml (14.5 oz) can diced tomatoes with green chilies
4 Tbsp peanut butter
2 cups chicken broth
1 tsp salt
1/2 tsp pepper
2 tsp chili powder
pinch cinnamon
2 oz (~scant 1/3 cup)  sugar free dark chocolate

chicken thighs, cubed
salt & pepper

Frozen fries

Optional
Chives
lime wedges

Directions
Prepare mole sauce - In a large frying pan over medium heat, cook olive oil, onion, and garlic for about 5 minutes, stirring often. 
Add in chipotle pepper, adobo sauce, and tomatoes. Cook an additional 15 minutes.
Carefully transfer to a blender. Add in the peanut butter, chicken broth, salt & pepper, chili powder, and cinnamon. Blend until smooth. 
Pour back into the frying pan, place back over medium/low heat and simmer to reduce for about 15 minutes. Shut off heat and add in chocolate. Stir to melt. 


Mole sauce can be made up to a week ahead of time and kept, covered in fridge. 
Reheat when ready to use. If you are using it right away, simply keep warm while chicken and fries cook. 


Prepare chicken and fries - There are several ways to prepare the chicken thighs. Season the chicken thighs with salt and pepper first. Then you can BBQ it on the grill, you can fry it in a pan, or you can place it under the broiler. I skewered mine on skewers but you don't have to do this. (Be sure to soak the skewers if you use wooden ones). 
Cook the frozen fries as per package directions. (Of course you can always make your own if you prefer!) Make sure they get nice and crispy! 
Plate em up!
Place fries on a serving platter. Top with the cooked chicken. 


Top with a generous amount of hot mole sauce. 


Sprinkle on some chives to fancy it up and add a slice of lime on the side. 


Feel free to use lots of mole sauce. It's delicious. 


This recipe has just the right amount of spice. If you like things really spicy, add another chipotle pepper. I've never tried this so it might take away from the subtle hints of chocolate and peanut butter. Let me know if you try it! 


Looking for another way to jazz up your fries that isn't poutine? Give chicken mole fries a chance. Make up the sauce ahead of time and it's literally about 5 minutes worth of work when you are ready to eat. Impress your guests at your next BBQ with this spicy recipe. 
Note - I didn't put quantities for the chicken or fries because you can make as much or as little as you like. You get a lot of sauce, about 2 cups or so depending on how much you reduce it. 
You can also use chicken breast or shredded rotisserie chicken from the store. 

Sunday, May 24, 2020

Keto Sex In A Pan


I'm always on the look out for keto recipes that don't give off keto vibes, if you know what I mean. A lot of time low carb/gluten free recipes just aren't spectacular. For me it's generally a texture thing. 
Anyway, our Keto Nanaimo Bars (Recipe HERE) have pretty much been the peak of gluten free desserts for me to this point and I really wanted to try and convert our "normal" Sex In A Pan (Recipe HERE) dessert to keto because it's the peak of "normal" desserts when I'm not doing keto. 
Long story short.... this recipe is a hit. 
You'd never know it was keto/gluten free. It's a bit fussy to make because there are 4 layers but it's totally worth it. The portions are big (always a plus) and the net carbs are impressive - only 3.7 net carbs per serving, recipe makes 12 servings! (303 calories, 28.3 fat, 6.3 carbs, 2.6 fiber, 5 protein - keep in mind it is always best to enter your own brands/weights into a nutritional calculator to be exact.) 
Do you have a favorite keto/gluten free recipe that you love? Share with us in the comments below!


Keto Sex In A Pan

Ingredients
Crust
1 1/4 cup almond flour
1/3 cup unsweetened baking cocoa powder
1/4 cup powdered Swerve
pinch salt
1/4 cup butter, melted
1 Tbsp water

Cheesecake Layer
8 oz cream cheese, room temp
1/4 cup whipping cream
1/4 cup powdered Swerve
1/2 tsp vanilla

Pudding Layer
1 cup whipping cream
1 cup unsweetened almond milk
1/2 cup powdered Swerve
4 egg yolks
1/2 tsp xanthan gum 
1/3 cup unsweetened baking cocoa powder
3 Tbsp butter, cut up
1/2 tsp vanilla

Whip Cream Layer
1 1/2 cups whipping cream
2 Tbsp powdered Swerve
1/2 tsp vanilla

Chocolate Sprinkles
1 oz (approx 2 Tbsp) sugar free chocolate (I use Lily's chocolate chips)

Directions
Prepare crust - Preheat oven to 325. Lightly spray the bottom of a 10 inch pan with cooking spray (OR, I used 6 X 5 inch individual mini pie pans) 
Mix almond flour, cocoa powder, Swerve, and salt together in a bowl. Stir in the melted butter and water until well combined. Spread evenly into prepared pan(s) and press down firmly. 


Bake at 325 for about 10 - 15 minutes. 10 minutes in the individual pans or 15 in one large pan. 
FYI - If you are using smaller pans it helps to place them on a cookie sheet for easier transportation. 
After the crusts have baked, remove them from the oven and place them into the fridge or freezer while you prepare the next layer. 
Prepare cheesecake layer - In a mixing bowl, beat the cream cheese until it is lump free, scraping sides as needed. In another bowl, beat the whipping cream, Swerve, and vanilla until stiff peaks form.
Slowly beat the whipping cream mixture into the cream cheese, until smooth. 
Spread evenly over the crust layer. 


Place in fridge or freezer while you prepare the pudding layer. 
Prepare pudding layer - In a saucepan bring whipping cream, almond milk, and Swerve to a simmer over medium heat. 
Whisk the egg yolks in a bowl and slowly whisk in the cream/milk to temper the eggs. Return everything to the saucepan and place back over medium-low heat. Sprinkle with the xanthan gum and whisk in. Whisk in the cocoa powder. Stir fairly vigorously over the medium-low heat until thickened. 
Once thickened, remove from heat and whisk in butter and vanilla. Stir until smooth. Set aside and let cool. (You can set in the freezer and stir every 15 minutes to speed the process.)
Once it reaches room temperature, spread evenly over the cheesecake layer. 


Chill until cool and set, about 2 hours. 
Prepare whip cream layer - Beat together whip cream, Swerve, and vanilla until stiff peaks form. Divide and spread evenly over the pudding layer.


Prepare chocolate sprinkle - Pulse 1 oz (approx 2 Tbsp) of chocolate in a blender or food processor until fine. Sprinkle evenly over the whipped cream layer. 


Chill until ready to serve. Can be made a day ahead of time. 


FYI - You want to keep it covered. 


The recipe makes 12 servings. Generous servings, if I do say so! 
This keto Sex In A Pan is rich, creamy, low carb, gluten free, and super de duper delicious. 


The crust has a hint of almond flour taste but I find by the third bite I'm tasting more chocolate and it's all good. Texture is pretty much spot on to our original Sex in a Pan, maybe a bit creamier, but I'm not complaining about that!. 
FYI - This will last a few days, covered, in the fridge. 
Feel like you are missing out by following keto or gluten free? You won't with this decadent dessert. It's got all the bells and whistles!