Saturday, January 28, 2023

Ricotta Cookies


Hey everyone, we're going to keep this post short and sweet today. We are trying something new (out of necessity) with how we prepare a post so hopefully you are reading this and everything has worked out!
The computer and camera I use to do the blog are, unfortunately, starting to die and so I am trying a post using my phone and an even older laptop that someone works better! 
*Fingers Crossed*
I am saving to replace both items but it will take a while! 
Anyways, these ricotta cookies are delicious, soft, and only take a few minutes to whip up! I used mini candies in them but you could easily replace them with mini chocolate chips or even nuts, if you prefer.


Ricotta Cookies

Ingredients
2 cups flour
3/4 tsp baking powder
1/4 tsp baking soda
pinch salt
1/2 cup butter, softened
1/2 cup brown sugar
1/2 cup sugar
1 egg
2 tsp vanilla
1 cup ricotta 
2 cups mini baking candies

Instructions
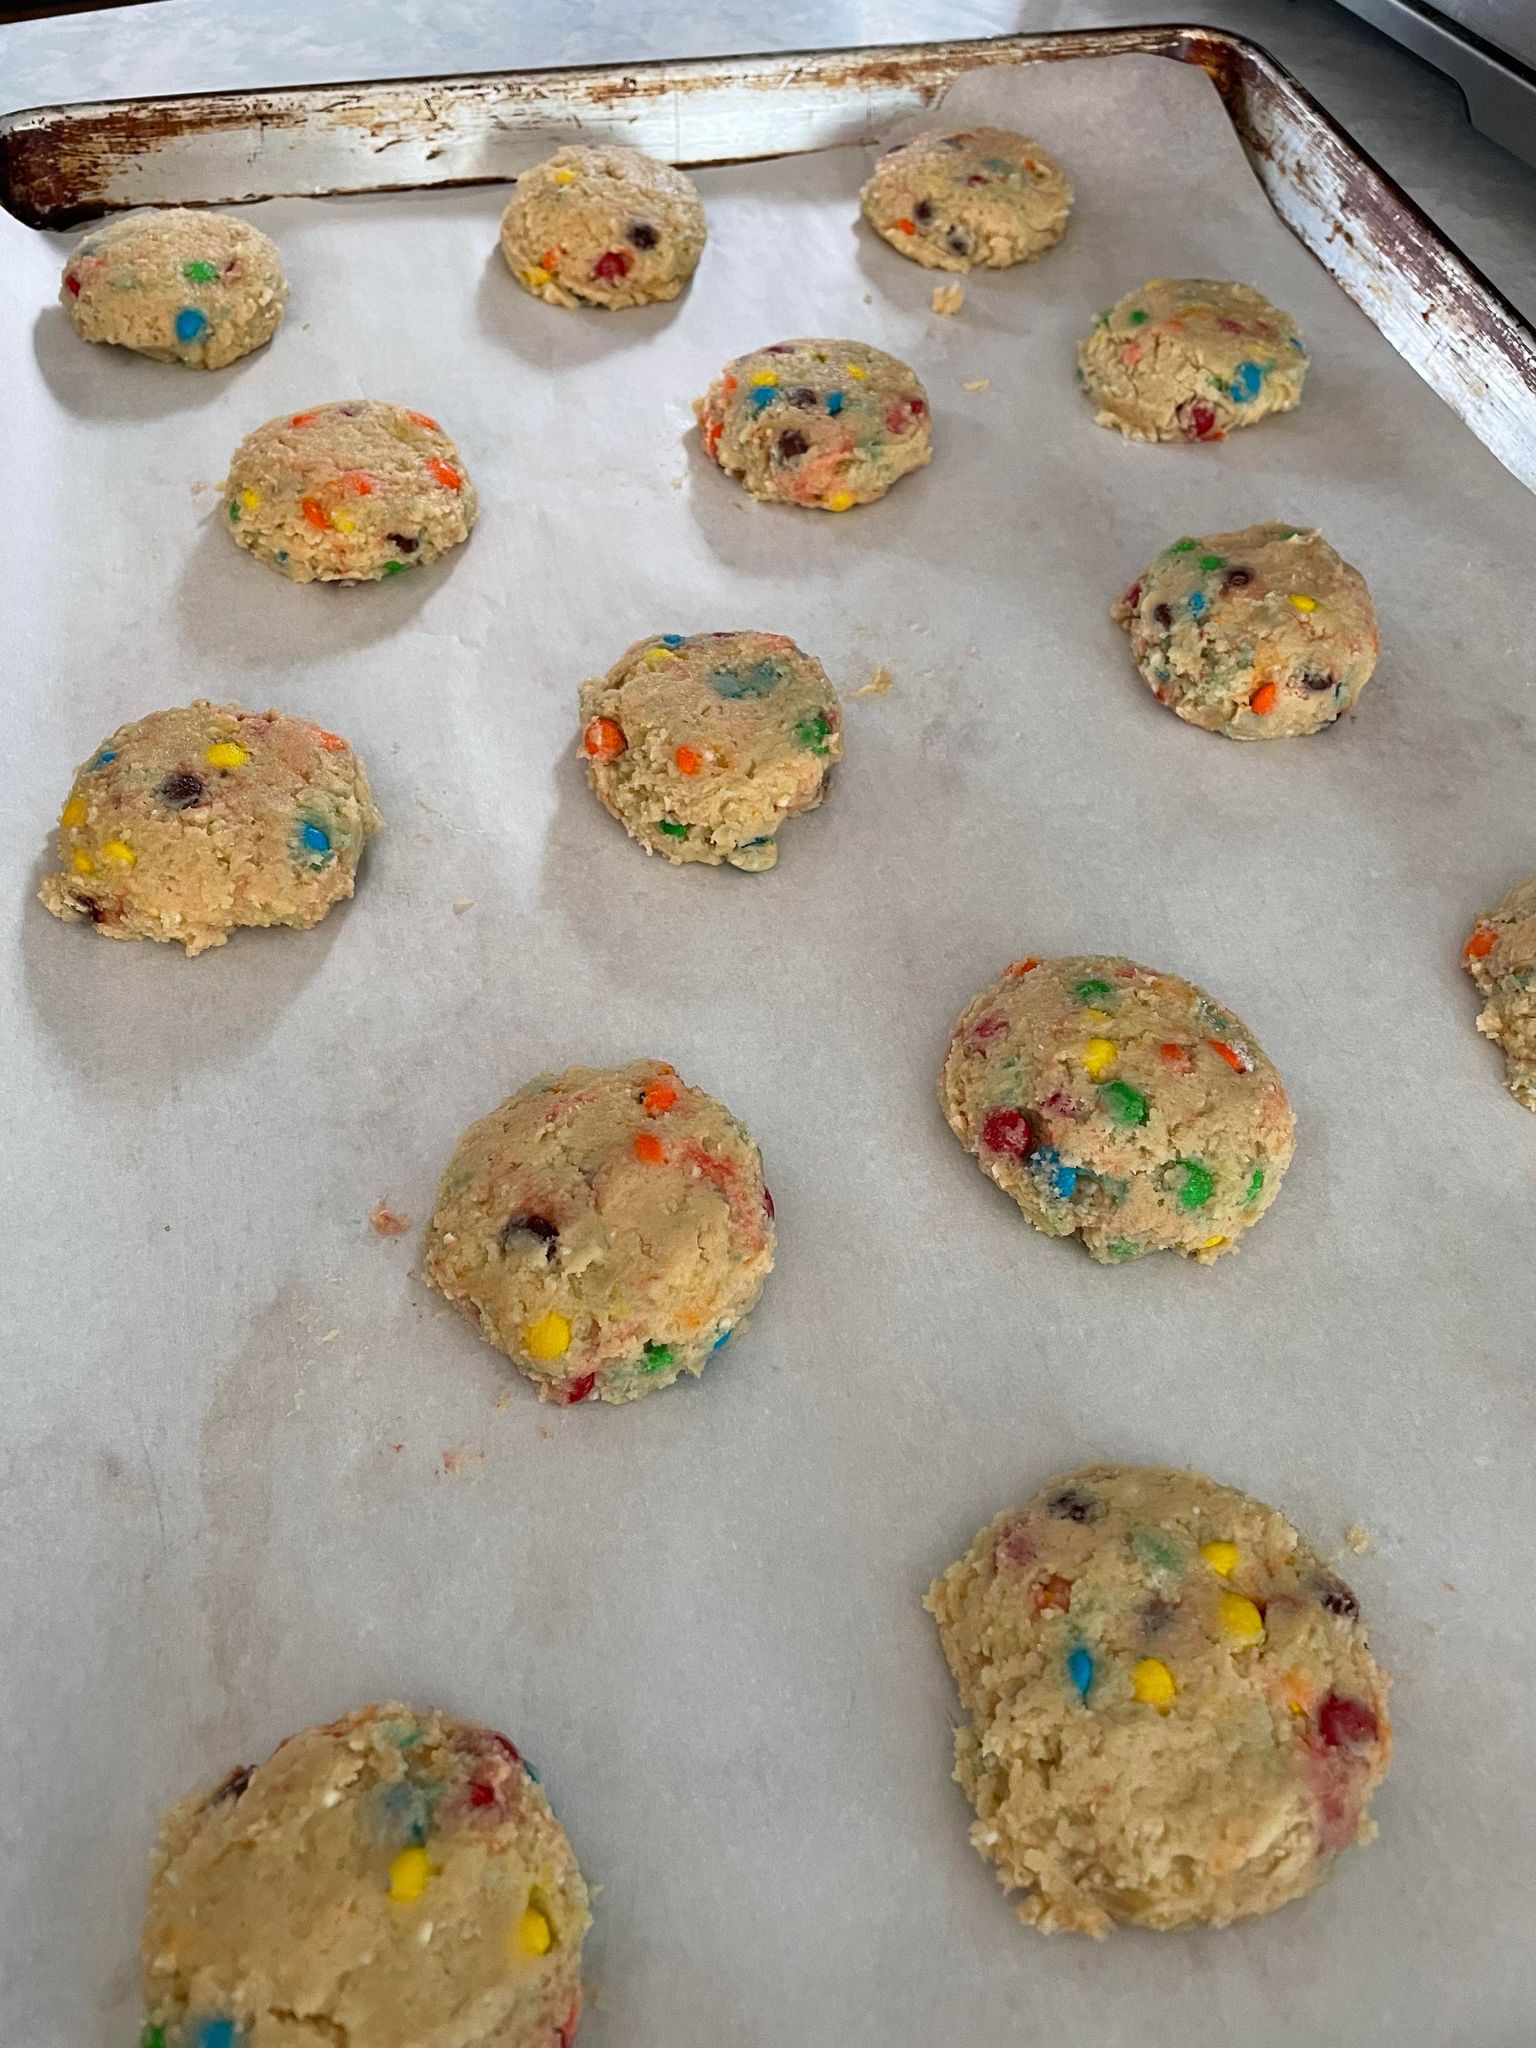
Preheat oven to 350. Line a cookie sheet with parchment paper and set aside. 
Whisk together flour, baking powder, baking soda, and salt. 
In a separate bowl, beat butter and sugar until fluffy. Beat in egg, vanilla, and ricotta until smooth. 
Stir together dry and wet ingredients, and mini baking candies, until well mixed. 


Scoop onto cookie sheet about 2 inches apart. 


Bake at 350 until bottoms are lightly browned and tops look dry, about 10 - 12 minutes.
I got 15 cookies with a large cookie scoop (about 3 Tbsp). If you use a smaller scoop your baking time will change. Start checking them at about 8 minutes. 


Remove from oven and let cool 5 minutes and them move to a wire rack to cool completely. 


These are definitely a more "cake-like" cookie. They don't have that crunchy-chewy thing a lot of other chocolate chip cookies have. 


I love these for something a little different. I always end up with ricotta leftover from making pasta and this is the perfect way to use it up! 
Hopefully you are able to see this post clearly and the photos are okay. Feel free to let us know in the comments if you notice anything funky going on! 


Wednesday, January 18, 2023

Octopus Cinnamon Buns


Cutest cinnamon buns ever, am I right? 
I had seen a post on Twitter and decided to try and recreate them myself. I was impressed with how easy they were to make. The great thing is; you can use any cinnamon bun recipe that you like! I used our favorite recipe - Jumbo Cinnamon Rolls (CLICK HERE)
These would be fabulous for an under the sea party, Halloween, or - if you're like me - all the time! 
You could use store bought cinnamon rolls BUT you would still need a little extra dough for the body/head. 


Octopus Cinnamon Buns

Ingredients
Or your favorite cinnamon bun recipe that makes 12 regular sized buns

Filling
8 oz cream cheese, room temp
1/2 cup icing sugar
1 tsp vanilla

Eyes
black fondant OR dark chocolate chips

Directions
Prepare dough for cinnamon buns as per instructions. Let complete first rise.
Preheat oven to 350. 
After the first rise is complete, Cut dough in half. (This recipe will make 2 octopi)
Working with half the dough - pinch off a fist sized amount of dough and roll into a ball, set aside.


Roll out the rest of the dough as you would when making cinnamon buns. Top with butter, cinnamon, brown sugar. 


Roll up, jelly roll style. 
Cut into 8 equal slices. They will be quite thin. 


Place on parchment paper lined cook sheet in a circle. Unwind the rolls a little - this will be the legs. The more you unroll the longer the legs will be. (See photo for clarification) 


Place the ball of dough you had set aside in the center of the rolls. Be sure that it is covering the ends of the rolls. 
Repeat with the other half of the dough. 


Cover and let rise for about an hour, or until doubled in size. 
Bake at 350 for about 20 minutes: until golden brown and cooked through. 


Let cool completely. 
Once cool, cut the body of the octopus approximately in half. Scoop out the bread from the center of the ball. Repeat with the second octopus. 


Beat together the cream cheese, icing sugar, and vanilla. Divide in half and place into cavity of the bread. Replace the top of the octopus and then attach eyes with a teeny bit of the cream cheese mixture. 


Serve room temperature. To eat - tear off a leg and dip in the cream cheese center. 


Note - wait until ready to serve to fill with the cream cheese mixture or else it will need to be refrigerated. 


I love how the little bit of cream cheese oozing out looks like his tongue sticking out. 
It would be easy enough to make him more kraken-like by adding some spikey cuts to the bread in the center before baking. 
The legs will seem pretty thin when you cut them but they need to be thinner than usual so they don't puff up too much. Don't worry - they will still be delicious! 
It's a bit finicky to make but soo worth it! 
Let us know if you give it a try! 

Tuesday, January 10, 2023

Pineapple Upside Down Cake


Pineapple upside down cake is a classic that has been around a very long time. We have a couple of versions already on the blog (a single serving one you can find HERE, and a layered one you can find HERE). This version is a little different and fits just nicely into a 9 X 13 pan. 
It's been a while since I've made an upside down cake and I always forget how beautiful they look. No icing is required, just serve with a little whipped cream for a perfect dessert!


Pineapple Upside Down Cake

Ingredients
Bottom Layer
1/2 cup butter, melted
1 cup brown sugar
1 1/2 cans sliced pineapple rings
1 jar maraschino cherries

Cake
2 2/3 cup flour
2 cups sugar
1 Tbsp baking powder
pinch salt
2/3 cup oil
1 1/2 cup buttermilk
2 eggs
1 tsp vanilla

Directions
Preheat oven to 350. 
Line 9 x 13 pan with parchment paper. Pour the melted butter into the pan and spread evenly. Sprinkle with the brown sugar and stir to roughly combine. Place rings of pineapple on top of the brown sugar to fit the pan. Some will need to be cut along the edges. Place a maraschino cherry into each pineapple ring center and a few to fill in other spots in the cake. (see photo below) Set aside. 


Prepare cake batter - whisk together flour, sugar, baking powder, and salt. In a separate bowl whisk together oil, buttermilk, eggs, and vanilla. 
Whisk the dry ingredients into the wet ingredients until just combined. Pour gently over the pineapple in the pan. 
Bake at 350 for approximately 50 minutes - until cake is a deep golden brown. Toothpick inserted near center should come out clean. (NOTE - place a cookie sheet on the rack under the cake as the caramel often bubbles out of the pan!) 
Remove from heat and let cool for about 5 - 10 minutes. 


Carefully invert cake onto serving tray. Be careful - some of the caramel from the pan may drip and it is very hot. Let cool to room temperature. 


Store, covered, in fridge for up to 3 days. This is one of those cakes that really is best on the first day though. Serve with whipped cream or ice cream for a decadent treat. 
Note - If you don't have buttermilk you can add 1 Tbsp of vinegar to regular milk and let it sit for 5 minutes before adding to batter. 
Another note - parchment paper is note absolutely needed. I just find it waaaaaay easier to remove easily from the pan if I line it first. Whatever you do, don't let the cake cool completely still in the pan. The caramel and pineapples will stick to the bottom and not look nearly as nice once removed. 

Thursday, January 5, 2023

Small Batch Walnut Blondies


Well. It's been a while.
Almost a whole year, actually. Sue and I took a break over 2022 and stepped back from blogging. We are returning now and are going to do our best to share as many recipes as we can. 
I thought our first blog back should be a classic recipe. I went with blondies because, believe it or not, after 14 years of blogging we do NOT have a blondie recipe anywhere on the blog! I decided to make it a small batch as I mayhave overdone the sweets during the holidays so didn't need a full batch.
This recipe takes under half an hour to whip up and makes about 8 squares.


Small Batch Walnut Blondies

Ingredients
7 Tbsp brown sugar
1 Tbsp sugar
3 Tbsp melted butter
1/2 tsp vanilla
1 egg yolk
1/2 cup flour
1/4 tsp baking powder
1/2 tsp cinnamon
pinch salt
1/2 cup chopped walnuts

Directions
Preheat oven to 350. Line a 9 X 5 loaf pan (or 6 inch square) with parchment paper, set aside. 
Whisk together sugars and butters until creamy. Whisk in vanilla and egg yolk. 
In a separate bowl, stir together flour, baking powder, cinnamon, salt, and walnuts. Stir the dry ingredients into the wet ingredients until just mixed. 
Spread into prepared pan - batter will be very thick. 


Bake at 350 for 15 - 20 minutes, until lightly browned and toothpick inserted in center comes out clean. 
Remove from oven and let cool on wire rack. 


When room temp, remove from the pan using the parchment paper.


Cut into pieces and serve. 


These freeze very well and will also last for a few days, covered, on the counter. 
If the batter seems really dry - mine did because I used a medium egg by mistake - add in 1 Tbsp of milk. You can add in 1/2 cup of whatever add in you like. Don't like walnuts? Use chocolate chips or butterscotch chips instead. 
It's great to be back and we hope you will follow along with us. Anything you'd like to see? Comment below. Be sure to follow us on Instagram, Twitter, and Facebook. We're @joandsue