Tuesday, July 31, 2018

Thai Inspired Sliders


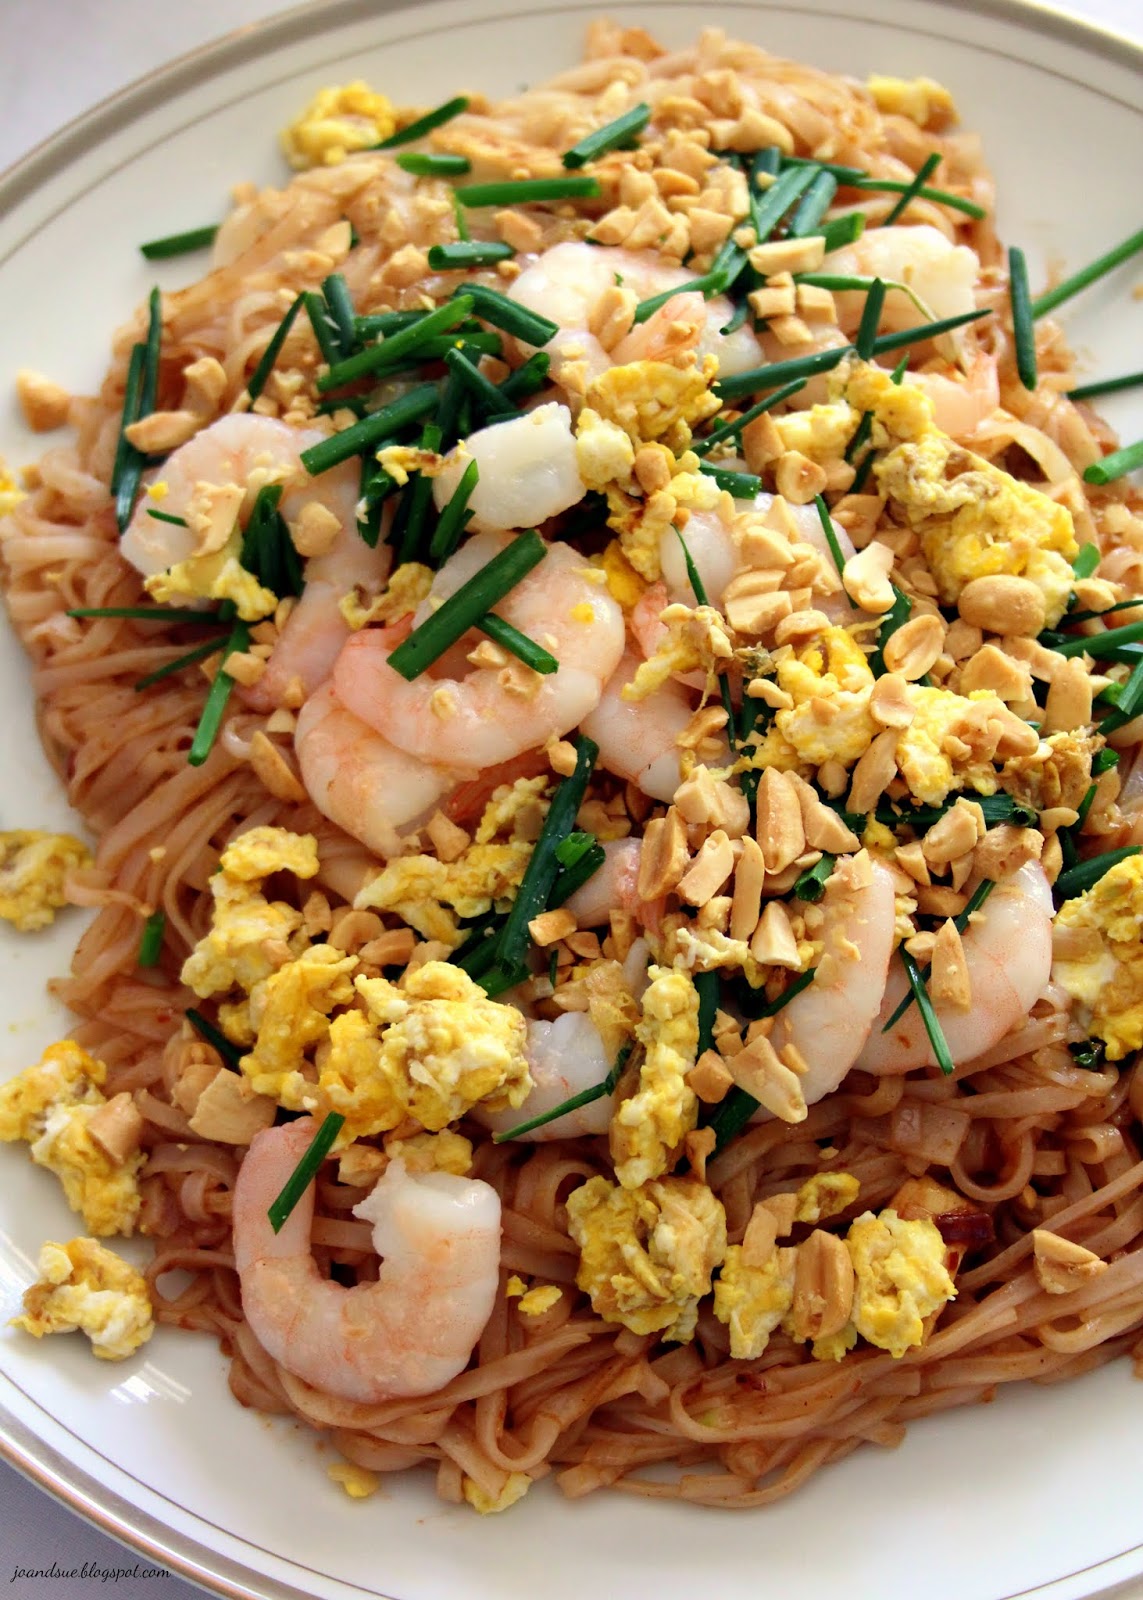
Before this month I had never tried Thai food. 
Is that weird? I feel like that might be weird. I mean.... I'm all about food so why wouldn't I have tried all the food from everywhere? Okay. So I haven't tried ALL the food yet but I'm slowly getting there. I'm a trooper like that. No need to thank me. 
Although you might want to thank me after trying this burger. I love that is has subtle hints of Thai flavors and is so different than the usual summer burgers. 
It was inspired by the flavors in our Thai Dinner we had earlier this month. (Click HERE to see those recipes!) I fell in love with the Peanut Sauce (Recipe HERE) I made to go with our chicken satay. I wanted to come up with another recipe that I could use the sauce with. It totally elevates these sliders from "average" to "whaaaaaaaaaaaaat the heck is this I want to marry it". 
Not even lying. 


Thai Inspired Sliders

Ingredients
Peanut Sauce
1/2 cup chicken broth
2 1/2 Tbsp peanut butter
1/2 Tbsp honey
1/2 Tbsp soy sauce
1 tsp fish sauce
1 tsp sriracha
1/2 tsp ginger paste (or minced)
1 clove garlic, minced
1/2 Tbsp lime juice

Pickled Vegetables
1 red pepper, julienned
1/2 cucumber, julienned
1 carrot, julienned
1 Tbsp sugar
1 tsp salt
3 Tbsp cider vinegar
1 Tbsp water
1/4 tsp ginger paste (or minced)
1/2 tsp ground turmeric

Slider Patties
1 lb lean ground pork
1 lb lean ground beef
1 Tbsp fish sauce
1 Tbsp chili paste
1 Tbsp soy sauce
3 tbsp bread crumbs
1/4 cup red onion, finely diced
1/4 cup cilantro, finely chopped
1/2 tsp ginger paste (or minced)
salt & pepper

Also Need
16 mini dinner roll buns
lime wedges
cilantro

Directions
Prepare Peanut Sauce - Mix all ingredients EXCEPT lime juice in a saucepan. Bring to a boil over medium heat, reduce heat to low, and simmer for 6 minutes, stirring constantly. 
Remove from heat and stir in lime juice. Let cool completely. (Can be made ahead of time and kept in fridge, covered, for several days.)


Prepare Pickled Vegetables - julienne your veggies.


In a bowl, whisk together sugar, salt, cider vinegar, water, ginger, and turmeric. Add vegetables and toss gently. 


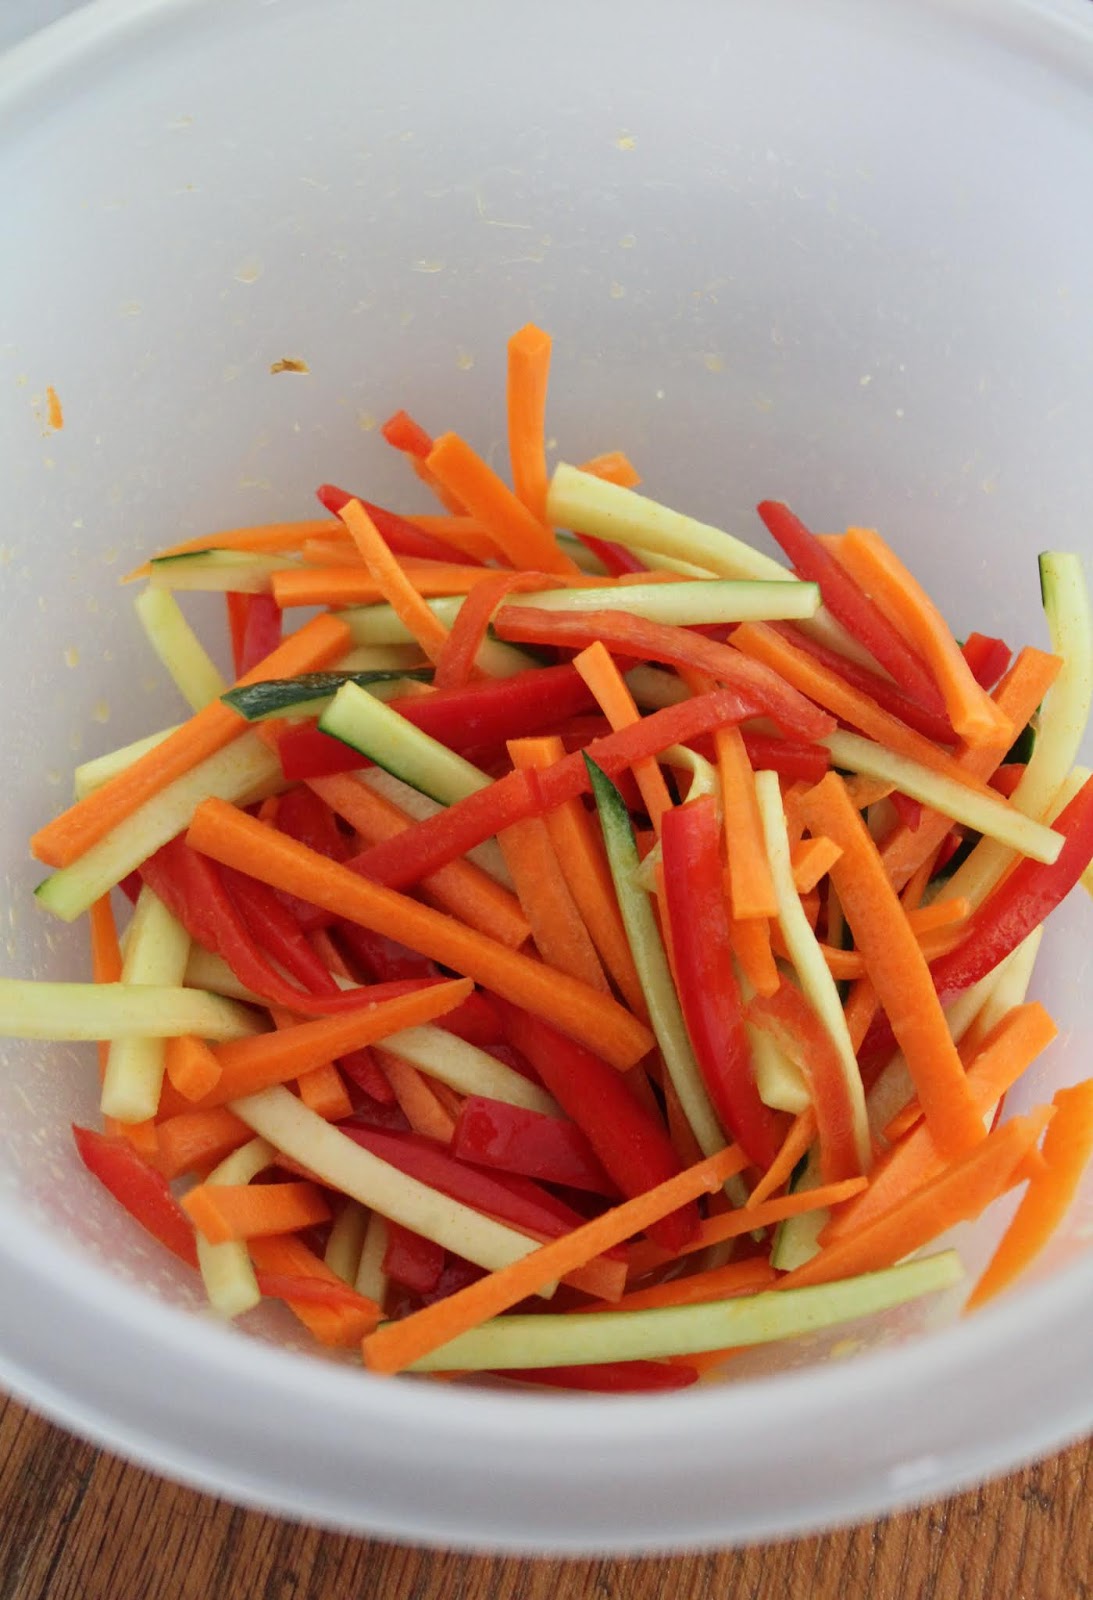
Refrigerate at least 4 hours, stirring every so often to evenly marinate. Can be made a day ahead. 
Prepare Slider Patties - In a mixing bowl, combine the slider ingredients.


I like to start mixing with a wooden spoon and then use my hands to really make sure everything is combined. Form into 16 patties - I use a round cookie cutter to help shape my patties. I place the cookie cutter on a work surface and then press 1/16th of the meat into it with my fingers.
You can weigh them on a kitchen scale to make sure they are all equal but I never do - I just go by look and feel to make sure they are close to being the same.  


You can cover and chill the patties for up to a day ahead of time.... or go ahead and cook now. 
NOTE - I usually make all 3 recipes first thing in the morning so when dinner time is near all I have to do is cook the burgers. No muss, no fuss. It's great if you are having guests. 
I cook my slider patties in a frying pan until the meat is cooked all the way through. You could also bake them in the oven or on the BBQ. 
Serving the Thai Inspired Sliders - spread a generous amount of the peanut sauce on the top and bottom bun. Top with a cooked slider patty and then a generous amount of the pickled veggies. 
If desired you can sprinkle with drizzle of lime juice and extra cilantro. 


I don't want to sound like a weirdo... wait, that's not necessarily true... being weird is awesome.... but this is a flavor and texture adventure. Combining pork and beef gives these a little somethin' somethin' more than just using beef. Then throwing the crunchy, tangy vegetables on top and the spicy kick of the peanut sauce has your tastes buds wondering just what the heck is happening. 


If you have someone in your house that is a picky eater - mom I'm looking in your direction - then you can leave off the peanut sauce and pickled veggies and just put BBQ sauce or mustard and ketchup (the normal stuff) on top of your bun. *Sigh* It makes me sad, but it can be done.


I cooked half of these for dinner one night and then froze the leftover sliders - uncooked - for a later date. In an airtight container or bag they will last a couple of months in the freezer. Then simply thaw overnight in the fridge and cook. You can make more veggies and peanut sauce when you are ready to cook the burgers. 
If you are looking for something different to try, give these a go. You won't regret it! 

Monday, July 30, 2018

Bourbon Marshmallow Salted Caramel Bacon Bark


I just want to warn you. If you aren't a fan of sweetness then you will want to leave now. 
Because this is sweet. Suuuuuuper sweet. Like, melt your face off sweet. 
But that's okay. That just means a little goes a long way and you can share with lots of people and make lots of new friends. 
Because this will make you friends. Trust me. 
Everyone's going to want in on this. 


Bourbon Marshmallow Salted Caramel Bacon Bark

Ingredients
16 oz dark chocolate, divided
4 cups mini marshmallows
1/4 cup bourbon
1 cup bacon bits

Directions
Line an 8 X 8 pan with parchment paper. 
Melt 8 oz of the chocolate until smooth (either on the stove top or in the microwave). Spread into the prepared pan. Set in fridge to chill until chocolate has solidified.


In a microwave safe bowl melt marshmallows for 1 minutes. Remove from microwave and stir until smooth. (If need be, microwave for another 10 - 15 seconds). Once smooth, mix in bourbon. Stir to combine well. Let cool for about 2 minutes. Pour the marshmallow/bourbon mixture over the solidified chocolate in the pan. 
Pour the salted caramel over the marshmallow. Spread it out the best you can. It is okay if the caramel and marshmallow mingle a bit. Set in freezer for 5 minutes. 


Check that the caramel has started to set up a bit. If not, leave in the freezer another 5 minutes. 
Melt the remaining 8 oz of chocolate and drizzle as evenly as possible over the caramel layer. Spread as evenly as possible. 


Quickly sprinkle with the bacon bits.


Let chill completely.
Cut into bite sized pieces. FYI - let it come back up to room temp before cutting. It's a bit easier that way. 


I used this bark to top a cake I made for Sue's birthday. It is great on a plate of squares for something out of the ordinary. The bourbon flavor really shines through so these are definitely not for the kidlets. 


You can use our Salted Caramel Sauce (find the recipe HERE) - which doesn't require a candy thermometer and is very easy to whip up! or used store bought. Either will work. We used our recipe and it tasted delicious. 
You will also want to use real bacon bits in this. The artificial flavored ones just will not taste nearly as good. This is best stored, covered, in the fridge until ready to eat. 
Don't you just love how easy no bake bars are to whip up?!

Thursday, July 26, 2018

Apricot Curd and Lavender Cheesecake Mousse Tart


Here in Lillooet we have a U-pick farm called Old Airport Gardens. Every summer Sue and I spend a lot of time deciding what we're going to buy from there as there is soooo much to choose from. 
This year, Danika, one of the people who helps run the gardens, contacted me and asked if I would like some lavender to do some baking with. I think you can probably guess my answer. 
I mean.... look at how beautiful it is. 


They also had some crazy tasty looking apricots so, really, how could I say no to that. 


Apricot Curd and Lavender Cheesecake Mousse Tarts

Ingredients
Crust

Apricot Curd
1 lb apricots, halved and pit removed
3 Tbsp lemon juice
6 egg yolks
1 cup sugar
1/4 cup + 2 Tbsp cornstarch
pinch salt
1 cup water
2 Tbsp butter

Lavender Cheesecake Mousse
8 oz cream cheese, softened
1/2 cup icing sugar
1 tsp vanilla
1 cup whipping cream
1 Tbsp lavender buds

Directions
Prepare crusts - preheat oven to 400. 
Roll out pie dough, cut using a round cookie cutter and press gently into mini muffin pans. If you use the entire pie dough recipe you should get about 36 or more crusts. 
Bake in 400 oven for 5 minutes and then reduce heat to 350 and continue baking until crusts are golden brown - about 20 or so minutes more. Remove from oven and let cool before removing from mini muffin pans to a wire rack to cool completely. 
Prepare Apricot Curd - In a blender or food processor, blend apricots with the lemon juice until smooth. Press the mixture through a strainer into a bowl. You will need 1 CUP of the strained mixture. 
In a small bowl, whisk egg yolks together and set aside. 
In a medium saucepan, whisk sugar, cornstarch, and salt together. Slowly whisk in water. Over medium heat, continue to cook and stir constantly until thickened - about 10 minutes. 
Slowly whisk the hot mixture into the egg yolks - about 1/4 cup at a time so as not to curdle the eggs. When all mixed in, pour back in the pan and return to the stove top. Cook and stir constantly until thick - about 7 minutes. Remove from heat and stir in the 2 Tbsp of butter. Let cool for about 5 minutes. Spoon the filling into the cooled crusts. 


Let cool completely.
Prepare Lavender Cheesecake Mousse - In a mixing bowl, beat cream cheese until smooth, scraping sides of bowl as needed. Beat in the icing sugar and vanilla. 
In a separate bowl, whip whipping cream until stiff peaks form. Fold half of the whipped cream into the cream cheese mixture. Sprinkle the lavender in and then fold in the remaining whipped cream.


Place in a piping bag and pipe on top of the apricot curd. You can also simply spoon a bit on top if you don't want to pipe it. 


You can top with a few lavender buds, if desired. 


There is this amazing tangy-ness from the curd and then this lovely hint of lavender in the decadent cheesecake topping. The crispy flaky crust doesn't hurt either. Just sayin'


You could make these into bigger tarts but I find the mini ones are just the right amount. 
FYI - these are best eaten in the first day or two. If they sit longer than that the lavender starts to take over the flavors of the tart and the crust starts to get soft. 

Wednesday, July 25, 2018

Thai Cucumber Salad


We've finally come to the last recipe from our Thai Inspired Dinner Party. You can visit HERE to see all the recipes together. This Thai cucumber salad is a refreshing side to serve with the other dishes and is super easy to whip up ahead of time and have chilling in the fridge. A few simple ingredients thrown together with an even simpler dressing and *voila* ready to go!
We shared our original Cucumber Salad HERE - that recipe is more of a European-type cucumber salad. Check them both out, see which one you like better! 


Thai Cucumber Salad

Ingredients
Salad
1 large cucumber, cut into pieces
generous sprinkle salt
1/4 small red onion, sliced
2 Tbsp roasted peanuts, chopped

Dressing
2 Tbsp sugar
2 Tbsp water
4 Tbsp Thai sweet chili sauce
1 Tbsp apple cider vinegar 

Directions
Add the salt to the cucumber and set in fridge for 15 minutes. 
While it is chilling, whip up the dressing by combining all the dressing ingredients in a small saucepan. Let simmer until dressing is reduced and slightly thickened. Let cool. 
Drain any of the salt water off the cucumbers completely. Toss the cucumber and onion, and then mix in the dressing. 
Top with chopped peanuts. Serve immediately. 


A fabulous way to use up all those cucumbers in the garden right now!

Monday, July 23, 2018

Kaeng Khieo Wan Kai (Chicken Green Curry)


Okay, I have to apologize before we get started here. I only got one photo of this dish during our Thai Dinner Party. (See HERE for all the dishes we made with links to the recipes!) 
Hopefully the above pic is good enough to give you an idea of this recipe. 
It's really quite easy to whip up and when served with rice makes for a filling meal on it's own or as part of a Thai dinner. Maybe not the prettiest thing but certainly one of the tastiest!
I loved it served over a bowl of jasmine rice. 


Kaeng Khieo Wan Kai
(Chicken Green Curry)

Ingredients
1 can (400 ml) coconut milk
1/3 cup chicken stock
1/4 cup basil leaves, chopped
3 Tbsp fish sauce
4 Tbsp green curry paste
2 Tbsp brown sugar
1 1/2 cups vegetables (ie: red bell pepper, zucchini, carrots, eggplant, peas)
3/4 lb boneless, skinless chicken breasts (cut into bite sized pieces)

Serve with: 
jasmine rice

Directions
Mix coconut milk, chicken stock, basil, fish sauce, curry paste, and brown sugar in a medium saucepan. Bring to a boil over medium high heat. Reduce heat to low and simmer for 15 minutes. 
Stir in the vegetables and chicken, simmer 10 minutes longer - until chicken is cooked through. 
Serve over jasmine rice. 

How easy is that?
I apologize again for only having one photo to share. For some reason I went crazy with the other dishes but missed this one. 
Next time I make it I will be sure to take more photos! 
Be sure to check out our other Thai recipes that we made for our dinner - HERE. 

Be sure to stop by Carole's Chatter for tons of great links!

Friday, July 13, 2018

Moo Phad Nam Phrik Phao (Stir Fried Pork with Thai Chilies Paste)


Dish #4 from our Thai dinner is this Moo Phad Nam Phrik Phao - or stir fried pork with Thai chilies paste. (Want to see the rest of the dishes we made for our Thai dinner party? Click HERE.
I love how simple this dish was... well, to be honest, how simple all of the dishes we made for our dinner party were. A lot of throw-it-in-a-pan and *voila* done recipes. My favorite kind. 
This one is mainly pork with a few veggies thrown in for good measure. It is very bright and cheerful and tastes sooooo good! You can make it as spicy as you like. We went with fairly mild but you can definitely add more chili paste if you like!


Moo Phad Nam Phrik Phao 
(Stir Fried Pork with Thai Chilies Paste)

Ingredients
3 Tbsp oil
1 Tbsp Thai chilies paste (or more...)
4 pork chops, sliced thinly
1/2 cup onion sliced
1 cup carrots, julienned 
1 1/2 Tbsp soy sauce
1 1/2 Tbsp oyster sauce
2 tsp sugar
about 1/3 cup chicken broth
3 green onions, sliced

Directions
Prep all of your ingredients and have them ready. 


Heat oil in a large frying pan (or wok) over medium heat. Add in the Thai chilies paste and stir until fragrant. Add in the pork and chicken broth. Stir well until the meat is nearly done. 


Add in the onions and carrots then season with soy sauce, oyster sauce, and sugar. Stir well. If it starts to get dry then add in a little more chicken broth. Cook until vegetables are done to your liking - about 5 minutes or so should do it.  


Add the green onion and stir for one minute. Remove from heat. 


Serve immediately.
This is lovely served with jasmine rice. When Orra took her cooking class in Thailand she was told that some Thai people like to serve this with a fried egg as well. 


NOTE - start with 1 Tbsp of the Thai chilies paste and then go from there. If you like things spicy then add in another Tbsp or 2. You can always stir in a bit more at the end so start with 1 Tbsp and go from there. 


Be sure to visit Carol's Chatter for more fun foody links!

Wednesday, July 11, 2018

Phad Thai Goong Sod (Fried Rice Noodles with Prawns)


Sue and I and our sister, Orra, recently had a Thai inspired dinner party. Orra had taken a cooking class in Thailand and had brought back the recipes and a few packages of spices for Sue and I. We decided to recreate the recipes as best we could for a Thai dinner party. 
The original recipes that Orra had were for single servings and they used fresh ingredients. We had to up-size them to feed a party of 7, plus we had to use dried ingredients. That being said..... I think the dishes all turned out delicious. Want to see all that we made for our Thai dinner? Click HERE
This version of Pad Thai is super simple to make and might just be my new go to for noodles. 


Pad Thai Goong Sod
(Fried Rice Noodles with Prawns)

Ingredients
1 pkg rice noodles
3 Tbsp oil
1/4 cup chives, chopped
3 Tbsp sweet pickled radish, finely chopped
1/4 cup peanuts, chopped
3 small shallots, finely chopped
2 egg
1 - 2 cups prawns, peeled & deveined
3/4 cup water
1/2 cup bean sprouts 

Phad Thai Sauce
3 Tbsp palm sugar
3 Tbsp fish sauce
1/3 cup tamarind paste
1 tsp Thai chili paste

Serve with:
roasted peanuts, chopped
cilantro, chopped
lime wedges
chives, chopped

Directions
Place the noodles in hot water and set aside.
Make the Pad Thai Sauce by heating the palm sugar, fish sauce, tamarind paste, and chili paste in a pot. Stir well until sauce is slightly thick. Remove from heat and set aside. 
In a wok or large frying pan, cook chives, radishes, peanuts, and shallots for about 2 minutes. Add in eggs and scramble until cooked. Add in the prawns and stir fry until pink - about 1 - 2 minutes. 
Drain the rice noodles. Add the 3/4 cup water and drained rice noodles to the pan. Stir fry until soft. Add in the Pad Thai Sauce and stir well. Stir in the bean sprouts.
Serve with chopped peanuts, cilantro, lime wedges, and chives. 


Again, we had to fiddle with amounts so if you find your noodles are too dry then you can mix up more of the Pad Thai Sauce. Orra forgot to add the bean sprouts in so we just sprinkled them on top...


It was equally as delicious. 
If you've never tried Pad Thai then this is a great recipe to get you going. 

Tuesday, July 10, 2018

Tom Yum Goong (Hot and Sour Prawn Soup)


This soup isn't much to look at, am I right? It's mostly broth with a few prawns and mushrooms floating around in there. The thing is.... the flavor in this soup is ridiculous. It's probably the most flavorsome broth I've ever eaten. The only thing that I didn't enjoy was the heat. It is super spicy! I'm sure you could tone it down a little but everyone else seemed to really enjoy it so, apparently, I am just a big baby. 
The secret is in simmering the ingredients until everything is fragrant. It features the delightful lemongrass and lime juice essence that is prevalent in Thai food. Your taste buds won't know what hit them!


Tom Yum Goong
(Hot and Sour Prawn Soup)

Ingredients
8 cups chicken broth
3 Tbsp dried lemongrass (6 stalks fresh)
2 slices dried galanga (8 slices fresh)
4 dried kaffir lime leaves (6 fresh)
3 Tbsp fish sauce
2 Tbsp lime juice
2 tsp roasted chili paste
2 dried chili peppers (or 2 fresh)
2 cups straw mushrooms, halved (We used brown mushrooms, cut into slices)
~12 prawns, peeled, deveined

Directions
Bring chicken broth to a boil in a large pot. Add in lemongrass, galanga, and lime leaves and simmer on low for about 30 minutes. 
After the 30 minutes, stir in fish sauce, lime juice, chili paste, and chillies. Simmer another 30 minutes. Pour the broth through a strainer into another pot to remove the leaves and lemongrass.
You should have a beautiful golden broth. 


Place back over medium high heat and return to a simmer. Add in the mushrooms and simmer for about 3 - 5 minutes, until mushrooms are nearly done. 
Lastly, add in the prawns and cook until they are done - the prawns will be red/pink when they are done. Remove from heat and serve immediately. 


Sue used dried ingredients as that is what we had on hand. If you have access to fresh ingredients then, by all means, use them instead!
This soup was part of the Thai inspired dinner party we had a little while ago. To see the rest of the recipes we made at our Thai Dinner click HERE
We also used brown mushrooms instead of straw mushrooms as we live in a small town where some ingredients are just not available. Sue had to make some adjustments to the original recipe as it was given to our sister Orra during a cooking class she took while in Thailand and it was a single serving size. She took some liberties with the servings sizes so if you have to change a few things, not to worry! 

Sunday, July 8, 2018

Thai Inspired Chicken Satay with Peanut Sauce


We recently had a Thai dinner party and this was the recipe I made to bring along. (See the other recipes we made for our Thai Dinner HERE.)
You can make this up ahead of time and have the chicken on their skewers, soaking in the marinade so when it's dinner time all you have to do is throw them on the BBQ for a few minutes and *boom* done. Just like that. 
And this peanut sauce..... well.... you're going to want to write this recipe down, Pin it, email it to yourself, whatever it is you do to save recipes, because it is UH-mazing. For real. I've never been a huge fan of peanut sauce but THIS one.... this one I would crawl over hot lava to get at. It has just the right amount of zip to it. Not to toot my own horn but I think it was the favorite recipe of the night. 
*toot toot*


Thai Inspired Chicken Satay with Peanut Sauce

Marinade
2 Tbsp soy sauce
2 Tbsp fish sauce
2 Tbsp lime juice
1 Tbsp honey
1 Tbsp sriracha
2 tsp minced ginger
2 cloves garlic, minced

Chicken
1 lb chicken thighs, boneless/skinless, cut into 1 inch pieces

Peanut Sauce
1 cup chicken broth
5 Tbsp peanut butter
1 Tbsp honey
1 Tbsp soy sauce
2 tsp fish sauce
2 tsp sriracha
1 tsp minced ginger
2 cloves garlic, minced
1 Tbsp lime juice

Serve With
chopped peanuts
cilantro
lime wedges

Directions
Mix together all of the marinade ingredients. Add in the chicken thigh pieces and stir to coat all the pieces. Place wooden skewers in water and let soak until ready to cook the chicken - this prevents the skewers from burning on the BBQ. 


You can pour into a Ziplock bag (or cover and leave in the bowl) and refrigerate until ready to use. I recommend marinating for at the very least 2 hours. (Note - I make this up in the morning and let it marinate all day until dinner.)
Prepare the peanut sauce - Mix together all of the peanut sauce ingredients EXCEPT the lime juice, in a saucepan. Place over medium heat, stirring constantly, and bring to a simmer. Turn down heat and continue to simmer for about 6 minutes, until sauce thickens slightly.  
Remove from heat, stir in lime juice, and keep covered in the fridge until ready to use. 
When chicken has done marinating, thread about 3 pieces on each skewer that has been soaking.


I believe I got 13 skewers. 
Preheat BBQ to medium/high heat. Place chicken on hot grill and cook until chicken is cooked all the way through, flipping once - about 5 to 6 minutes per side. 


When cooked, remove from BBQ to a serving plate. Serve with the peanut sauce. 
Sprinkle with chopped peanuts, cilantro, and lime wedges. 


These are best served hot but are pretty darned tasty at room temp too. 


This made 13 skewers, which was perfect for a dinner party of 6 or 7 people. It can easily be doubled or even tripled. The peanut sauce would not need to be doubled or tripled though - it makes a generous cup size serving. You could make more though - you'll want to use this sauce for dipping all the things. It's delicious! 

We're sharing over at Carole's Chatter. Be sure to pop over and say hi!