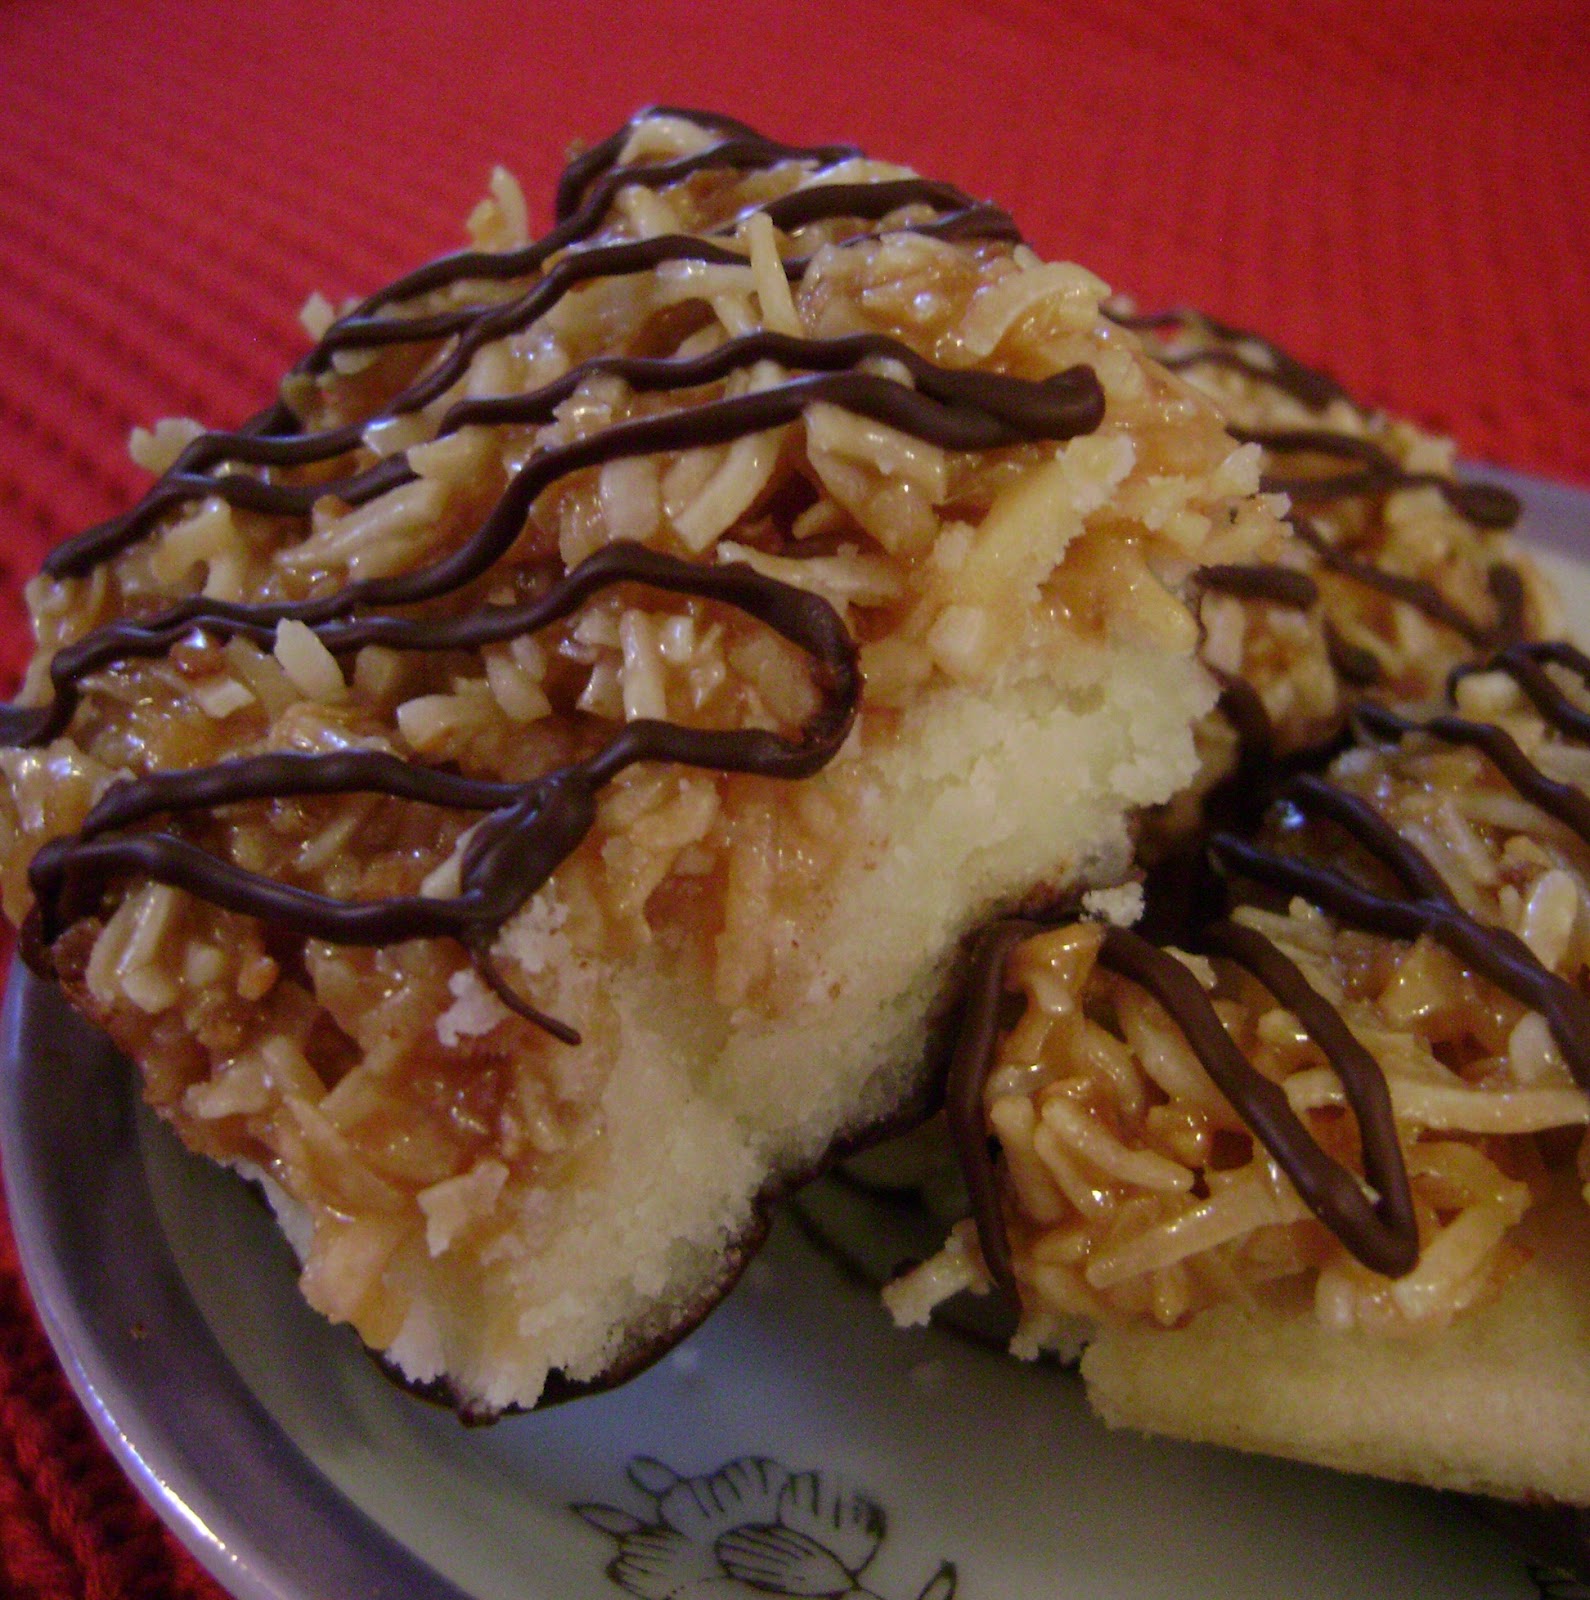
Looks pretty, doesn't it?
It tastes pretty good too.
Apparently Samoas are Girl Scout Cookies which, I'm assuming, are available in the States. I've not ever seen them in Lillooet. Of course, Lillooet is kind of in the boonies.....they may be available all across Canada and I am just unaware.
Anyway....back to how pretty they are.
The layers of caramel and chocolate and toasted coconut really make this a stand out bar.
Now, here's the thing......
These are a kind of a pain in the patootie to make. Like...the kind of pain where after fussing with 4 or 5 of these squares I was thinking "why did I make these again?"
To be fair...these are originally made as a cookie. Specifically, a round cookie with a hole in the middle. Check out this website to see where the idea came from - Once Upon A Plate. I decided to make it into a bar believing it would be easier.
Not so much.
I made it to the second-to-last step with ease and then the trouble began.
You have to dip the bottom of these in chocolate.
The bottom is shortbread.
In case you didn't know this....shortbread is crumbly.
Crumbly enough that when you try to dip just the bottom of it in chocolate it flakes and pieces break off.
It's okay. I got through it. There may have been some cursing involved. There was a lot of chocolate on my fingers, hands, arms, the counter, the sink, etc...etc... as I tried to "brush" it on the bottom of the bar so I didn't have to dip them.
Chocolate is not cool to have to wipe up off of everything. Just so you know.
Anyway.....in the end they turned out beautiful. And everyone commented on how yummy they were.
Will I be making them again?
I'm going to say, not in the near future.
Not until I figure out how to make shortbread not crumbly. Let me know if you have that secret!

Samoas Bars
Ingredients
Cookie Base
1 cup butter, softened
1/2 cup sugar
2 cups flour
1/4 tsp baking powder
pinch salt
1/2 tsp vanilla
2 Tbsp milk
Topping
3 cups chredded coconut (Sweetened OR unsweetened)
12 oz chewy caramels
(I used 34 Kraft caramels)
1/4 tsp salt
3 Tbsp milk
Chocolate (To dip and to drizzle)
8 oz chocolate is what the original recipe called for
(I used about 2 cups chocolate chips - but I had some trouble with the dipping so I used more than the original recipe called for)
Directions
Preheat oven to 350. Spray a 9 X 13 pan with cooking spray, line with parchment paper - leaving some folded over as a "handle" - then lightly spray the parchment paper.
Cookie base - cream butter and sugar in a large bowl. Mix in flour, baking powder, and salt at low speed. Add in the vanilla and milk. You may need to add a bit more milk to make the dough come together. The dough should come together into a soft, pliable ball. If the dough seems too sticky, add a bit more flour.
Press dough firmly into prepared pan. Prick all over with a fork.

Ready to go into the oven.
Bake at 350 for about 15 - 20 minutes, until edges are lightly golden brown.

Juuuuuuust right :)
Remove from oven and let cool on wire rack for about 15 minutes. Then place in freezer while you prepare the topping.
Topping - In a large skillet, toast coconut over medium-high heat until golden brown. Stir often as once it starts to turn brown it burns very quickly.

Nice and toasty!
Immediately remove from skillet and place in bowl to cool.
Unwrap the caramels and place in microwave safe bowl.

Unwrapping these bad boys is NOT fun...booo little caramel plastic wrappers!
Add the milk and salt to the caramels in the bowl. Heat in microwave in 30 second intervals, stirring after each interval to help caramels melt. This could take 3 - 4 minutes. (You could also melt them in a double boiler, if you prefer) When smooth, fold in the toasted coconut with a spatula.
Spoon topping over crust.
Working as quickly and as carefully as you can, gently press the topping evenly over the crust with your fingertips. It helps to have a bowl of water next to you to dip your fingers in - this prevents the topping from sticking to you and makes it way, way easier to spread.

Topping spread....prepare for the hard part....
Set pan in the fridge for about 15 - 20 minutes to let the topping cool and set. (Longer if necessary)
Remove the bar from the pan by gently loosening the edges with a butter knife then lifting out by using the parchment paper "handles".
Using a sharp knife, cut into squares. I think I did about 2 inch squares. Dip knife in hot water and wipe with a paper towel between cuts to prevent sticking.
Line a cookie sheet with plastic wrap.
In a small, microwave safe bowl, melt about half the chocolate in the microwave in 30 second intervals, stirring thoroughly to prevent scorching. (Again, you can use a double boiler if you prefer)
Dip the base of each bar into the chocolate and place on prepared cookie sheet.
Place in freezer to chill and set the chocolate, about 10 minutes.
Melt remaining chocolate in microwave following the above directions. You can either pour the melted chocolate into a plastic bag and snip a small corner off then proceed to drizzle on top of bars OR you can leave in the microwave safe bowl and use a spoon to drizzle the chocolate.

Finished product!
Set back in freezer for a few minutes to set the chocolate drizzle.
Voila. Samoas in bar form.
If you have a lot of trouble with the dipping then you can try tipping a square upside down in your hand and spooning some chocolate onto the shortbread. Gently use the spoon to spread the chocolate and then place, chocolate side down, onto the cookie sheet.
I saw this on Pinterest and had to give it a try. I'm glad I did - I would have been wondering what they tasted like forever if I didn't. That being said, they were fairly complicated to make, as squares go.
If you are looking for a bar that will challenge your culinary skills then give this one a try. The taste and appearance are worth the effort.
Just remember to take it slow and don't have a meltdown when you have to clean chocolate out of every nook and cranny in your kitchen.
I made up some pretty creative new swears so my meltdown wasn't a complete waste of time.
"Fudge crackers"
Feel free to use it.
Your welcome.
Looks delicious but sounds intimidating. When I first saw the picture, I thought this is right up my alley- a must try. Not sure now if I want to try it.
ReplyDeleteI'm glad I tried it but....it was more complicated than my usual fare. It does taste really good but, for me, I don't know if it was worth the effort :)
DeleteI haven't tried these yet but have them on my 'to try' list...wonder if we tried dipping the entire pan of squares in chocolate and cut them after.....before the chocolate sets up too firm....or does that sound like it might work?
ReplyDeleteIt might work.... please let us know if you give it a try! They were so tasty but just frustrating to make lol
Delete