
This just might be the best cheesecake… nay, dessert… in the universe.
Bold claim, I know, but it’s true. The combination of the crispy sweet baklava and the smooth and creamy cheesecake is *chef’s kiss*.
My sister’s boyfriend said I could become a millionaire if I decided to sell it. I think he’s right. Once you have a taste you want more. The only thing that is a bit of a bummer is the fact that it takes a bit of time and effort to put it together. If you’ve ever made a baklava and a cheesecake then you know what I’m talking about. Totally worth it though.
Do it.

Baklava Cheesecake
Ingredients
Baklava Base
20 phyllo sheets
1 cup butter, melted
1 cup finely chopped walnuts
1 cup finely chopped pecans
1/4 cup sugar
1 1/2 tsp cinnamon
Cheesecake Layer
3 bricks cream cheese (24 oz), softened
1 1/2 cups sugar
Pinch salt
3 tsp vanilla extract
3/4 cup sour cream
1 Tbsp lemon juice
3 eggs
Honey Syrup
1/2 cup sugar
1/4 cup water
1/4 cup honey
Directions
Preheat oven to 325. Line the bottom of a 10 inch springform pan with parchment paper.
Layer 1 phyllo sheet in the prepared pan. Gently press the sheet against the sides of the pan and over the top. Brush all over with a little melted butter. Continue layering a phyllo sheet and butter until you have used 10 phyllo sheets.
Combine the chopped walnuts, pecans, sugar, and cinnamon in a small bowl. (Reserve 1/3 of a cup for decorating the top of the cheesecake later). Spread half of the mixture into the pan.
Layer 5 more phyllo sheets and butter on top of the nuts.
Spread the remaining chopped nuts mixture in the pan.
Layer in the last 5 phyllo sheets and butter.
Set aside and prepare the cheesecake.

Prepare cheesecake - Beat cream cheese until smooth, scraping down sides of bowl as needed. Beat in sugar, salt, and vanilla. Beat in sour cream and lemon juice. Lastly, beat in eggs until just combined.
Pour into the pan and spread evenly.

Gently fold the excess phyllo up and over the top, leaving the centre of the cheesecake open. It’s okay to trim off some phyllo if you don’t want it too thick on top. IMPORTANT NOTE - Set the cheesecake on a cookie sheet as it will drip and smoke up your oven otherwise!

Bake at 325 for 60 - 70 minutes. FYI - I actually ended up baking mine for almost 2 hours before it was done. The centre should be almost completely set with just a slight jiggle to it if you gently shake the pan. The phyllo should be golden brown.
When the cheesecake is done, shut the heat off and let it sit while you prepare the honey syrup.
Prepare the syrup - Bring sugar, water, and honey to a boil over medium heat. Simmer for 5 - 6 minutes.
Remove cheesecake from oven to a wire rack. Slowly drizzle the honey syrup over the phyllo pastry. Make sure to try and get it in all the cracks and crevices. Drizzle a little over the centre of the cheesecake as well.

Let cool to room temperature before removing the sides of the pan. Don’t worry if a bit of the phyllo falls off as you do this, it’s normal.
Chill the cheesecake in the fridge for at least 4 hours, up to overnight.

Before serving, sprinkle the reserved 1/3 cup of chopped nut mixture around the edge of the cheesecake. Slide a spatula under the chilled cheesecake to remove the bottom of the springform pan and transfer the cake to a serving plate.
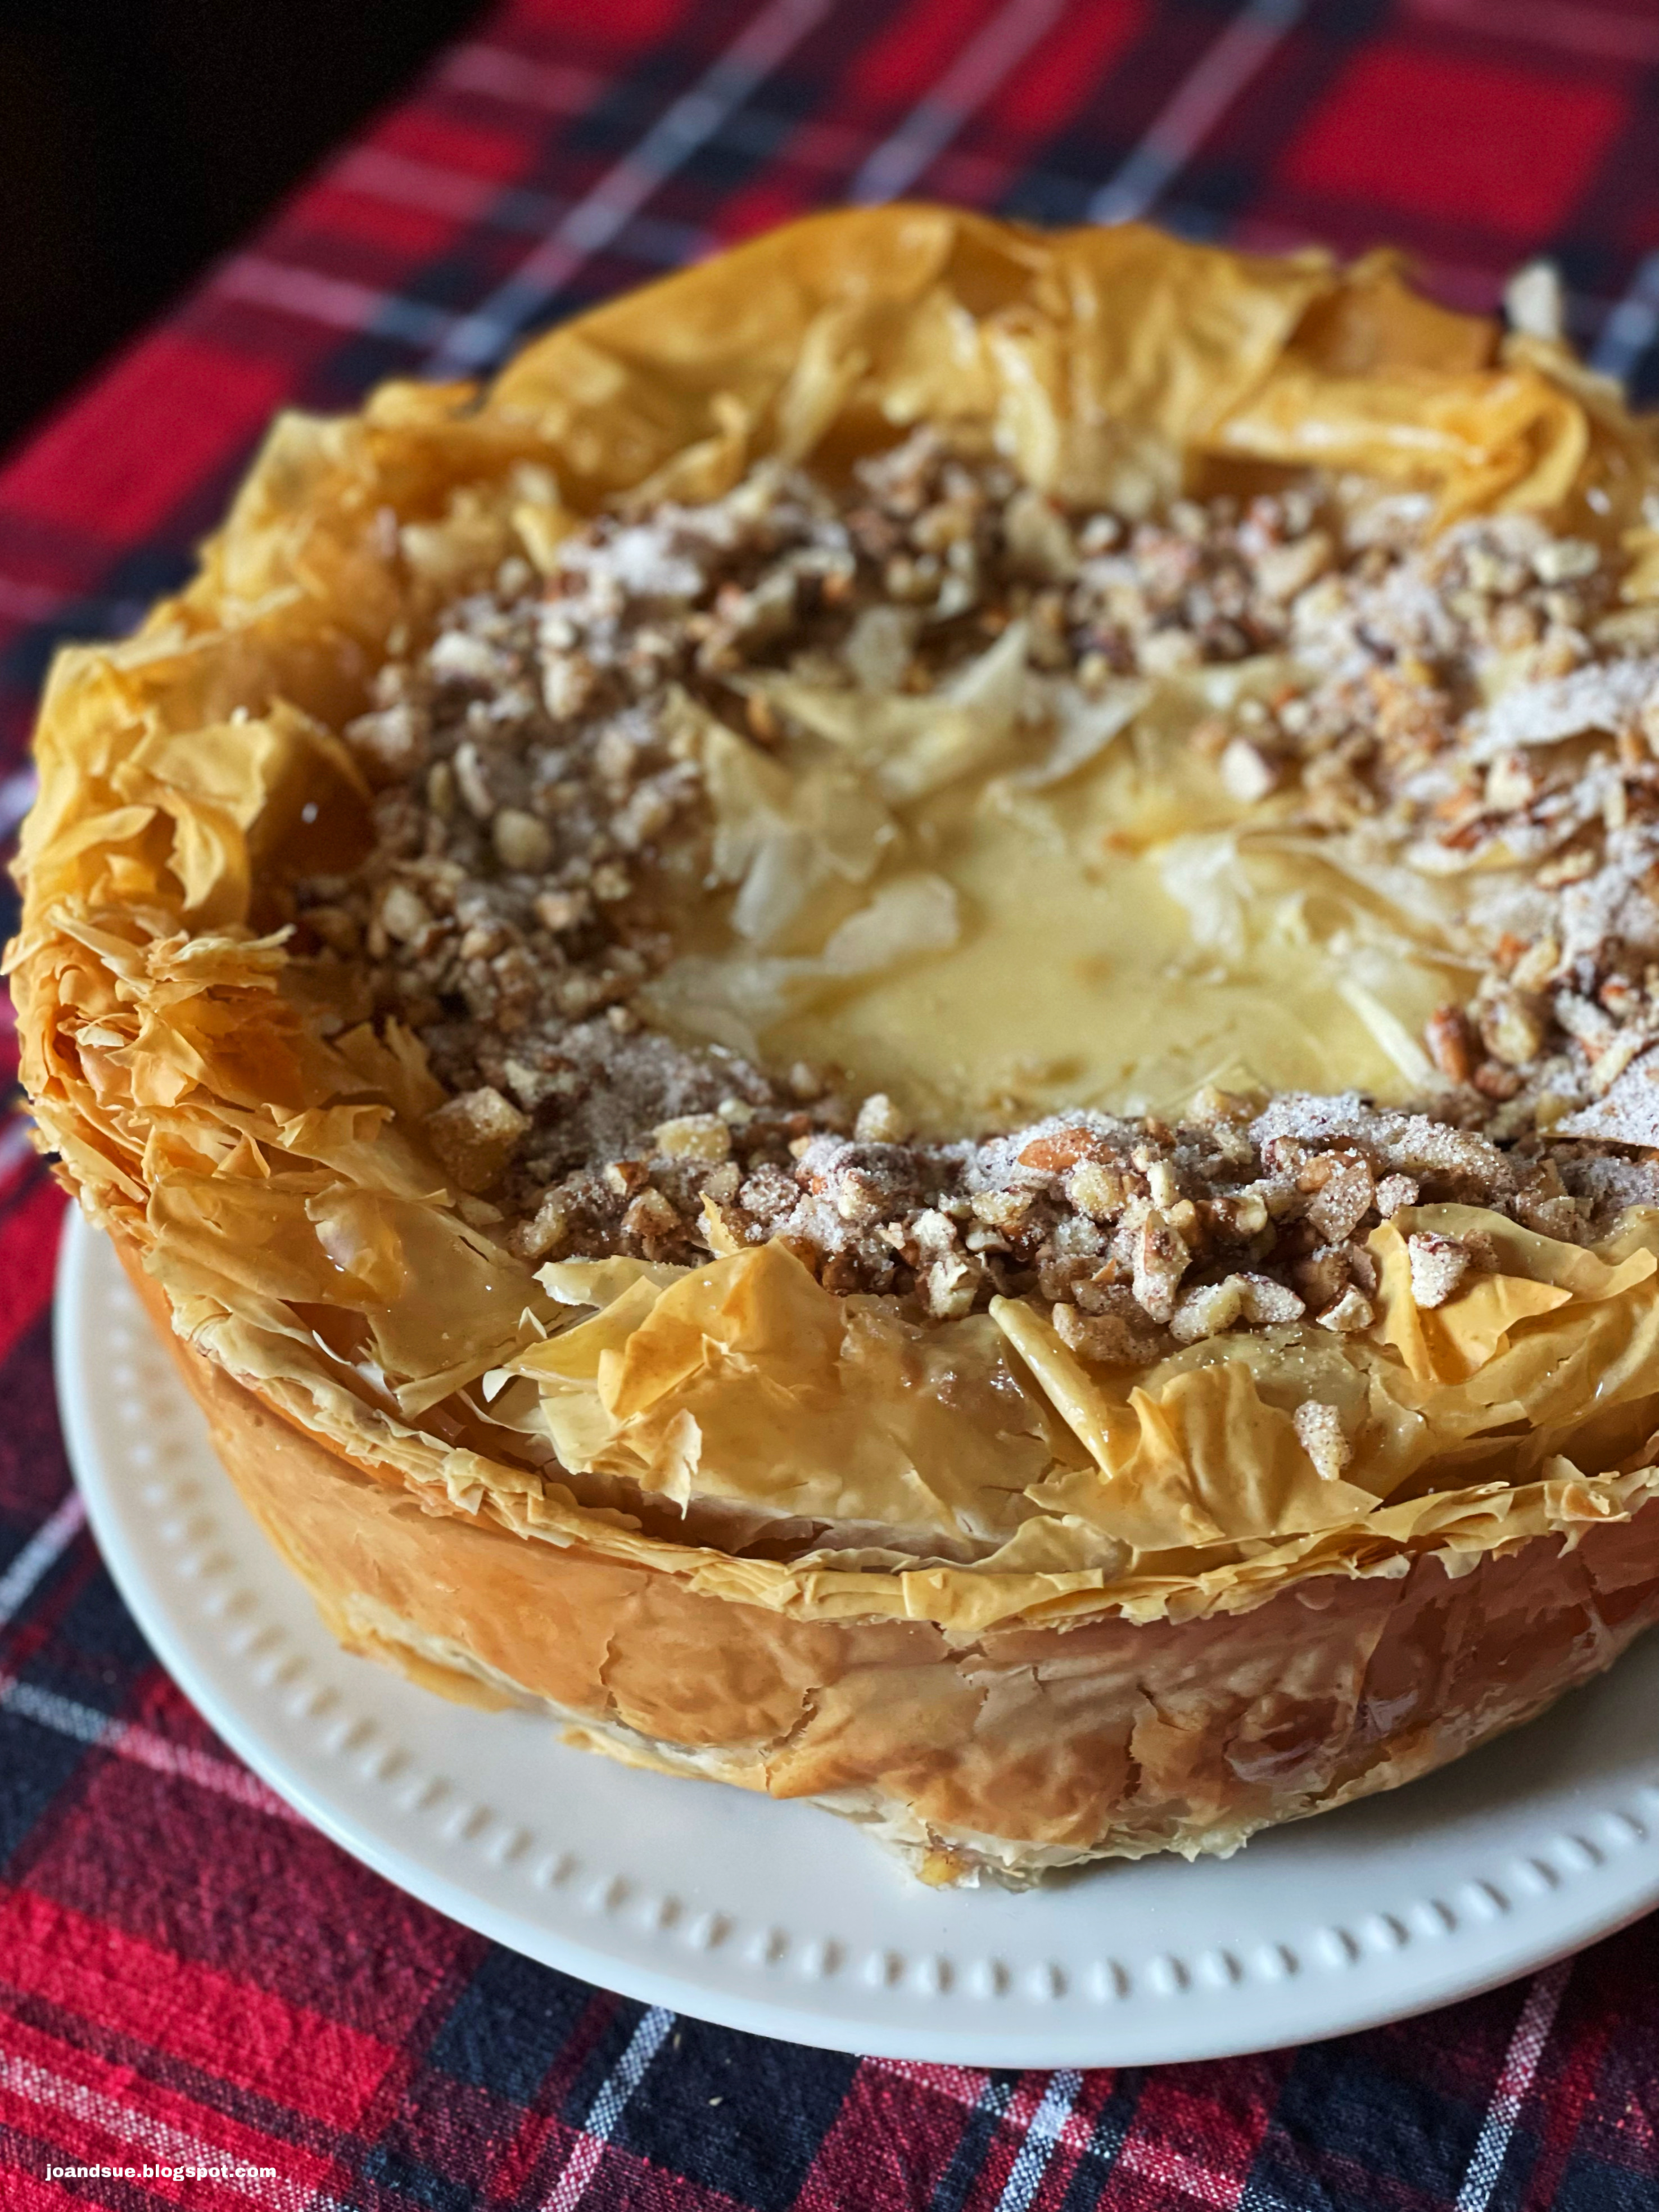
This makes a huge cheesecake so is perfect to bring to a family gathering or potluck. It also lasts for several days, covered, in the fridge. I had a piece 3 days after first making it and it was totally fine. The phyllo was a teeny tiny bit not as crunchy but it was not soggy or anything like that.

Look at all those delicious layers!
So. So. So. Good.
I will definitely be making this again.


