Sunday, July 16, 2023

Easy Gluten Free Flatbread


Flatbread is a favorite around our house because it’s easy to whip up with minimal ingredients, it’s inexpensive, and it’s delicious with any toppings! I had a friend ask me to make some gluten free flatbread for her so I took a couple recipes from online and tweaked them and mixed and matched them to come up with this one. FYI - I use either Bob’s Redmill or Cup4Cup brand gluten free flour blends, I’m not sure how others would work.
From start to finish, it took me under half an hour to make these. 
You get a total of 8 approximately 8” flatbreads. 


Easy Gluten Free Flatbread

Ingredients
1 1/2 cups plain, 0 fat Greek yogurt
8 tsp olive oil
1 tsp salt

Olive oil
Extra gluten free flour
Optional: parsley 

Directions
Whisk together Greek yogurt and olive oil. In a separate bowl, stir together flour, baking powder, and salt. 


Stir the wet ingredients into the dry ingredients until stiff, but not too sticky dough forms. If too dry, add water a spoonful at a time. If too sticky, add more flour a spoonful at a time. 
Divide dough into 8 pieces.


Roll each piece out on a floured work surface to approximately 1/4 inch thick. 


Heat cast iron pan over medium low heat. (A non-stick pan will work but cast iron is better if you have the option). Brush pan with a little olive oil and fry one flatbread at a time. Each side takes about 2 minutes. You may need to adjust the heat - too hot and it will burn, too cool and you won’t get the color and crispness. 


When done, remove from pan, brush with a little more olive oil, and sprinkle with a little parsley. This is optional - you can leave it plain if you like. 


Repeat with remaining flatbreads, brushing the pan in between each one with a little oil.


Serve immediately. 


I love these with tzatziki or hummus. They are just the thing to serve with a curry too. 


They will last, covered, on the counter for a day or two or you can freeze them for a month or so. Just pop them in the oven to reheat.


Sliced into triangles they make the perfect potluck dish or appie. 


These have a lovely, slightly chewy, slightly crispy texture. If you eat them plain they have that hint of gluten free flour taste to them but it’s not at all noticeable when served with a dip. 
I used a garlic olive oil which is great for adding extra flavor. You could even add some minced garlic to the dough if you want it more savory. 


Sunday, July 9, 2023

Keto Yorkshire Puddings


I don’t know about you but when we have a big roast beef or ham dinner, including Yorkshire puddings is a must! Following a low carb/keto eating plan meant we didn’t have them too often and that just made me sad. 
I found several versions of a low carb yorkie and knew I had to give it a try. After a few trials I came up with this version. It is so close to “the real thing”. The only thing I found different was that the keto version is a little heavier and, if not baked long enough, can seem “eggie”. 
The trick? 
Bake them longer than you think you should: until the tops are very deep brown and almost look like they are starting to get burned. This way they are way more airy and taste amazing! 


Keto Yorkshire Puddings

Ingredients
3/4 cup whipping cream
4 eggs
2/3 cup almond flour
1/4 tsp xanthan gum
1 Tbsp water
1/2 tsp salt

1/2 cup oil

Directions
Whisk whipping cream and eggs together until very well mixed and frothy. 
Whisk in almond flour, arrowroot flour, xanthan gum, water, and salt. 


Let batter sit and rest for at least 30 minutes, up to overnight, in the fridge. *Don't skip this step*
When ready to cook: preheat oven to 450 degrees. Place 1 1/2 tsp of oil in each cup of a muffin tin. (Makes 12). Heat oil in the preheated oven for about 10 minutes - until oil is sizzling. 
Quickly fill each cup approximately half full of batter and place back in oven.


Cook 15 - 25 minutes WITHOUT opening the door to check on them! This is important. Opening the door may lead them to deflate. 


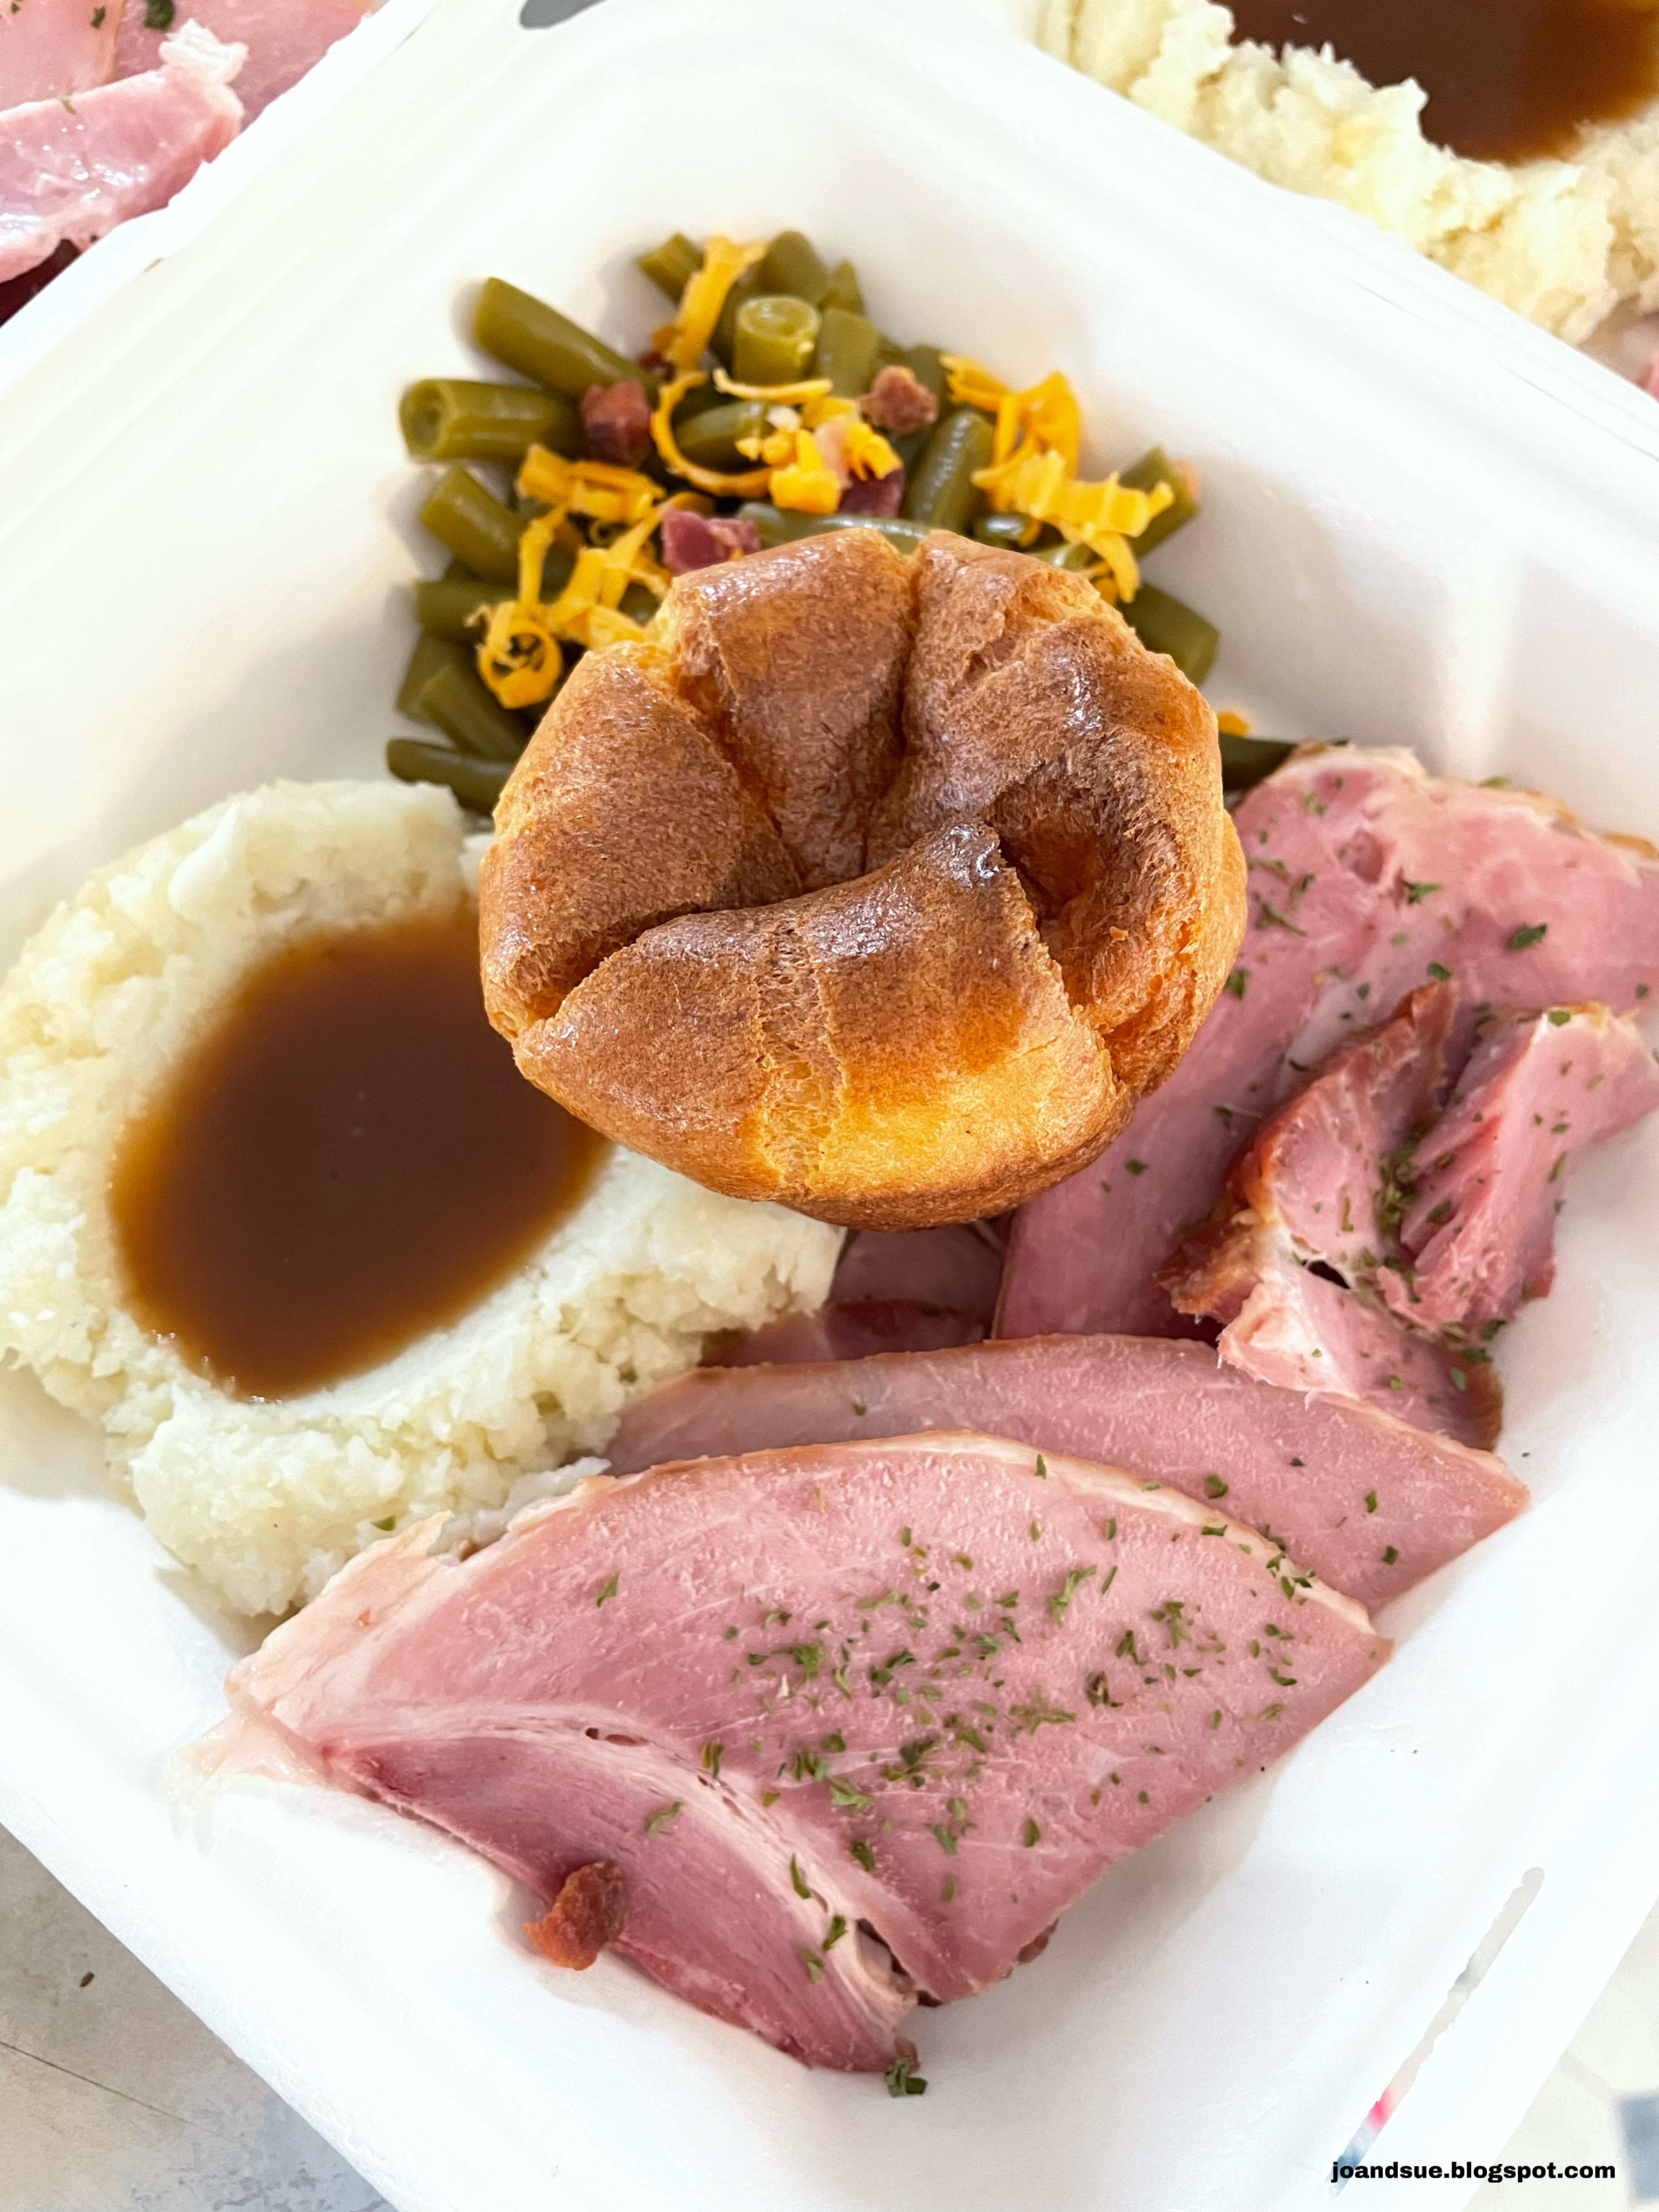
The above photo is when I took them out the first time. They were golden brown and appeared done.


Technically they were done and they tasted great, if not a little “eggie”, BUT the next time I made them I left them in the oven until they looked like the photo below…


Notice they are very dark brown on top. This is how you should cook them! 


Remove from oven and let cool in pan for a few minutes. Serve immediately or let sit on wire rack to cool completely before freezing. 


To reheat from frozen simply place on a cookie sheet in the oven at 350 until they warm up. I usually take one out and pop it in the toaster oven. 
They are definitely better when they are just made but still taste delicious being preheated. They are more crispy when fresh, a little more chewy when reheated. 
Nutritional counts per serving (recipe makes 12 servings): 148 calories, 14 fat, 2.6 carbs, 0.7 fiber, 3.7 protein. That’s 2 net carbs per pudding! 


Wednesday, July 5, 2023

Coconut Banana Cream Pie For Two


I tell you, sometimes you just need some banana coconut cream pie. Like *NEED*. 
I came up with this recipe after a craving hit me one afternoon. I didn’t want to make a whole pie (because I would eat a whole pie). I just wanted enough for mom and I to share for dessert. You could probably get 3 or 4 smaller servings out of this but…. We did 2. #ILovePie 
I think it was about 15-20 minutes to whip this up….plus about 2 hours of cooling time. You probably have all the ingredients in your kitchen right now, nothing fancy schmancy required! 


Coconut Banana Cream Pie For Two 

Ingredients
Crust
2/3 cup graham cracker crumbs
2 Tbsp brown sugar
2 Tbsp butter, melted

Filling
3 Tbsp sugar
1  1/2 Tbsp  cornstarch
Pinch salt
1 cup heavy cream (or half and half will work)
1 egg yolk
1 tsp vanilla
1/2 tsp coconut extract
1/2 Tbsp butter
1/2 cup toasted coconut
1/2 banana, sliced

Topping
1/2 cup whipping cream
1/2 tsp vanilla
1-2 Tbsp sugar

Directions
Preheat oven (or toaster oven) to 350. 
Prepare crust - mix graham crumbs, brown sugar, and butter. Press into bottom and up the sides of 2 - 5 inch containers. Bake at 350 for about 8-10 minutes, until lightly browned. Remove from oven and set on counter while you prepare filling.
Prepare filling - Stir together sugar, cornstarch, and salt in a small pan. Slowly whisk in heavy cream until we’ll mixed. Set over medium heat and cook, stirring constantly, until steaming. 
In a small bowl, whisk egg yolk. Slowly, about 1 Tbsp at a time, whisk in the steaming cream mixture to temper the eggs. Don’t mix it in too quickly or you will scramble the egg!
When all mixed, place back in pan, over medium heat and cook, stirring constantly, about 1-2 minutes, until thickened. Remove from heat and stir in vanilla, coconut extract, and butter. Stir until combined. Stir in the toasted coconut. 
Place sliced banana pieces into the two graham cracker crusts. Pour the cream filling evenly into the two pans. Set in fridge and cool completely. 


Prepare topping - whip cream with vanilla and sugar to stiff peaks. Spread half of cream on each cooled pie. 


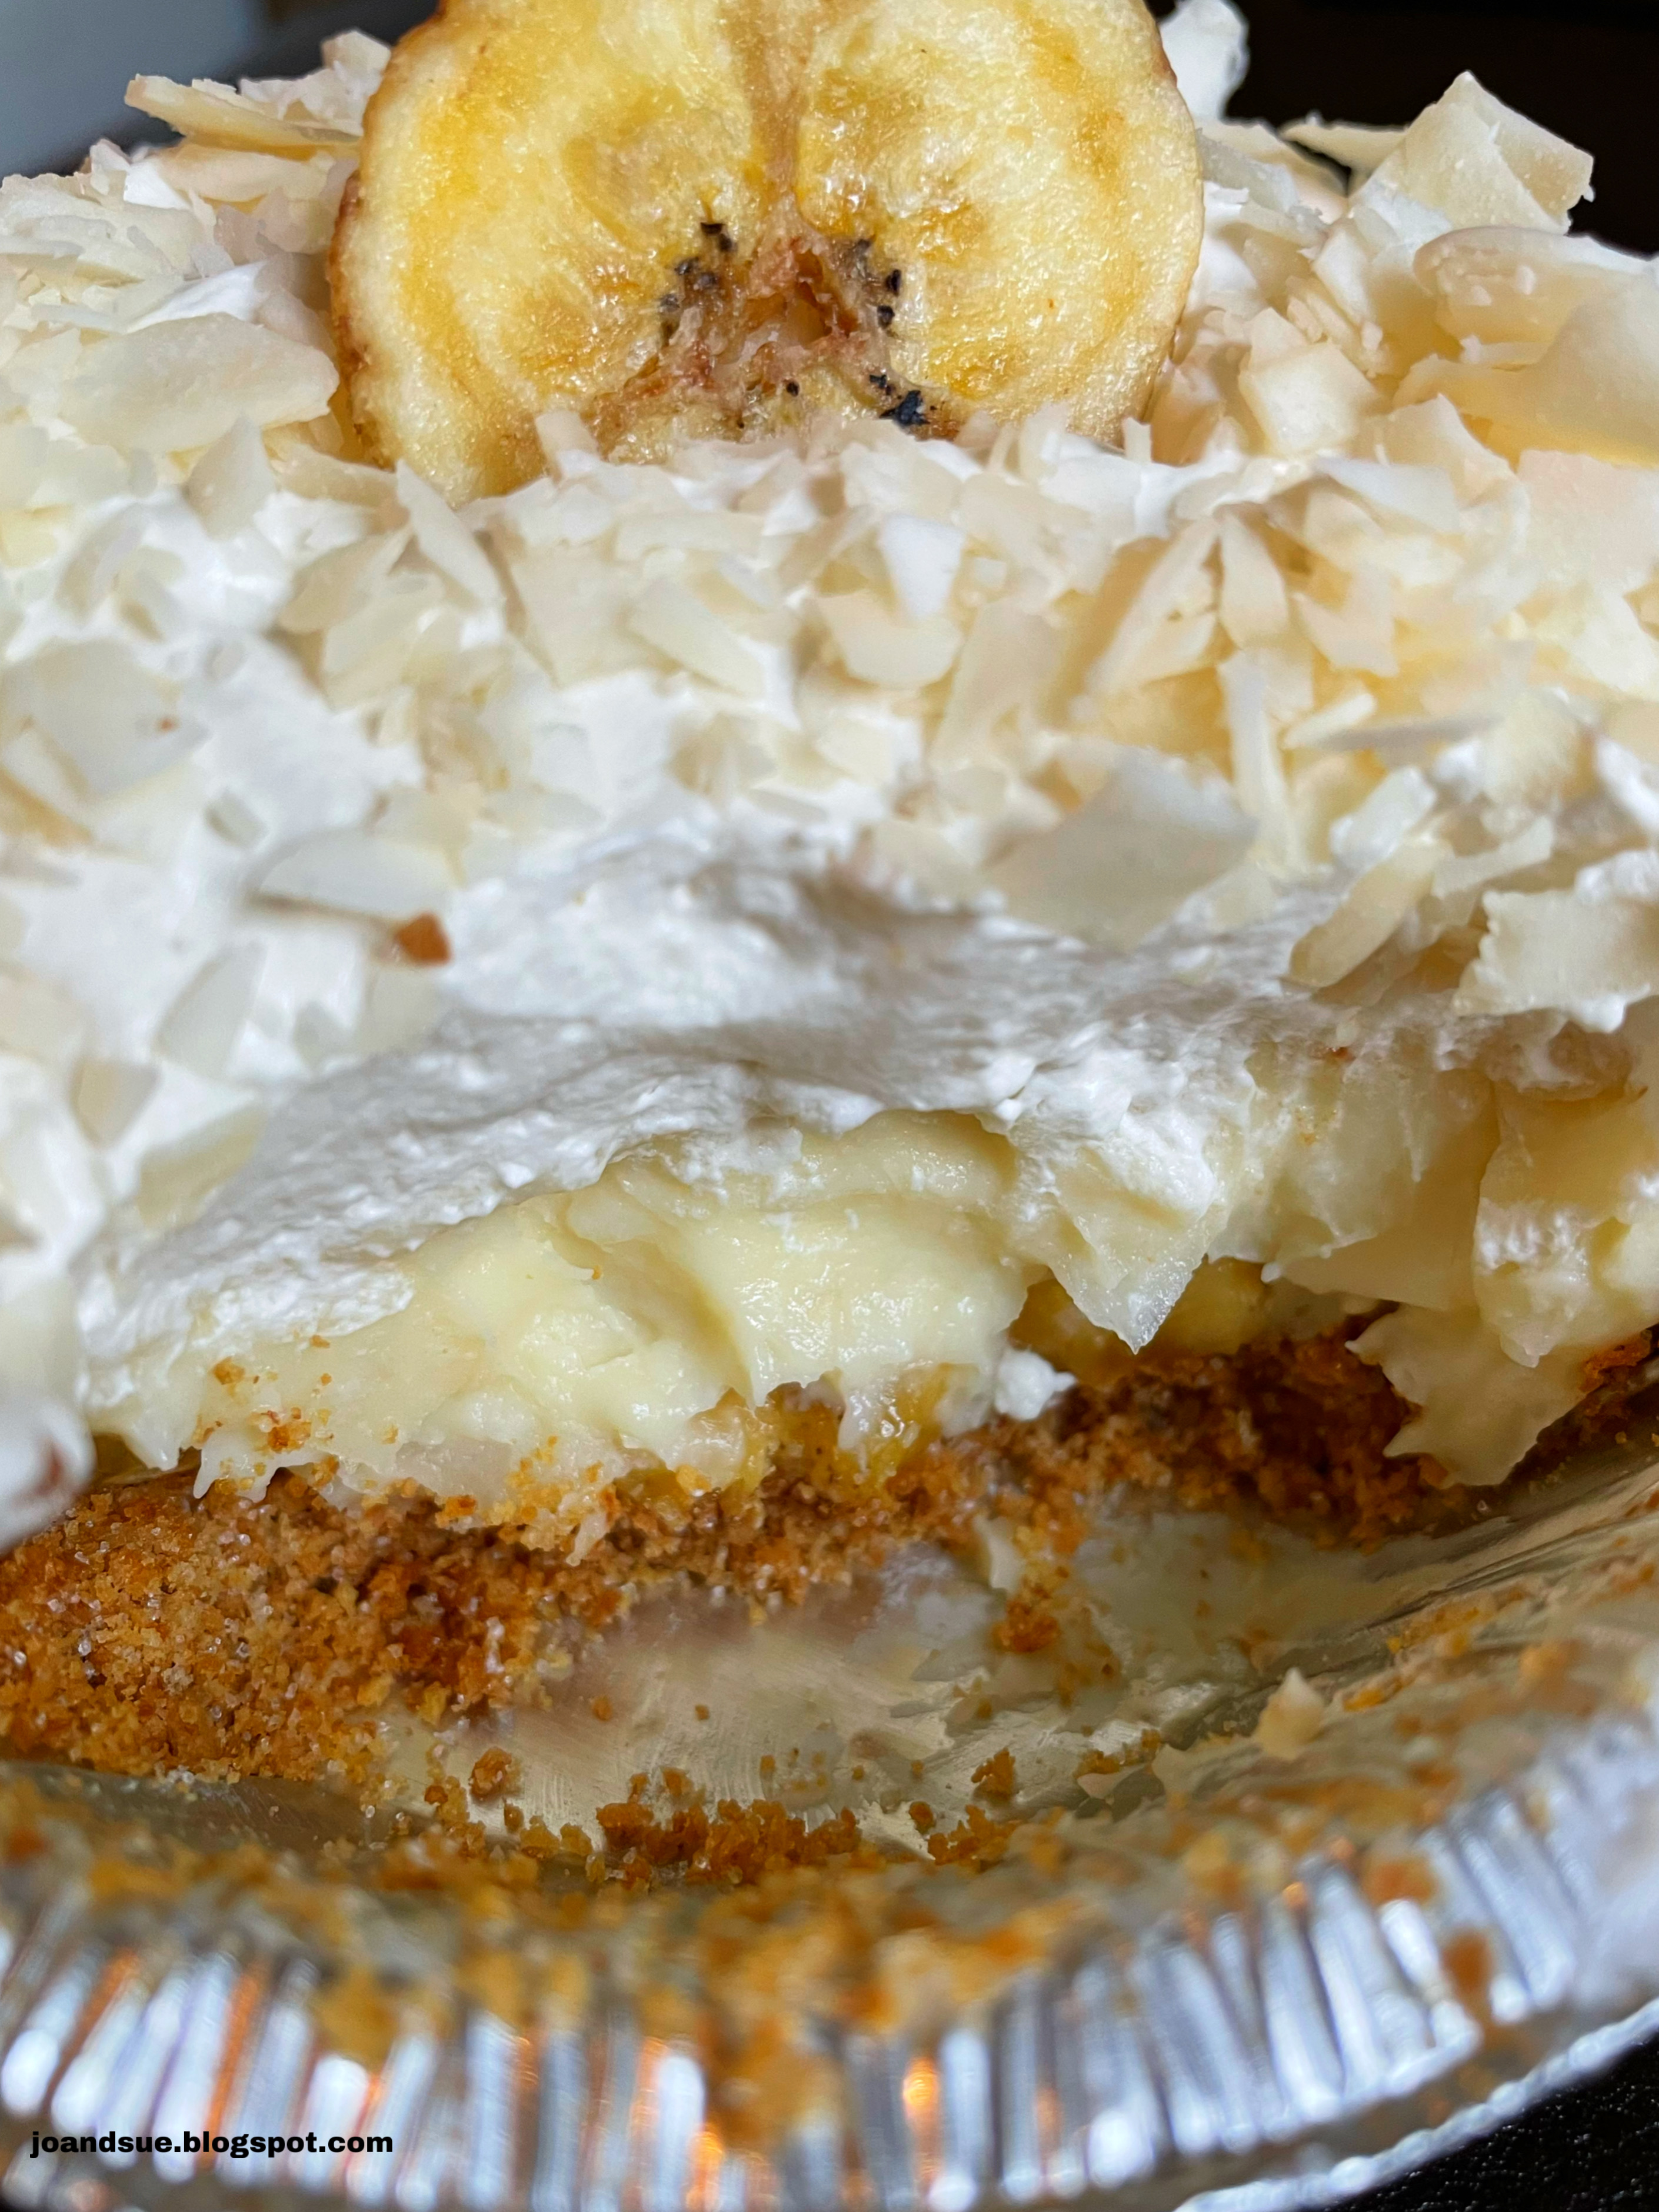
Chill until ready to eat. Optional but you can sprinkle with a little more coconut and a slice of banana to fancy it up a bit. 


When I say that this hit the spot…. I mean…*jazz hands*…it hit the spot! 


Leave out the banana if you want a classic coconut cream pie. Add more bananas and leave the coconut out if you want a banana cream pie. Personally I like both in there. 
I count this as “for two” but the servings are very generous. You could make it in mini cupcake tins and probably get around 6? maybe… let us know if you give it a try. 
I’m cool with eating a big ol’ piece of pie so I’m still counting it as 2. 


Monday, July 3, 2023

Keto Thai Meatballs with Cauliflower Rice


A lot of the meals I have been posting lately have the word “keto” in them. You don’t have to be following a low carb or keto eating plan to make them. They are delicious, healthy, hearty, beautiful, and also happen to be keto friendly. You can substitute cauliflower rice with regular rice or even something like quinoa if you prefer. 
The nutritional counts per serving (recipe makes 8) are: 247 calories, 14 fat, 7.5 carbs, 3 fiber, 26 protein. That’s 4.5 net carbs per serving. Counts would obviously change if you use white rice or quinoa. 
Recipe is easy to halve if you have a smaller crowd to feed or aren’t meal prepping. 


Keto Thai Meatballs with Cauliflower Rice

Ingredients 
Meatballs
2 lb ground beef
4 cloves garlic, minced
1 tsp red curry paste
1/4 cup green onions, diced
1/4 cup fresh basil, chopped
1 Tbsp Swerve sugar substitute 
1 Tbsp olive oil

Sauce
1 Tbsp butter
1/2 medium onion, sliced 
1 large red pepper, slivered
1 can coconut milk (~2 cups)
1 Tbsp red curry paste
1 Tbsp lime juice 
1 tsp fish sauce
1/4 fresh basil, chopped 

4 cups cauliflower rice

Directions
Combine meatball ingredients (ground beef through olive oil) and form into meatballs. I do 4 per serving, so 32 meatballs about 2 Tbsp in size. 


Cook using your favorite method - either in the oven or in a frying pan. I usually do 375 for about 15-20 minutes. Set aside when done.
Prepare sauce - sauté onion in butter until softened. Add in pepper and cook 2 more minutes. Add in coconut milk, curry paste, lime juice, fish sauce, and basil. Simmer to thicken, about 5-10 minutes.  
Add in meatballs and cook another 5 minutes. 
Heat up the cauliflower rice and put 1/2 cup serving on each plate or bowl. 


FYI - If you are not trying to make it look pretty, you can also just mix the cauliflower rice directly into the sauce. 


Top with 4 meatballs and 1/8 of the sauce and peppers. 


Serve immediately or let cool and place leftover in fridge. They will last several days, covered, in the fridge. 


For meal prepping I place them bowls with lids so they are stackable. 


My mom prefers quinoa for hers so I thought I would share a pic of that too. The meatballs and sauce are tasty on a variety of different things. Rice, zoodles, quinoa, couscous, etc. 
From start to finish in under an hour.
 If you don’t need 8 servings simply cut the recipe in half! 
If you aren’t counting carbs then throw in another pepper for more veggies. 


Monday, June 26, 2023

Lemon Donuts


I wasn’t sure if I was going to like these or not. Lemon can go either way for me. I love a good lemon pie but I’m not terribly fond of lemon cookies. 
Donuts are a favorite treat of mine and I absolutely will eat them in any way shape or form. Dipped in chocolate? Yes. Stuffed with jam? Of course. Rolled in cinnamon sugar? 100% 
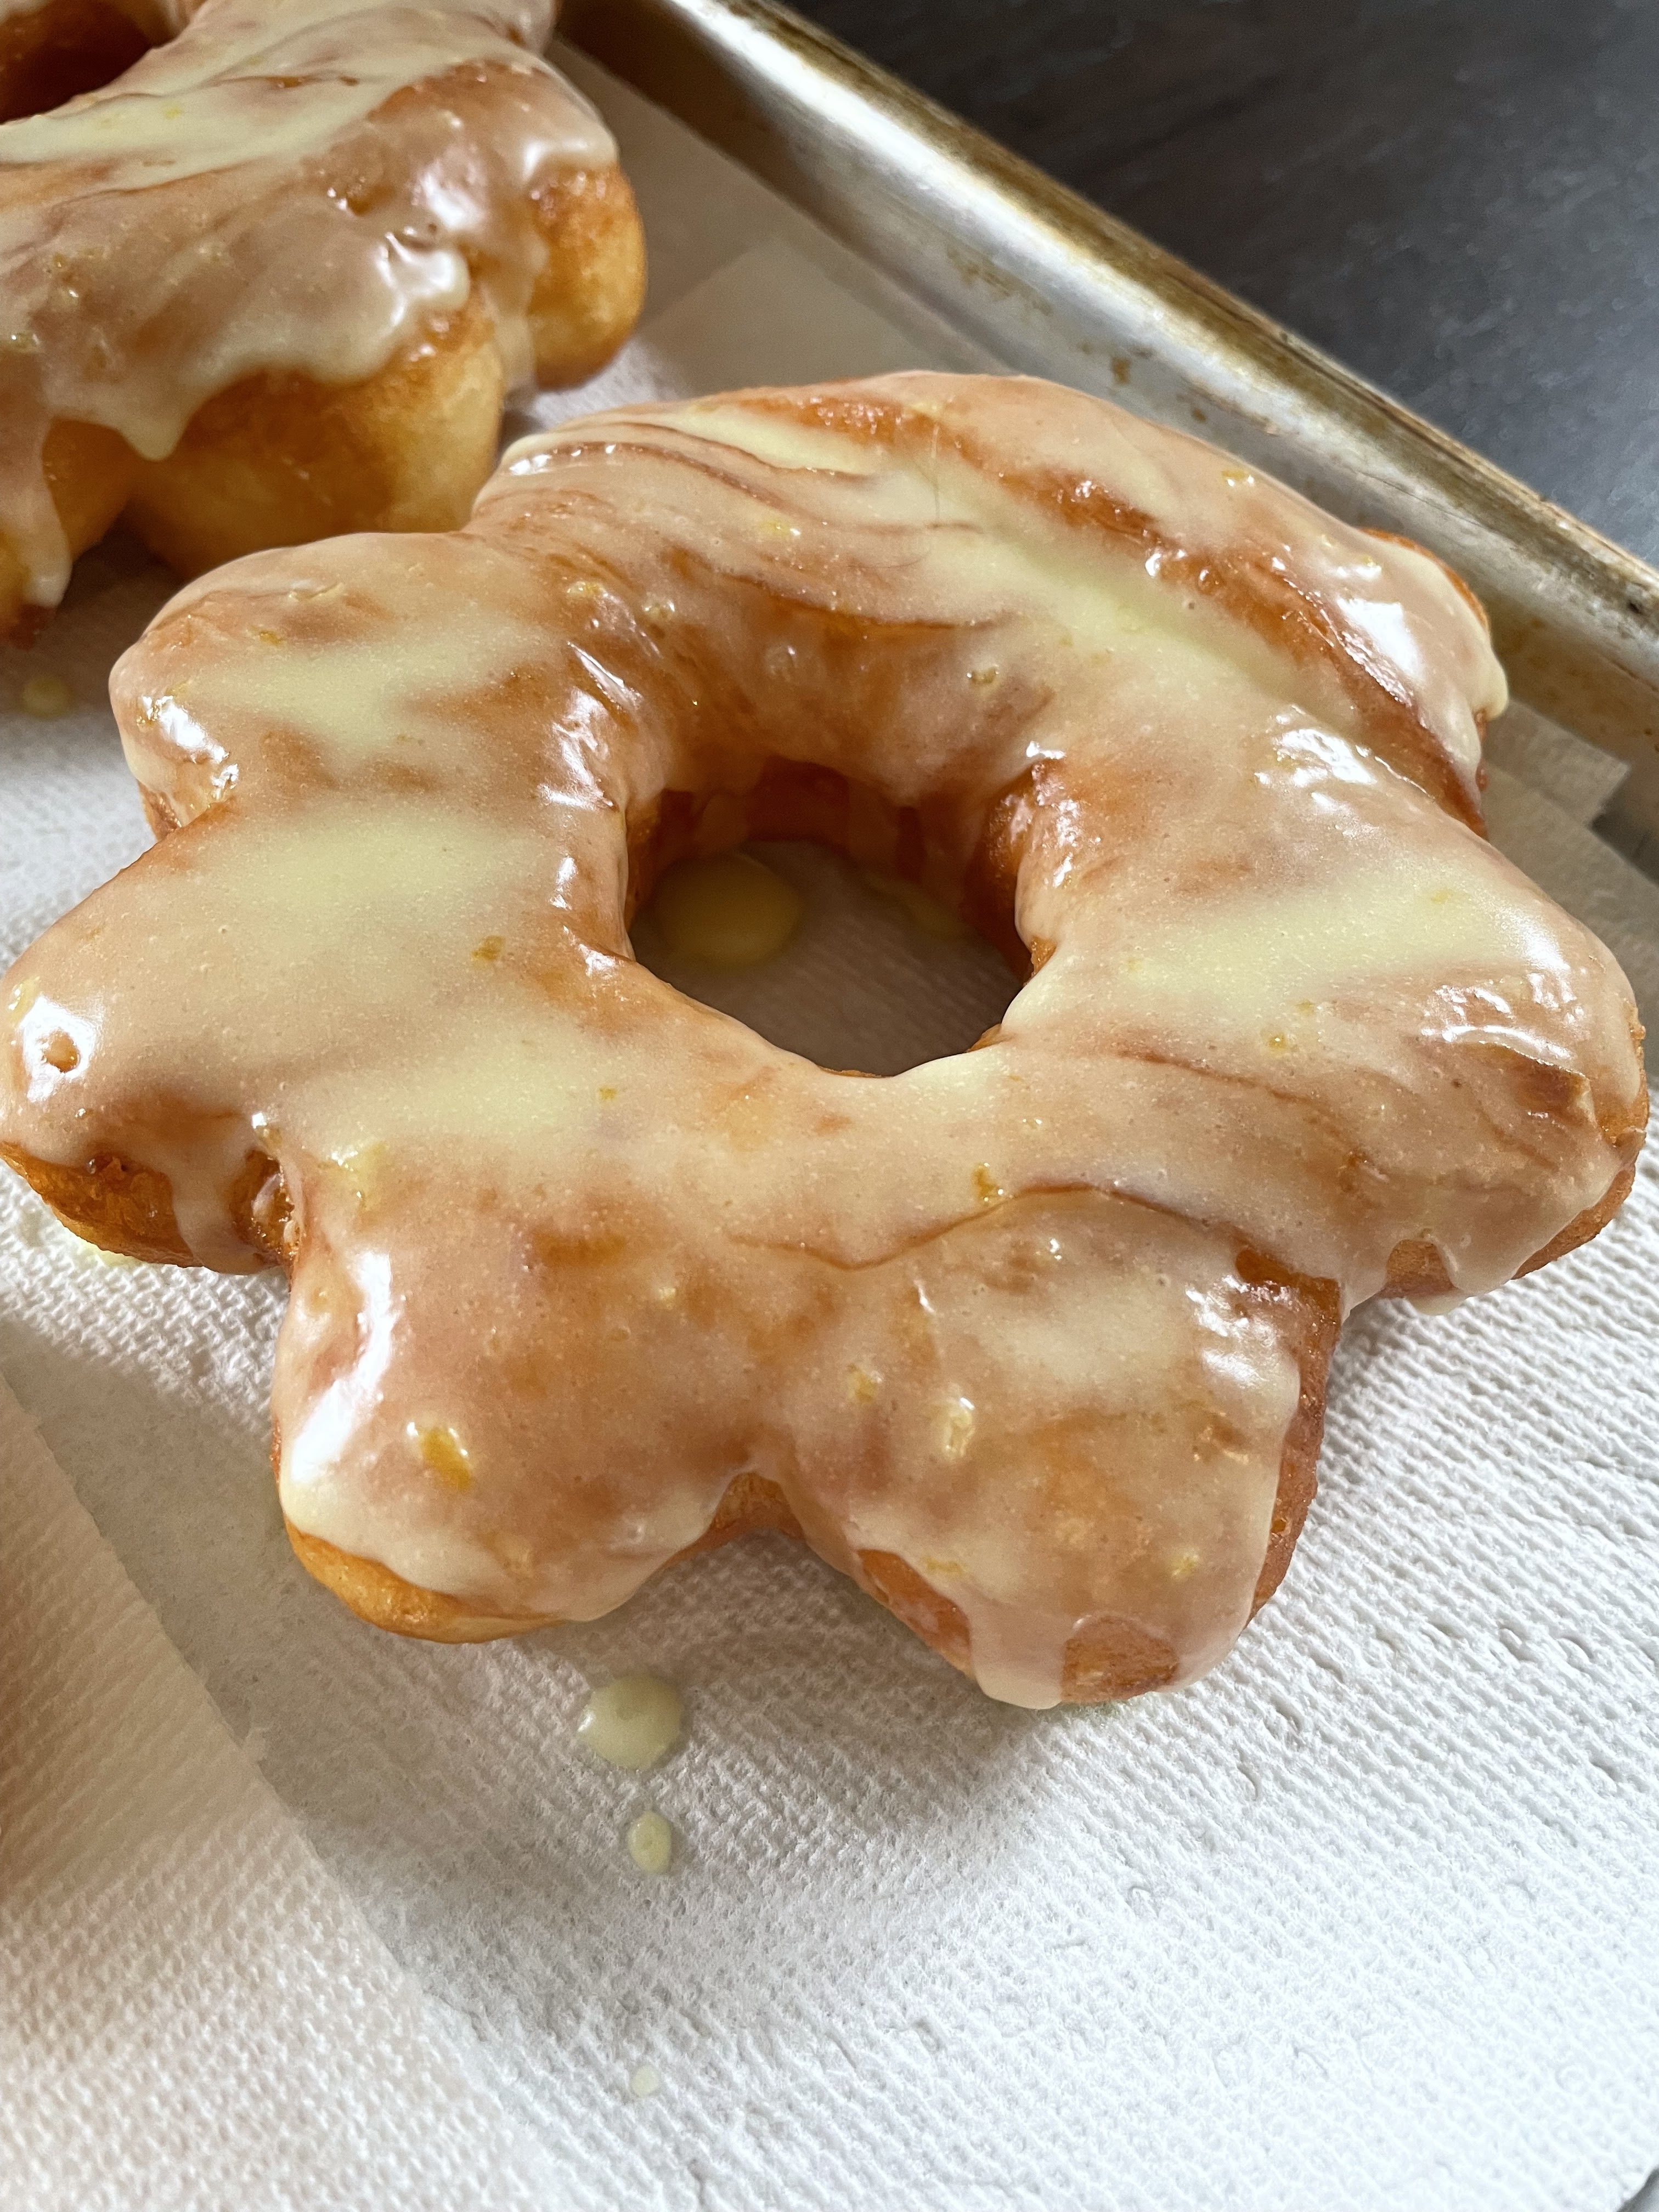
So lemon with a lemon glaze? Also yes. Not my top flavor choice for a donut but I’ll put it in the top 10. It is bright and cheery and unique. If you are a lemon lover then I recommend giving these a try. I used a flower cookie cutter to make them even more cheerful but, of course, you can use a regular round one… or any shape for that matter! I used our Old Fashioned Jelly Donuts - Here as the base recipe but feel free to use your favorite plain donut recipe as a starting point. 


Lemon Donuts with Lemon Glaze 
Ingredients
Donuts
Zest and juice of 1 large lemon
1 tsp lemon extract

Glaze
2 cups icing sugar
Zest and juice of 1 lemon 

Directions
Prepare dough as per instructions (click link above if using ours). The only thing you will do differently is add in the zest and juice of a lemon, plus the lemon extract into the dough before the first rise. 
After first rise, roll out dough, cut out and place on parchment paper lined cookie sheet. (I cut the parchment paper into individual pieces to make lifting them into the fryer even easier! 
Let rise in warm place for another hour, until doubled in size. 


Heat oil in large pot (or deep fryer) to 350 degrees. 
Fry donuts 2 or 3 at a time - don’t overcrowd the pot as the oil temperature will drop lower.


Approximately one minute on each side, until a golden brown color. 


Carefully remove from oil and place on wire rack or directly on paper towel, to drain excess oil. 


Let cool completely on paper towel. 


Prepare glaze by whisking together icing sugar, lemon zest, and lemon juice. It should be the consistency of glue. If it is too thin, add more icing sugar; if it is too thin add more lemon juice or a spoonful or two of milk. 


Dip the tops of each donut into the glaze then place back on paper towel so excess can drip off. 


Repeat until all donuts are dipped. 


These are best eaten the day they are made but are okay the next day. If you want to make them ahead of time you can freeze them before applying the glaze. When you want to use them: let them thaw and then glaze them. They won’t be as quite as good as freshly made, but they will be tasty still. 


One batch will yield 1 1/2 to 2 dozen donuts. You can easily half or double the recipe without affecting the results. The glaze is the star of the show with a strong lemon flavor. The donuts themselves are quite mild. If you want a stronger lemon flavor in the dough add the zest of another lemon. 
Let us know if you give this recipe a try! 


Monday, May 15, 2023

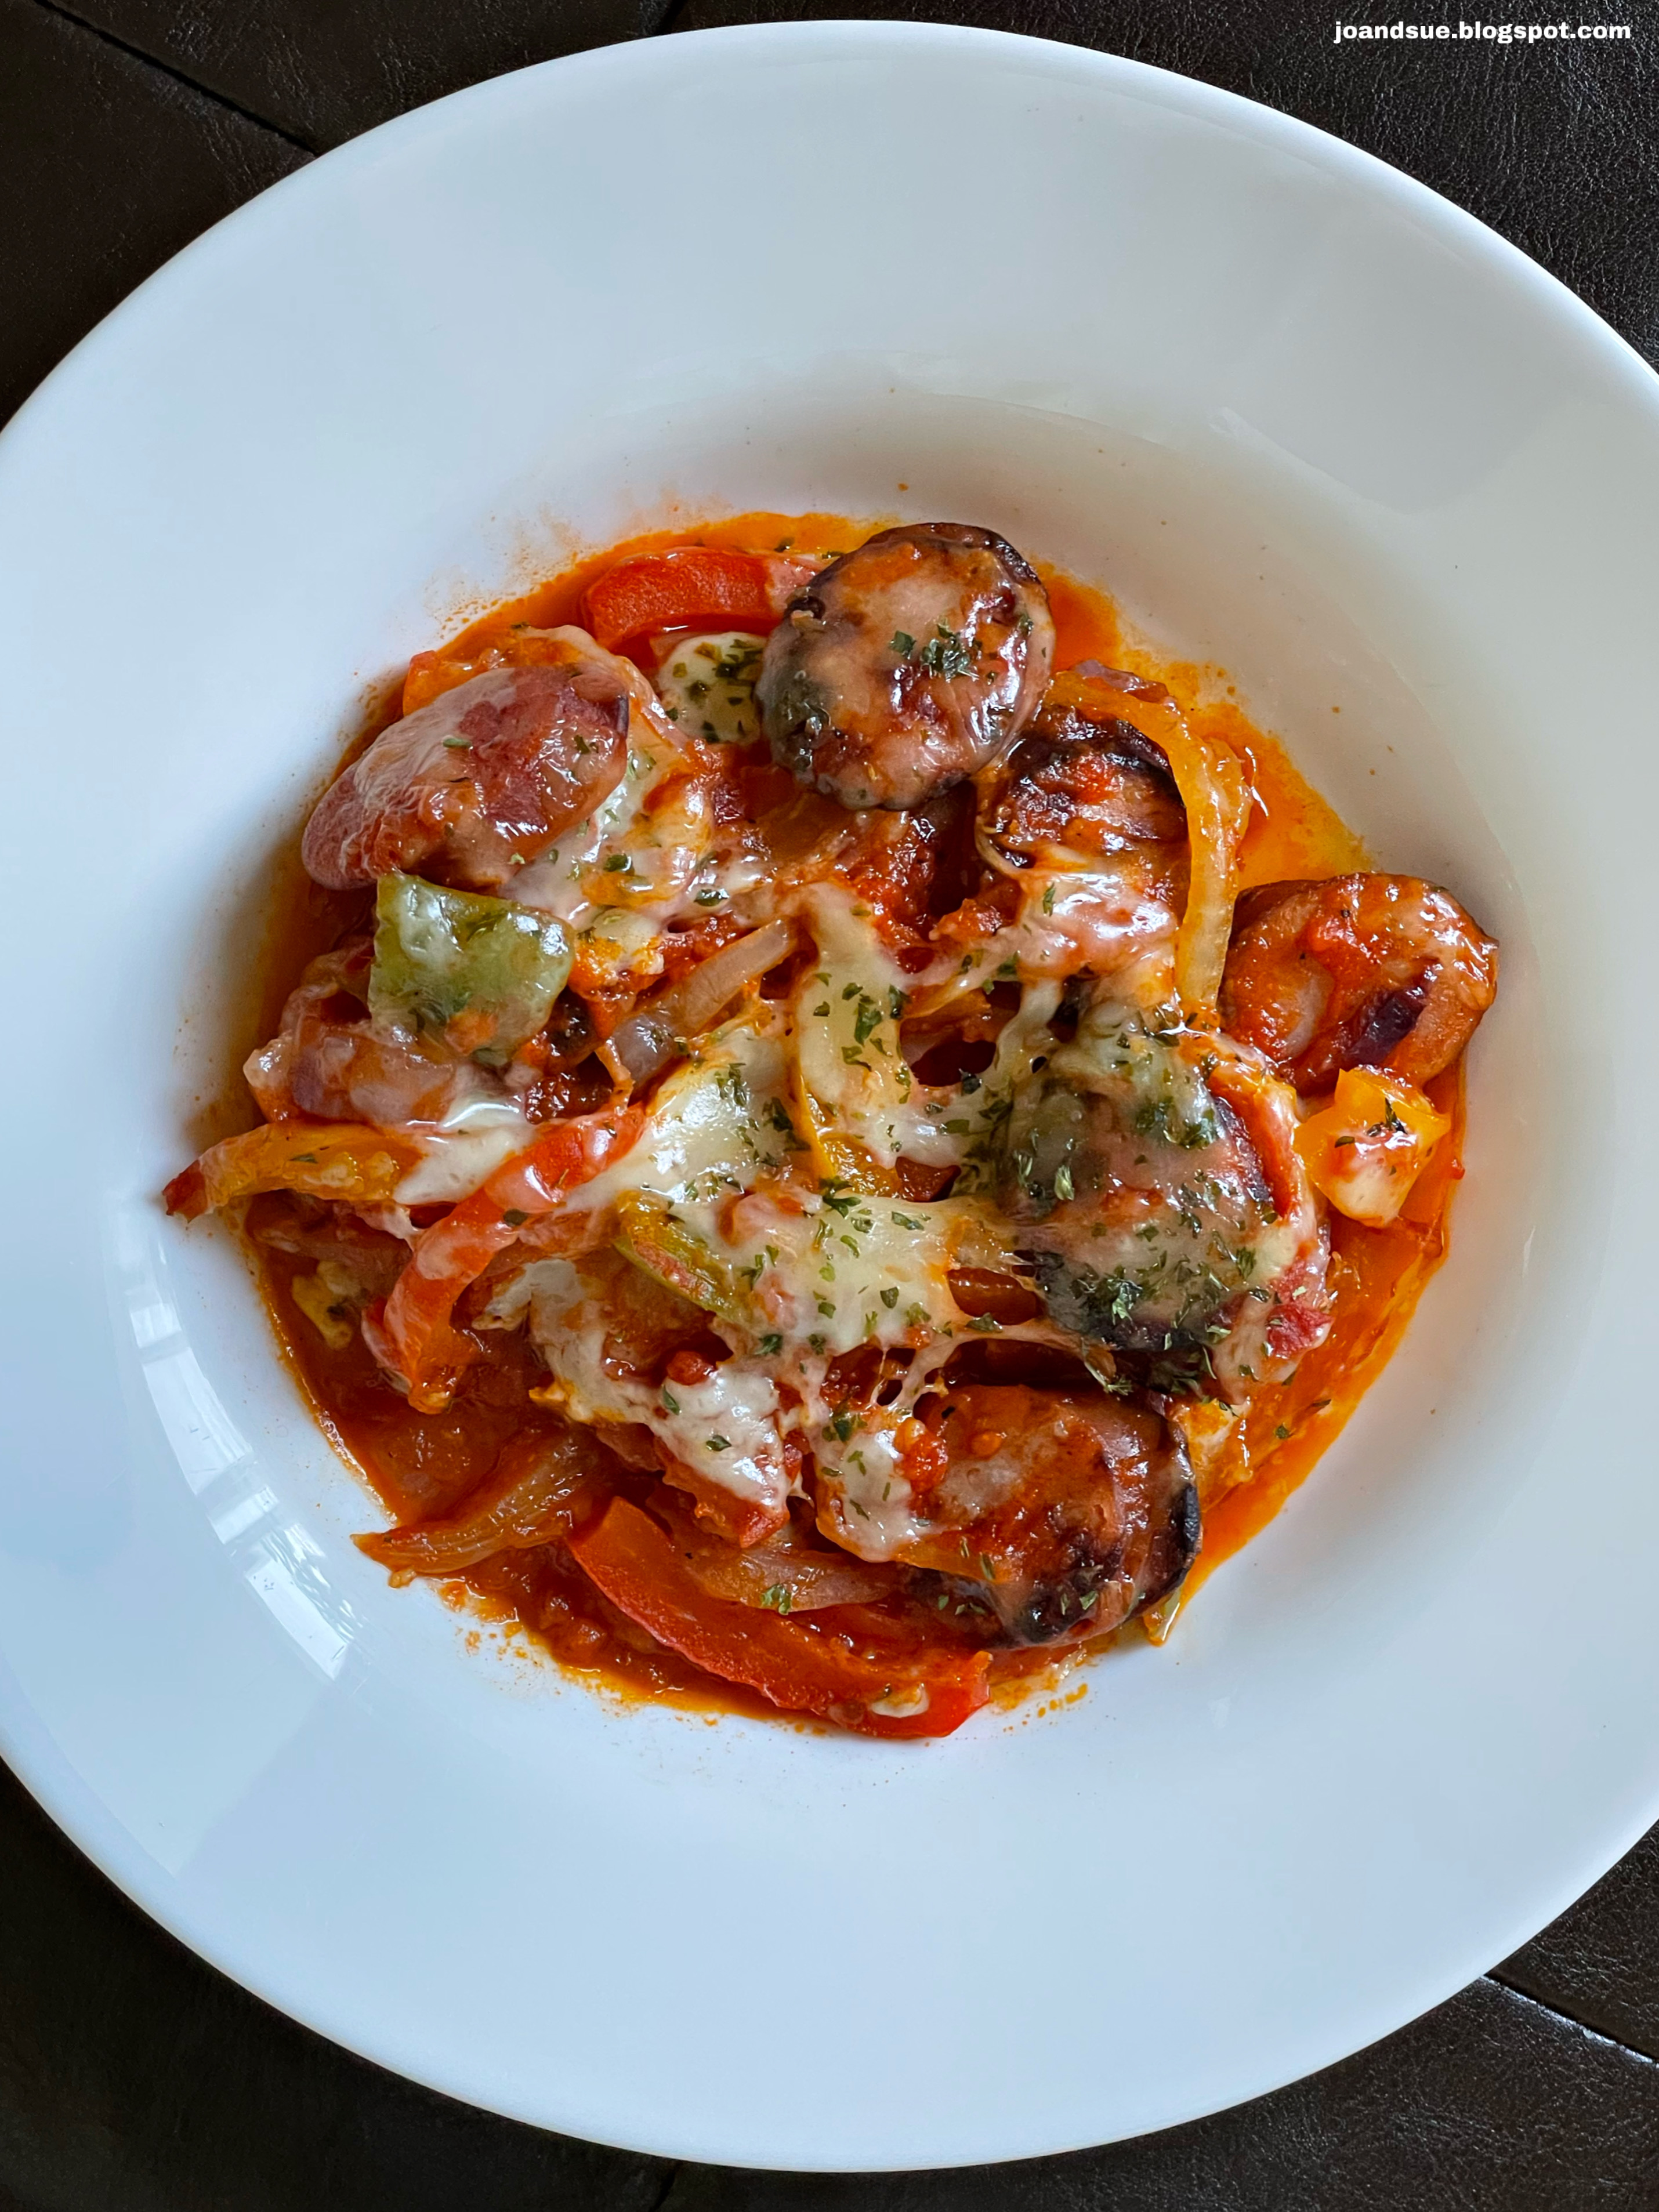
Keto Kielbasa Sausage Bake


I fell in love with this meal after I had it at a friend’s house. They were kind enough to share the recipe with me and give me permission to share on the blog as well. 
It is chock full of flavor and can easily be doubled for meal prepping. 
According to MyFitnessPal it is: 480 calories, 34 fat, 11 carbs, 3 fiber, 25 protein, and 8 net carbs per serving. (Recipe makes 5 servings) 
The counts are going to vary a bit depending on what sausage or brands you use so, as always, I recommend entering ingredients into your own nutritional calculator for more accurate tracking, 


Keto Kielbasa Sausage Bake 

Ingredients
5 kielbasa sausages, sliced
2 bell peppers, sliced
1 medium onion, sliced
1/2 tsp garlic salt
1/2 tsp pepper
2 cups Raos marinara sauce
1 cup mozzarella, shredded 

Directions
Turn on broiler. Place sliced kielbasa in a single layer on parchment paper lined cookie sheet. Broil until browned, flip over, and broil until other side is also browned. (You can also do this on a barbecue) Remove from oven and set aside. 


Preheat oven to 375. 
In a frying pan over medium heat, cook pepper, onions, and seasonings until softened - about 5 minutes. 


Stir in the cooked kielbasa. 


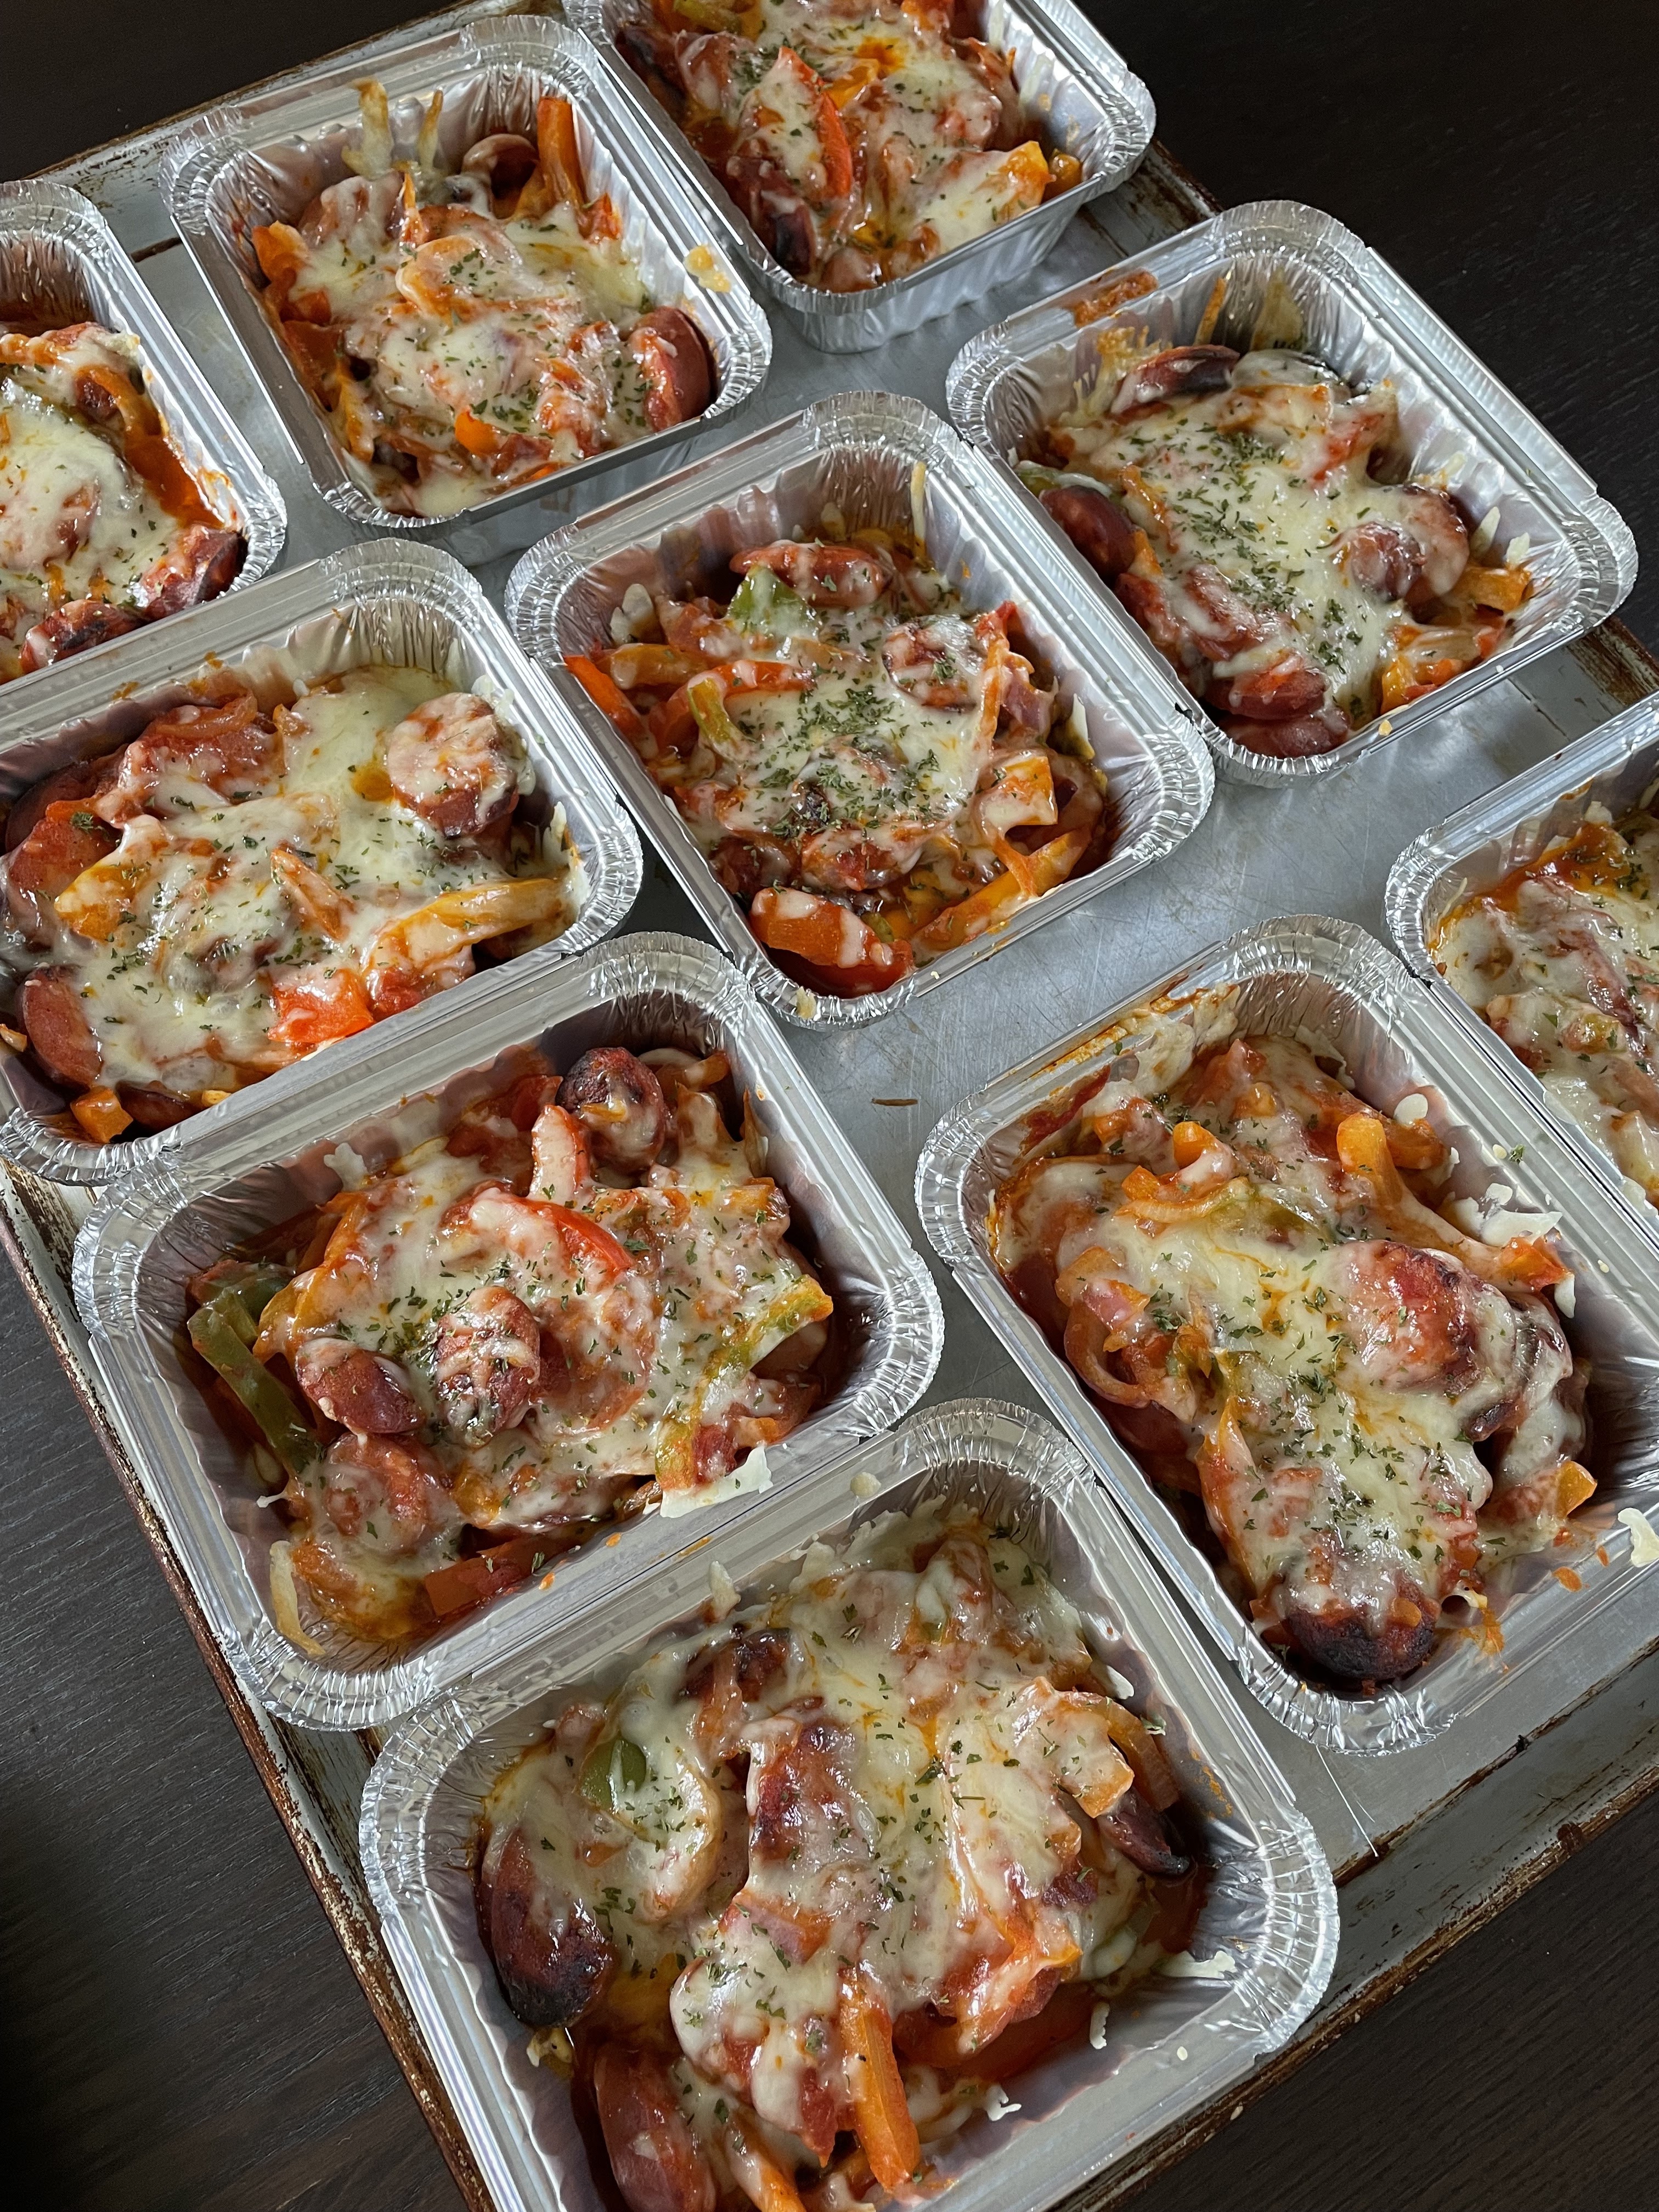
Stir in the marinara sauce and then spoon into a 9 x 13 pan, or 5 individual serving pans if meal prepping. 


Top with the mozzarella cheese. 


Bake at 375 until bubbly and cheese is melted, about 15 minutes. 


Serve hot. If freezing for later, let cool completely before covering and freezing. It will also last for a couple of days, covered, in the fridge. To reheat from freezing: place in preheated 350 oven until heated through. Can also be placed in microwave safe dish and microwaved. 


I double it quite often as my keto clients love it. It’s a great freezer meal for when you are short on time. 
I realize I didn’t put how big the kielbasa sausages were - I don’t actually know the size. I use the ones that are about 6 inches long and, when sliced, are about 1 (heaping) cup of slices…. Hopefully that helps. I’ve also used the large rings of kielbasa and measure a serving as about 1 cup of slices. 
Let us know if you give this a try! I absolutely love the flavors and textures of this dish 😊