Thursday, May 23, 2013

Trifle Cupcakes

 
I have been seeing these trifle cupcakes everywhere the last few weeks.
They have been taunting me with all of their fruit and custard and whipping cream tastiness.
I decided to give them a try.
Want to know something?
Trifle. Is. Awesome.
I forgot just how awesome.
I haven't had trifle forever. I can remember my mom making a trifle waaaaay waaaay back when for a dessert after a family dinner. I wasn't impressed. After all, I was a teenager and a layered fancy schmancy dessert like trifle just wasn't going to do it. I mean - fruit - I don't think so.
(I was all about chocolate, ice cream, and more chocolate.)
Now that I am *ahem* more mature....trifle may just be my new best friend.
This is a little more time consuming than your average cupcake because of the many different layers BUT the end result is amazing.
Totally worth it.
Don't take my word for it...go, quick, hurry, and give it a try yourself!
 
 
Trifle Cupcakes
 
Ingredients
White Cake
5 egg whites
1 egg
1 cup milk (divided)
1 tsp vanilla
3 cups cake flour
2 cups sugar
1 Tbsp + 1 tsp baking powder
pinch salt
3/4 cup cold butter, cut into Tbsp size pieces
 
Fruit Layer
1 1/2 cup smashed fruit (I used strawberries and blueberries)
 
Vanilla Bean Custard
2 cups half & half
2 cups whipping cream
1 vanilla pod, split and scraped
5 egg yolks
1 cup sugar
2 Tbsp cornstarch
 
Jam Layer
1/4 cup strawberry jam
 
Whipping Cream
2 cups whipping cream
3 Tbsp sugar
1 tsp vanilla
 
Decoration
sprinkle of baking cocoa
 
Directions
White Cake: Preheat oven to 350. Line 24 muffin tins with paper cupcake liners. Set aside.
In a medium bowl, beat together egg whites, egg, 1/4 cup of the milk, and vanilla until combined - about 1 minute. Set aside.
In the bowl of a stand mixer, add flour, sugar, baking powder, and salt. Stir to combine. While mixer is on low speed, add the cold butter 1 Tbsp at a time. Continue to mix until mixture resembles fine crumbs.
Add remaining 3/4 cup milk and mix on low until dough forms.
Add egg mixture, a little at a time, until mixture is well combined. Scrape sides/bottom of bowl as necessary.
Scoop batter into each of the 24 paper liners.
 
 
Bake at 350 until toothpick inserted in center comes out clean, about 20 - 30 minutes.
Remove from heat and let cool completely on wire racks.
 
 
Vanilla Bean Custard: Place half & half, whipping cream, and vanilla pod with scrapings into a medium sized saucepan. Bring to a boil over medium-high heat, stirring constantly.
In the bowl of a stand mixer, beat together egg yolks, sugar, and cornstarch until smooth and pale.
Pour the hot cream into the egg yolks VERY slowly, beating the whole time. (If you go to fast you will curdle your eggs!)
Once they are combined, return the mixture to the saucepan and cook over a medium-low heat to thicken. Stir constantly until the custard coats the back of a spoon. DO NOT bring to a boil! (If it looks like it is curdling, immediately remove it from the heat and whisk firmly)
Strain through a fine strainer into a medium bowl. Chill, stirring every once in a while, until completely cool.
 
 
Jam Layer: heat jam in a microwave safe bowl for about 20 - 30 seconds to thin out.
Whipping Cream: Beat together whipping cream, sugar, and vanilla until stiff peaks form. Chill until ready to use.
Assemble your cupcakes:Cut a cone shaped shape out of the center of each cupcake. Use a knife to widen the cone at the bottom. Keep the top of the cut-out cone to use as a lid.
 
 
Place a spoonful of smashed fruit into the bottom of the hole in the cupcake. Smash down a bit more with the back of a spoon.
Top the fruit with a Tbsp of the custard - enough so the custard fills the remaining space in the cupcake.
 
 
Replace the top of the cupcake on the custard. Using a basting or pastry brush, brush the warm, melted jam onto the top of the cupcakes.
 
 
Top with a generous spoonful of whipping cream.
 
 
Sprinkle with a little cocoa to decorate.
 
 
So...yeah...I now have a trifle addiction.
*sigh*
Anyway, I have a few notes on this --
1. If, for some reason, your custard did not thicken up you can save it by beating in a package of instant vanilla pudding powder. It won't affect the flavor that much and it will definitely thicken up a runny custard.
2. You can use whichever fruit you like. Just remember to smash it up really good and use the matching fruit flavored jam to brush on top.
3. Don't want to make a "from scratch" cake? Use a vanilla cake mix.
4. You can sprinkle these with some chocolate curls if you don't want to use cocoa, or leave it off entirely.
5. You are going to have some custard left over. You can either half the recipe OR use the leftovers in another recipe (like pie...mmmm...pie...). Or..you know...just eat it.
 
Be sure to visit Kitchen Fun With My 3 Sons and My Turn (for us) and Easy Life and Or So She Says for some fantastic links.

Wednesday, May 22, 2013

Marshmallow Cereal Treat For One

 
Yay! Another single serving treat.
This is perfect for those desperate moments when you just have to have a treat.
Don't pretend you don't have those moments. Those panicked, opening and closing the cupboards, shaking out the cookie crumbs from the bottom of the box, anything that isn't nailed down is fair game, moments.
Now, in less than 5 minutes, you can have a tasty cereal treat. If you are feeling generous you could even share. Or, the kidlets can make one for themselves for an after school snack.
 
 
Marshmallow Cereal Treat For One
 
Ingredients
2 jumbo (or 5 regular) marshmallows
1 tsp butter
drop of vanilla
1 cup cereal (Rice Krispies, Fruit Loops, Corn Pops, etc...)
 
Directions
Lightly spray a 1 cup capacity dish with cooking spray, set aside. (You could also spray a muffin tin and use that.)
In a small saucepan over medium-low heat, melt together marshmallows, butter, and vanilla. Stir until smooth.
Remove from heat and stir in cereal until well combined.
Press into prepared dish.
 
 
Above is the Fruit Loops.
Below is the Rice Krispies.
 
 
Let set for a minute or 2 and then remove from dish and enjoy.
In case you are wondering, I didn't have the usual white marshmallows so I had to use some jumbo colored ones. Blue for the Fruit Loops, pink for the Rice Krispies.
You can make this even quicker by microwaving the marshmallows, vanilla, and butter for a few seconds at a time, stirring in between, until smooth.
How easy is that?
If you don't want to buy a large box of cereal you can buy the single serving boxes. They are the perfect size to make one of these treats. Also, you can usually buy a combination of different cereals in the tiny boxes so you don't have to only eat one kind. Switch it up!
Oooh...you can also throw in a teaspoon of chocolate chips while you are stirring in the cereal for a chocolately treat.
 
Be sure to drop by The Mandatory Mooch and Kitchen Fun With My 3 Sons for some tasty links!

Tuesday, May 21, 2013

Not Your Ordinary French Dip Sandwich


Jo has been so busy preparing for the May Day parade (her and a friend are putting in a float) that I figured I had better do a blog post.
I came across this recipe for a fancy schmancy beef dip sandwich in the April 2011 edition of Food Network Magazine and thought I would give it a whirl.
I usually make my Slow Cooker Italian Beef Sandwiches as the family loves them but this one sounded a bit unusual and just as tasty. It was a bit more work than the slow cooker version I am used to but, I have to admit, may be even tastier. You do have to make this up in advance - I did it the day before and then it was super easy to assemble when it was time to eat.
My husband still prefers the slow cooker recipe but he agreed with me that this was pretty darned tasty.


Not Your Ordinary French Dip Sandwich
(Slightly adapted from April 2011, Food Network Magazine)

Ingredients
Onion Spread
 2 Tbsp oil
1 large onion, sliced
sea salt
6 medium shallots, sliced thinly
2 bunches green onion, chopped
1 1/2 cups sour cream
1 cup mayo
2 tsp vinegar
2 tsp Worcestershire sauce

Beef
7 cloves garlic, minced
salt & pepper
1 tsp olive oil
1/2 tsp celery salt
sprinkle cayenne pepper
1 3 - 4 lb beef eye round roast
1 cup beef broth
3/4 cup water
2 stalks celery, chopped
1 small onion, diced

Au Jus
2 Tbsp butter
2 Tbsp flour
3 cups beef broth
2 Tsp sherry

6 (6 inch) bread rolls, halved

Directions
Make the onion spread: Heat oil in a large skillet over medium heat. Add onion and a pinch of salt. Cover and cook, stirring, until golden brown - about 35 minutes. Add the shallots and green onion. Cover and cook, stirring, for another 25 minutes.
Remove from the heat and let cool.
Chop the onion mixture and transfer to a bowl. Add the sour cream, mayo, vinegar, and Worcestershire sauce.
Cover and refrigerate at least 2 hours, up to 1 day.
Make the beef: Take minced garlic and sprinkle with sale and pepper. Mash into a paste with the flat side of a large knife. Transfer to a bowl,  add the olive oil, celery salt, and cayenne.
Cut small slits all over the beef with a knife. Use your fingers to push the garlic paste into the slits. Cover and refrigerate for at least an hour, up to overnight.
When ready to cook: Preheat oven to 425. Bring the beef to room temp. Sprinkle with salt and pepper. Place on a rack in a roasting pan. Add 1 cup broth, 3/4 cup water, celery, and onion to the pan.
Roast 15 minutes then reduce the oven temperature to 350. Roast until a thermometer inserted in the roast reaches 150 to 160 degrees (medium), about an hour or so (will depend on size of roast and oven temp)
Remove from heat and let rest for 20 minutes.
Strain the pan juices and reserve.
To Make the Au Jus: Melt the butter in a saucepan. Add the flour and cook and stir for about 1 minute. Whisk in the reserved pan juices and 3 cups of beef broth. Bring to a boil, whisking continuously. Remove from the pan and whisk in the sherry.
Assemble sandwiches: Generously spread one side of a roll with onion spread. Thinly slice the beef against the grain, dunk in the au jus, and layer on other side of roll.


Squish sides together and serve with more au jus in small bowls for dipping.


You can cook the beef to whichever degree of doneness you prefer but you definitely do not want to overcook it for this sandwich. You want it nice and tender.
If you want it for dinner tonight you have to prep it at least 2 - 3 hours ahead of time as things need to sit. I found it easier to prep everything for dinner the next day. This would be great if you were expecting company - you could have it all ready to go the day before and just pop it in the oven the day of.
The onion spread is delicious... I think I might even make it up for use on hamburgers and such.
Do give it a try!

Thursday, May 16, 2013

Cheesy Hashbrown Casserole For Two

 
One of my favorite dishes of all times is hashbrown casserole. The one with cream of cheddar cheese soup (or cream of mushroom, etc..), sour cream, onions, and lots of cheese. The only problem is I can't stop eating it.
Seriously.
Once I start....there is no turning back.
I decided to see if I could downsize the recipe to make just enough for one or two servings. (I was originally only going to make it one serving but, let's face it, leftover for breakfast the next day are why we all make this casserole!)
I left out the cream soup because I didn't want to have to open a can for only a few tablespoons and went with some other options instead.
Myfitnesspal tells me that one serving of this (half the recipe) is:
300 calories, 37 carbs, 11 fat, and 13 protein.
Not too bad at all for how decadent this is. Perfect for dinner one night and breakfast the next day.
 
 
Cheesy Hashbrown Casserole For Two
 
Ingredients
1 large potato, diced into small cubes
1 green onion, diced
1 clove garlic, minced
1 Tbsp light cream cheese
1 Tbsp light sour cream
1/2 cup aged cheddar, shredded (divided)
1/4 cup milk (1%)
1 slice bacon, cooked and crumbled
2 tsp Panko bread crumbs
 
Directions
Preheat oven to 350. (Can also be made in toaster oven) Spray 2 single serving, oven safe dishes with cooking spray, set aside.
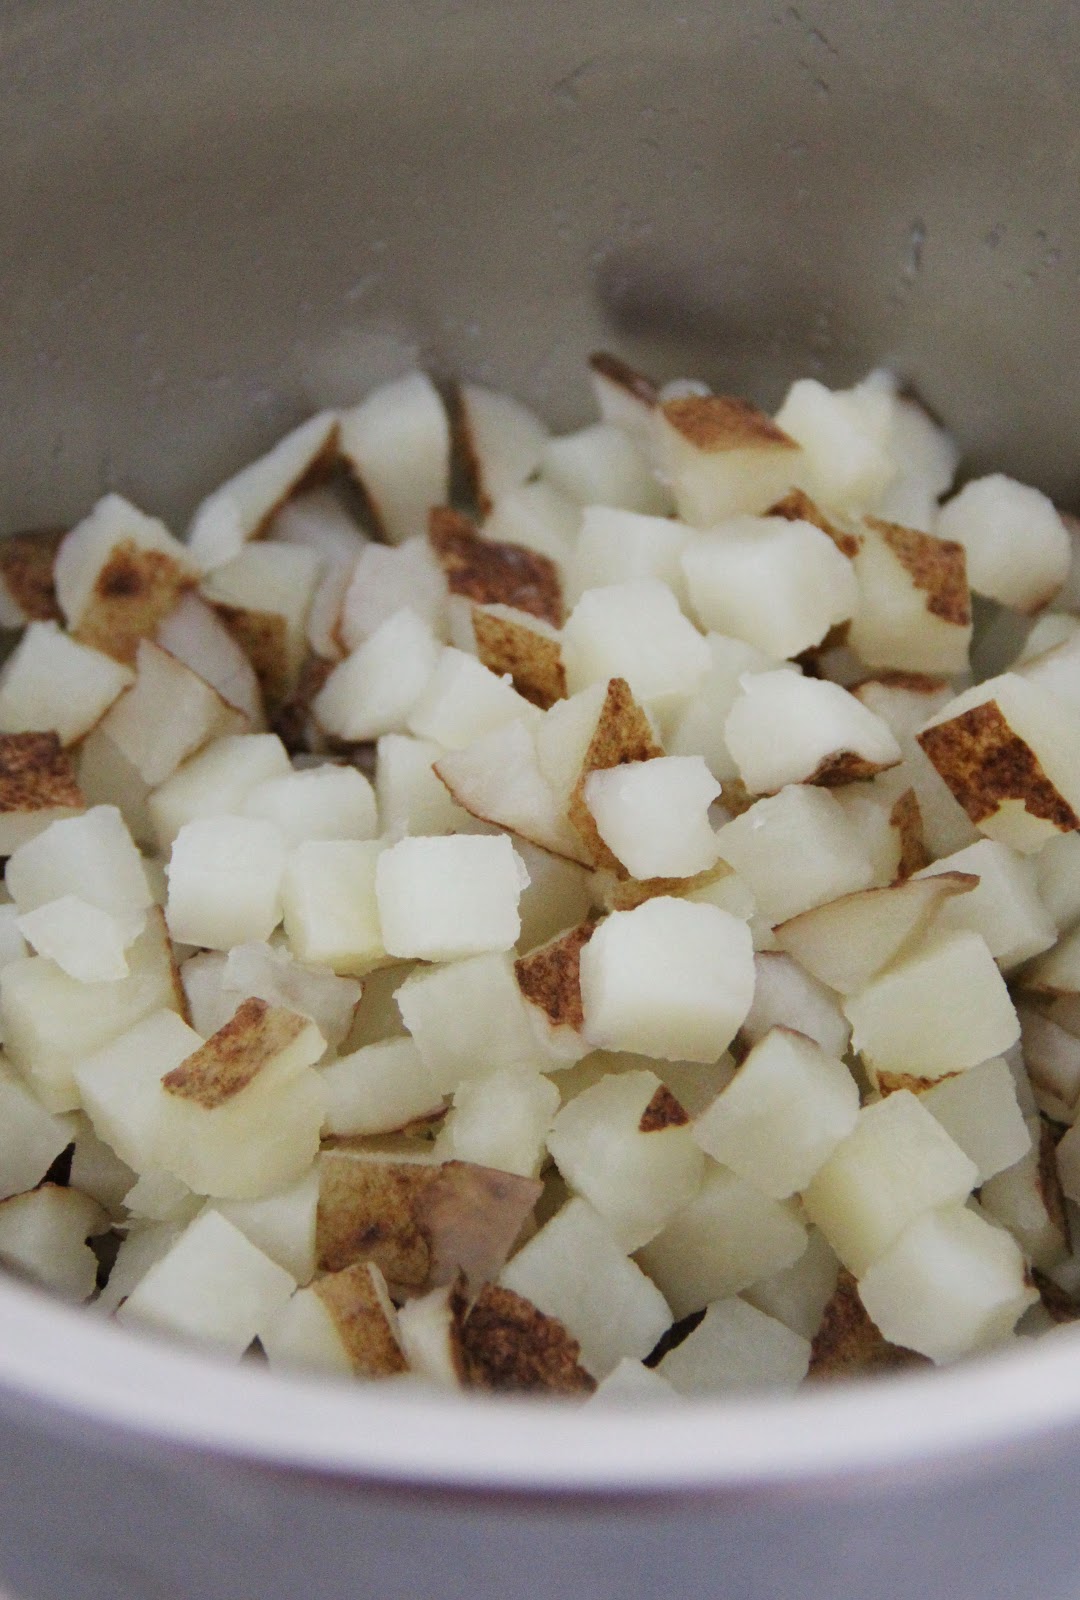
Parboil your diced potato for 5 minutes, until partially cooked but not quite done. Drain potatoes and place in a medium sized bowl.
 
 
Add in onion, garlic, cream cheese, sour cream, aged cheddar (all except for 2 Tbsps), milk, and bacon.
 
 
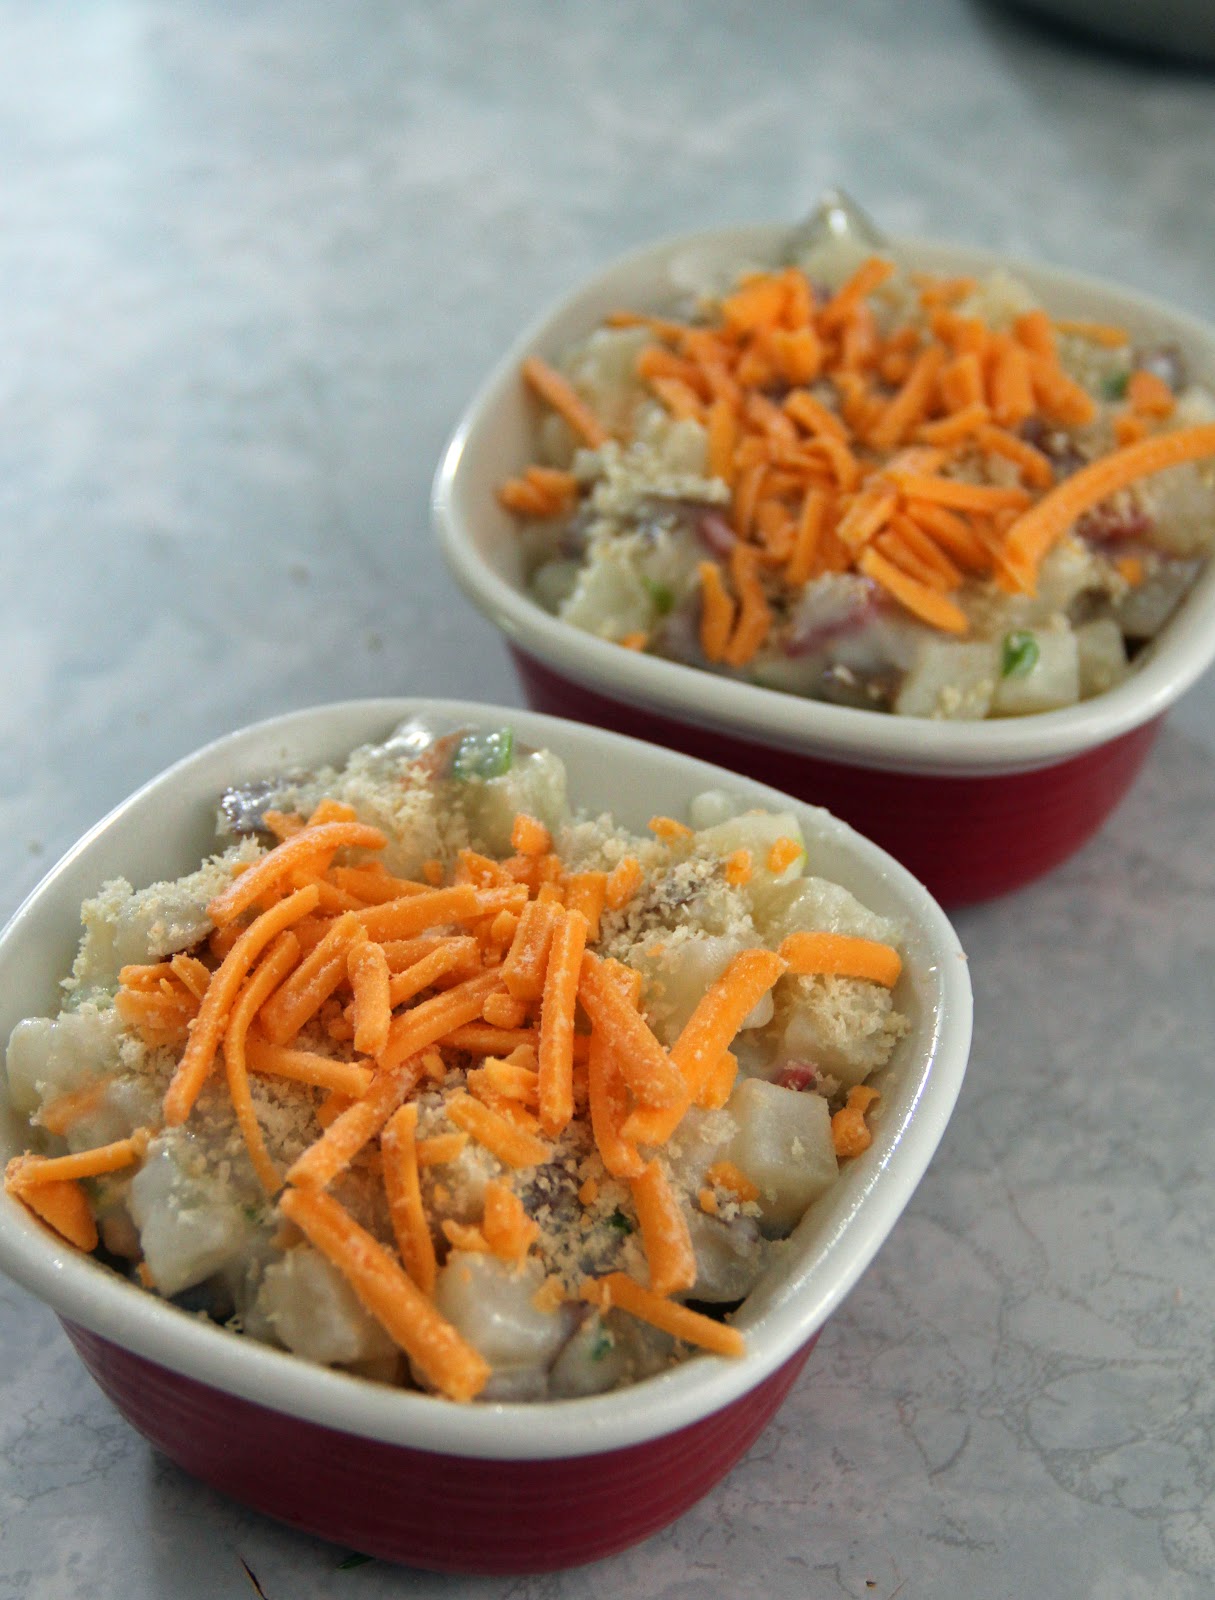
Stir to combine. Spoon into the 2 prepared dishes.
Sprinkle each with a 1 tsp of Panko and 1 Tbsp of the remaining cheddar cheese.
 
 
Bake at 350 for 30 - 45 minutes, until mixture is bubbly and potatoes are cooked through.
Serve immediately. (Caution - dish is VERY hot)
 
 
Mmmmm...cheesy.
A few notes -
1. You can leave the bacon out, crumble in a cooked sausage, or even use a little lean ground beef.
2. You can make this easier by using frozen hashbrowns instead of having to prep your own potato. You would use approx 1 1/4 cup of frozen hashbrowns.
3. You can switch up the type of cheese you use to include your favorite cheese.
4.. You may want to set a pie plate or cookie sheet under your dishes as this does bubble up and spill over a teeny bit.
I was nice and shared one with our dad but, next time, I'm totally hiding one so I can have it for breakfast the next day.
 
Be sure to visit The Rustic Pig and Jam Hands and Feeding Big and The Velvet Moon Baker and Easy Life for tons of great links!

Wednesday, May 15, 2013

No Bake Vegan Berry Tarts


I don't often venture into the vegan treat world. To be honest, I find it a little frightening. I like eggs, I like dairy, I like meat.  I am opening myself up to trying vegan/vegetarian things more often though. So far our experiences have been pretty good.
I wanted to try this recipe because I just thought it looked so pretty in the magazine (Alive Magazine May 2013). It turned out as pretty as the photos in the magazine. As long as you have a food processor or blender, this is super easy.
As far as what I thought about the tart overall....hmmm...it was good. Not fantastic-crawl-over-broken-glass-amazing BUT...it was good.
Very filling, very smooth, very flavorful.
Unfortunately, to me, it tasted "healthy".
Okay...okay...okay.....don't roll your eyes at me. I know "healthy" is not a bad thing. It's just not what I'm used to. I'm used to full fat, heavy-on-the-calories-and-fat-and-carbs.
It is my opinion that, as long as you go into this dessert knowing it is going to be a little different from "normal" dessert, you will like it.
For those of you out there who eat vegan/vegetarian often -- I hope this meets your expectations for a sweet treat. Please let me know what you think!


No Bake Vegan Berry Tarts
(adapted from Alive Magazine May 2013)

Ingredients
Crust
3/4 cup almonds
1 cup raisins
2 cups rolled oats
1/3 cup coconut oil, melted
1/4 cup honey
1/4 tsp cinnamon
1/4 tsp ginger

Filling
1 cup blueberries
1 cup strawberries
1 1/2 cups raw cashews
1/4 cup honey
zest of 1/2 a lemon
1 tsp vanilla

Topping
extra fruit to decorate

Directions
Spray 4 small tart pans (or a large) with cooking spray, set aside.
In a food processor, process almonds until finely ground. Add in raisins and process until fine. Add in oats, coconut oil, honey, cinnamon, and ginger.
Process until everything is moist and mixture sticks together when pinched.


Press firmly into prepared pan (s). Place in freezer while you prepare filling.
Filling - place berries in food processor.


Process until smooth. Strain pureed fruit through a strainer to remove skins and seeds. Set aside strained fruit. Discard the pulp with the skin and seeds.
In the food processor, process cashews to a paste consistency. Add in the pureed fruit, honey, lemon zest, and vanilla. Process until smooth.
Spread evenly over the crust (s).


Refrigerate for at least 2 hours to firm up.
Serve with additional fruit.


This is quite filling. I would say one of the 4 little tarts would serve 2 people, at least.


Would I make this again?
Probably.
I think I would make a few more teeny tiny changes. Maybe serve it with whipped cream (Of course, a non-dairy whipped cream to maintain the vegan aspect of this treat), maybe use a fruit that is a little more tart, such as raspberry, apricot, or blackberry or even try it with peach and banana combo (there are tons of possibilities), and...maybe add a pinch of coconut to the crust.
If you are trying to eat healthier and still count treats in your menu, then you may want to give this one a try. It is definitely something different and is definitely healthy.

**UPDATE** - It has been brought to our attention that honey is not vegan. You can substitute maple syrup or similar sweetener to make it truly vegan. Sorry for the mistake. We are always learning!! :) 

Be sure to visit Kitchen Fun With My 3 Sons and My Turn (for us) and Blissful and Domestic for some great links!

Tuesday, May 14, 2013

Chocolate Chickpea Cake


So...yeah...can we talk about chocolate cake?
It's delicious, right?
Yes, it is.
And... of course it is a bazillion calories and full of sugar and fat and aaaaaalll of that fantastic stuff that tastes so amazing but we aren't supposed to eat too much of.
*bah humbug*
I have some good news for you. I found an almost completely flour-less, fat-less, but still moist and delicious chocolate cake.
It's made even healthier by using coconut oil, coconut sugar, and almond flour.
I saw this recipe over at Hungry Little Girl and thought I would give it a whirl. Jutta's version is a little bit different from mine as I had to sub a bunch of ingredients so, if you want her version, be sure to pop over to her blog and check it out.
If you want another interesting chickpea recipe - check out our Chocolate Chip Chickpea Cookies.


Chocolate Chickpea Cake

(Adapted from Hungry Little Girl)

Ingredients
1 (19 oz) can chickpeas, rinsed and drained (about 2 cups)
4 eggs
2 tsp vanilla
3 Tbsp baking cocoa
1/2 cup coconut palm sugar
1/2 tsp baking powder
1/4 tsp salt
2 Tbsp almond flour
1 Tbsp coconut oil, melted
1/4 cup chocolate chips
1/4 cup pecans, toasted & chopped

Directions
Preheat oven to 350. Spray an 8 X 8 inch pan with cooking spray, set aside.
In a food processor or blender, process chickpeas until smooth. Add in eggs and vanilla and process until well combined and smooth.
In a large bowl, combine cocoa, sugar, baking powder, salt, and almond flour. Whisk to combine. Stir in coconut oil until well combined.


Pour the wet ingredients into the dry ingredients and stir until well combined.
In a small, microwave safe bowl, melt chocolate chips in microwave in 20 second intervals, stirring in between, until smooth.
Scrape the melted chocolate chips into the batter and stir to combine.
Spread batter evenly in prepared pan.
Sprinkle evenly with chopped pecans.


Bake at 350 for approx 25 - 30 minutes, until toothpick inserted in center comes out clean.


Remove from heat and let cool on wire rack.


This is sooooo moist and dense - almost like a brownie. In fact, I'm pretty sure you could get away with calling this a brownie if you wanted to.
A couple of notes -
1. You can use regular oil if you don't have coconut oil.
2. You can use 1/4 cup brown sugar + 1/4 cup stevia instead of coconut sugar (or 1/2 cup brown sugar)
3. You can use coconut flour instead of almond flour OR leave all the flour out entirely and cook a bit longer.
4. I added the pecans on top to fancy it up a bit. They are entirely optional.
*FYI - If you change the ingredients you will change the nutritional info*
I figured out the nutritional info on Myfitnesspal. For 1/8th of the entire pan it is:
257 calories, 35 carbs, 11 fat, 7 protein.
Not too shabby, right? That's for a good size piece of cake!
I also decided to check what a similar sized piece of "normal" chocolate cake is..... 488 calories, 73 carbs, 21 fat, 7 protein. 
So, this cake is about half the calories, half the carbs, and half the fat.
Nice.
You are not going to feel like you are missing out on anything by eating this cake either. It is rich, fudgy, moist, and chocolaty. Everything a chocolate cake should be. :)


Looking for some amazing links? Check out Carol's Chatter.