Pages

Tuesday, May 27, 2014

Easy Pizza Pull Apart Loaf


This is one of those recipes that is so handy for so many occasions...
after school snack,
game night,
tailgating,
office lunch,
movie night,
bake sales,
potluck,
appetizer, 
pretty much anything involving teenagers, 
and the list goes on.
All you need is 5 ingredients and you are good to go. Some handy dandy Pillsbury Pizza Dough, pizza sauce, pepperoni slices, and mozza cheese and parmesan cheese. 
That's it. 
Plus, it only takes about 5 minutes of prep and 30 minutes to cook. 
*Boom*
Done.


Easy Pizza Pull Apart Loaf

Ingredients
approx 1/2 cup prepared pizza sauce
approx 24 small cubes of mozza cheese + 3 slices
approx 24 slices of pepperoni
approx 1/4 cup grated Parmesan cheese

Directions
Preheat oven to 375. Line a 9 X 5 loaf pan with parchment paper and spray lightly with cooking spray. Set aside.
Unroll the Pillsbury Classic Pizza Crust out on your work surface. Using a round cookie cutter (approx 1 1/2 inches) (a drinking glass would work in a pinch), cut out approx 24 circles. (You may need to press the scraps together and roll them out to get enough.)
Take one circle and place a teeny bit of sauce in the center, top with a slice of pepperoni and a cube of cheese. (See photo below)


Bring up the edges and pinch them together firmly. Place, seam side down, in the prepared pan. Repeat with 11 more circles. Top with the 3 slices of mozza cheese and drizzle with a little pizza sauce.


Continue to make up the remaining 12 circles as instructed above. Place, seam side down, on top of the layer in the pan. Top with more pizza sauce and a generous sprinkling of Parmesan cheese. 


Bake at 375 until loaf is risen and browned and bread is cooked, approx 20 - 30 minutes.  


Let cool in pan for about 5 - 6 minutes then use the parchment paper "handles" to lift out the loaf. 
Serve warm with extra pizza sauce for dipping.


Enjoy the ooey gooey cheesy pizza goodness.


You can, of course, alter this to include your other favorite pizza toppings. You could sprinkle in between the layers with finely diced onion, green pepper, mushrooms, etc.. 
You could also switch up the meat and cheeses to include your favorites. It really is super easy. 
If you find your loaf is getting too brown on top but doesn't seem to be quite done in the center - turn down the temp to 350 and tent the loaf with tinfoil. That should help prevent it from burning. 
Also note - the amount of circles is a guesstimate. You may not get the full 24 - just half whatever amount you get and do the bottom layer with half and then other half for the top layer. 

Be sure to visit these fantastic sites for tons of great links - Memories By The Mile, Feeding Big, Dizzy Busy & Hungry, Mama BuzzCarole's Chatter

Sunday, May 25, 2014

Skinny Cinnamon Dolce Espresso Milkshake


Who knew cinnamon and espresso went so well together?
Not me.
Not even a little bit.
I would never have thought to put those two things together, especially in a milkshake. Probably because I am not a coffee person. I like the smell of coffee and I like coffee in things - like cake, cheesecake, chocolate - but I have never been one to just drink a cup of coffee. 
Sue and I both, in fact, are not coffee drinkers. 
Is that weird?
I feel like that's weird....
Anyway, throw some espresso and cinnamon together in a low cal shake and I am ready to join Team Coffee. 
You will be too once you see the nutritional counts on this one - 
126 calories, 34 carbs, 2 fat, and 15 protein. (According to Myfitnesspal).
Not even lying.


Skinny Cinnamon Dolce Espresso Milkshake

Ingredients
12 pkg Sugar Twin Stevia
1/4 cup water
1 tsp cinnamon
1/3 to 1/2 cup espresso, frozen
1/2 cup 0 fat Greek yogurt, plain, frozen
1/3 cup 1% milk
2 Tbsp Light Cool Whip

Directions
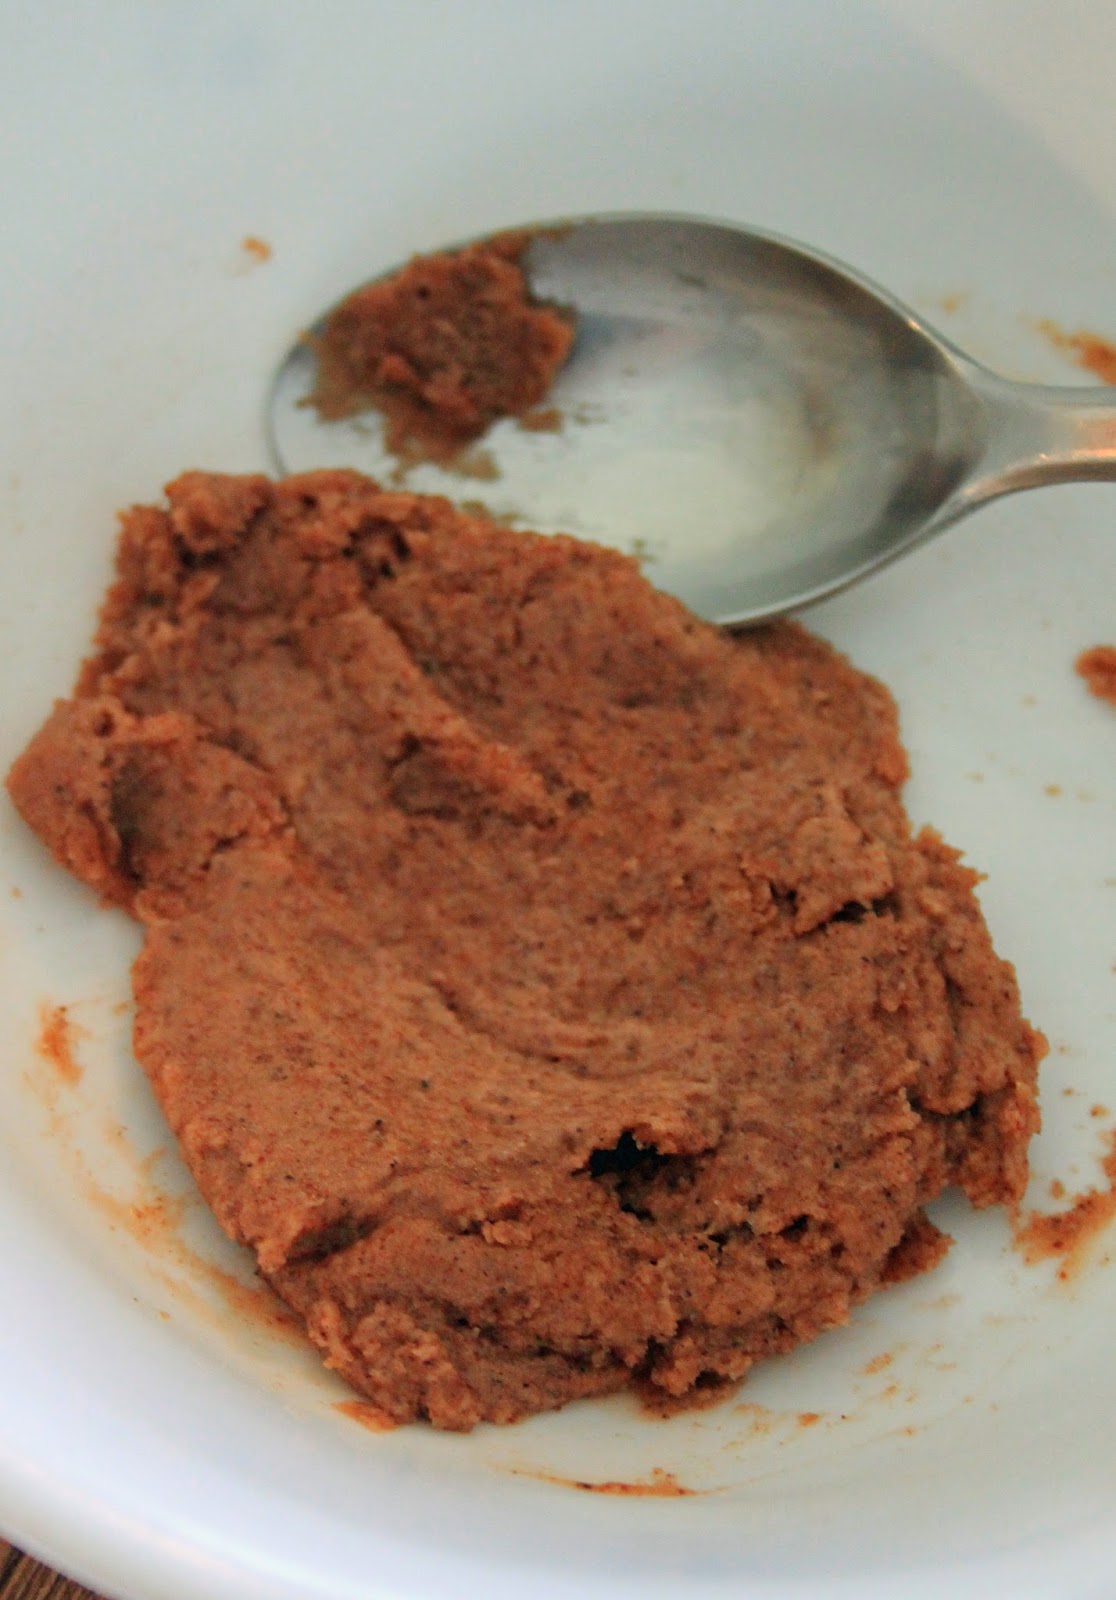
In a small saucepan over medium heat, bring Stevia, water, and cinnamon to a boil - stirring constantly. Reduce heat to low and continue to simmer, stirring often, until mixture is thickened and reduced in half - about 8 - 10 minutes or so. 


Remove from heat and pour into a bowl. Set in freezer for about 5 - 10 minutes until mixture cools completely. It should solidify into a creamy mixture. (If it remains syrupy rather becoming solid - this is completely fine. This is being added to the milkshake and will be blended so there is a lot of leeway as far as texture goes.)


Add cinnamon dolce mixture, espresso ice cubes, frozen yogurt and milk to a blender.


Process until smooth, scraping sides as necessary. 
(If too thick add a bit more milk, if too thin, add a few ice cubes.)
Serve immediately, topped with the Cool Whip and a pinch more cinnamon.


Mmmm....caffeine-y goodness.


A few notes - 
**The Cinnamon Dolce syrup mixture is usually made with sugar and, I find, is easier to tell what the consistency is. I used Stevia because I wanted to cut calories and carbs and it is trickier to tell with the Stevia how it is cooking. If you can get it to the syrup stage - perfect. If you go past that stage and it turns solid - no problem. It happened to me (as shown in photos above) and it works out fine. It does not affect the taste at all.  
**The nutritional count includes the Cool Whip topping.
**You can use frozen really strong coffee if you don't have espresso. 
Start your day off with a low cal, low fat, caffeine boost 
OR
Have it for lunch and a good energy boost in the middle of the day. 


We're sharing at these fabulous parties: be sure to check them all out! - Memories By The Mile, Hun...What's For Dinner?

Thursday, May 22, 2014

Baked Chicken Samosas


Samosas are one of my favorite Indian treats. All that spicy, flaky goodness just makes me drool. The thing is - they are usually deep fried. Don't get me wrong, deep frying makes everything taste a billion times better but, unfortunately, it also adds about a billion more calories. 
We decided to lighten things up a tick and bake our samosas instead of deep frying them. We went with phyllo (or filo) pastry to keep that crispy texture and it worked out fantabulously. 
We added chicken to ours but you can make these vegetarian by leaving out the meat. They are delicious either way!


Baked Chicken Samosas

Ingredients
Filling
1 Tbsp oil
1 chicken breast, diced fine
1/2 tsp mustard seeds
2 cups potatoes, cooked, diced small
1/2 cup frozen peas
2 medium carrots, parboiled & diced fine
1 small onion, diced fine
4 cloves garlic, minced
1 tsp cumin
1 tsp garam masala
1/4 tsp chili powder
1 1/2 tsp curry 
1/2 tsp coriander seeds
salt & pepper

Pastry
1 box phyllo pastry, thawed

Directions
Prepare filling - In a large frying pan, heat the oil and mustard seed over medium heat until mustard seeds start popping. Add in chicken and cook and stir until chicken is no longer pink.
Add in potatoes, peas, carrots, onion, and garlic. 


Stir in the spices.


Cook and stir until mixture is softened and cooked through, about 5 - 8 minutes.
Remove from heat and let cool completely before making the samosas.
Prepare samosas - Preheat oven to 400. Line a cookie sheet with parchment paper, set aside.
Take thawed phyllo pastry and place on work surface. You will be working with 1 sheet at a time so keep the remaining sheets covered with a damp cloth. 
Take a sheet of pastry and lightly spray half with cooking spray (or brush with a bit of melted butter).


Fold sheet in half so that the half sprayed with the cooking spray is on the inside.
Rotate strip so the seam is now at the top. 
Cut sheet into 3 equal strips.
Place a generous spoonful near the top of each strip, leaving a small border from the edge without filling. (See photo below)


Brush the edges of the strips with butter (or cooking spray).
Fold the corner of the strip, down, over the filling to form a triangle, pressing the edges firmly together. (See photo below)


Now, fold the bottom of the strip up, over the triangle, and then flip the whole thing over. (See photo below)


Finally, brush the remaining bit of pastry with a bit of butter (or cooking spray) and fold it over the samosa to form a triangle. Firmly press all edges to make sure they are sealed.
Place on cookie sheet and cover with a clean towel. 
Repeat with remaining phyllo pastry and filling until you run out. (I get between 24 - 30 when I do it)
Place tray of samosas in preheated oven. Bake at 400 for 15 minutes. Gently flip the samosas over and continue to cook for another 10 - 15 minutes - until well browned and crispy.


Serve hot with your favorite chutney or dipping sauce. 


So much tastiness...


These are best the day they are made. They tend to get quite soggy in the fridge. You could probably freeze them as soon as they are cooked and cooled to room temp and then thaw them in the oven for a bit when you go to serve them. (I've never done this but I don't see why it wouldn't work.)


Be patient when working with the phyllo pastry. It is very delicate and rips very easily. I was having little fits as mine kept ripping but after the first couple I got the hang of it and things went more smoothly. 

Be sure to stop by these fab sites for some fun and tasty links - Dizzy Busy & Hungry, Adorned From Above, Easy Life

Monday, May 19, 2014

Noodle Salad With Sesame Garlic Dressing


Need to bring something to a potluck? Maybe a lunch at the office? 
Something that isn't "the usual" fare.
Have we got a deal for you! 
This super simple salad comes together in under 10 minutes. It's true. Really. 10 minutes. 
Grab a bag of Double Happiness Chow Mein Noodles (or any brand rice noodles should work in a pinch!) and you are almost done already. 
Want to hear some more good news?
The nutritional count on this is pretty sweet too. (According to Myfitnesspal) Per serving, and the recipe makes around 10 or so, the count is: 250 calories, 34 carbs, 10 fat, and 7 protein. (I'm counting a serving as about 1 heaping cup full....)


Noodles Salad With Sesame Garlic Dressing

Ingredients
Dressing
1/3 cup soy sauce
1/4 cup brown sugar
1 1/2 Tbsp sesame oil
2 Tbsp rice vinegar
1/3 cup olive oil
1 Tbsp Thai Sweet Chili Sauce
4 cloves garlic, minced

Salad
1 pkg (454 gr) Double Happiness Chow Mein Noodles
1 medium cucumber
1/2 green bell pepper
1/2 medium onion
3 large radishes
2 cups baby spinach
2 cups Mann's Rainbow Salad (OR coleslaw mix)

Directions
Prepare dressing - Place all of the dressing ingredients into a blender and process until smooth. Cover and chill until ready to use.
Prepare salad - Place noodles into a large bowl and cover with boiling water. Let sit while you prep the veggies.
Finely dice the cucumber, green pepper, onion, radishes, and spinach. 
Drain the noodles and cut them so they are a little bit shorter and easier to deal with - this is not absolutely necessary but I prefer my noodles a bit more manageable. 


Add in the diced veggies and the 2 cups of Rainbow Salad mix. 


Toss to combine. 
Drizzle with 1/2 of the dressing and toss to distribute evenly. Refrigerate until salad is completely chilled. 
When chilled, drizzle with remaining dressing and toss again. Chill until ready to serve.
I find this is best if it can sit for a few hours or even overnight! The flavors seem to mingle more.


Bring this to your next BBQ, potluck, office luncheon, or family dinner and everyone will think you are a salad super genius. 

 *NOTE - people are wondering where the bits of broccoli came from. They are in the Rainbow Salad Mix that I use. *

Sunday, May 18, 2014

Skinny Strawberry Rhubarb Crisp Milkshake


Milkshake time again.
I've decided that milkshakes for breakfast is a brilliant idea. 
Who doesn't want to wake up to a delicious, creamy, ridiculously amazing, only 289 calories, glass full of strawberry and rhubarb crisp goodness?
Crazy people, that's who.
For those of you who are not crazy... you should prep your ingredients right now so you an make this for breakfast tomorrow. 
It's like a healthified strawberry rhubarb crisp with ice cream - but in a glass... 
and you can drink it...
I don't know where I was going with that...
Anyways.....yeah....


Skinny Strawberry Rhubarb Crisp Milkshake

Ingredients
Strawberry Rhubarb Puree
4 cups rhubarb, cut into 1/2 inch pieces
2 cups strawberries, sliced
1/4 cup water
12 packs Sugar Twin Stevia

Milkshake
1 cup Strawberry Rhubarb Puree, frozen
1 cup 0 fat Greek yogurt, plain, frozen
1/2 cup Quaker Quick Cooking Oats
1/2 cup 1 % milk

Directions
Make puree - In a medium saucepan over medium heat, stir together rhubarb, strawberries, water, and Stevia.


Bring to a boil, reduce heat and simmer until mixture is reduced and thickened, about 20 - 30 minutes. Stir often.


Remove from heat and let cool. Divide mixture in half (you should end up with about 2 cups of puree).
Freeze 1 cup for the milkshake and reserve the rest for future use.
Make milkshake - Place frozen puree, frozen yogurt, oats, and milk.


Process until smooth. You may have to add a bit more milk to thin it or throw in some ice cubes to thicken it - whichever your preference!
Serve with a drizzle of the strawberry rhubarb sauce and a sprinkle of oats.


This recipe makes 2, by the way.
Each serving is 289 calories, 57 carbs, 4 fat, 21 protein (according to Myfitnesspal)
This is very strawberry-rhubarby.  Definitely has that sweet yet tart appeal that the crisp of the same name has. 

Saturday, May 17, 2014

Surprise Inside Cream Cheese Pound Cake


Our mom was helping a friend of hers who had lost a daughter to cancer. They were putting together a menu for the memorial service and needed some squares and loaves for dessert.
I volunteered to make a loaf for them. I wanted to do something a little bit special to help celebrate her daughter's life. I found out that her daughter's favorite color was blue so I decided to make this loaf with a lovely blue flower inside. 
Sometimes little things can mean a lot. 


Surprise Inside Cream Cheese Pound Cake

Ingredients
Blue Flower
 2 recipes for our Vanilla Cake 
(OR 1 box white cake mix & ingredients to prepare it)
blue food coloring

Cream Cheese Pound Cake
2 cups flour
1 1/2 tsp baking powder
pinch salt
8 oz (1 brick) Philadelphia Cream Cheese, room temp
3/4 cup butter
1 1/2 cup sugar
2 tsp vanilla
4 eggs

Directions
Prepare Blue Flower batter - Preheat oven to 350. Line the bottom of a jelly roll pan with parchment paper, set aside. 
Prepare the Vanilla Cake as per instructions HERE. (Or, if you are using a box mix - as per directions on box.) 
Once batter is mixed, add in as much of the blue food coloring as needed to reach the color you like. Pour the cake mix into the prepared pan. (By the way, in the following photos I did 2 different colors by splitting the batter in half before adding the colors.)


Bake until toothpick inserted near center comes out clean, about 20 - 30 minutes. Keep an eye on it. 
When done, remove from heat and let cool in pan for about 10 minutes. Run a knife around the outside of the cake to loosen from edge of pan. Carefully invert cake onto a wire rack to cool completely. 
When cool - using a small cookie cutter in whichever shape you prefer, cut out the cake into shapes. Set aside while you prepare pound cake batter.
Prepare Pound Cake batter - Spray a 9 X5 loaf pan with cooking spray, line with parchment paper, and then lightly spray again.
In a small bowl, stir together the flour, baking powder, and salt. Set aside.
In a large mixing bowl, beat the cream cheese and butter until smooth, scraping down sides as necessary. 
Beat in the sugar until smooth.
Beat in vanilla.
Beat in eggs, one at a time, until well combined.
Beat the dry ingredients into the wet ingredients until just mixed.
Place several spoonfuls of pound cake batter into the bottom of prepared loaf pan. 


Place the cutout, colored shapes into the center of the pan. Be sure to press the shapes together firmly as you put them in the pan.


When you can't fit in any more shapes, carefully spoon the pound cake batter around the cut out shapes, being careful not to break off any pieces. Be sure to completely cover the top of the shapes.


Bake at 350 until toothpick inserted near the center - but NOT in the center where the shapes are - comes out clean, about 60 minutes or so. Top should be golden brown.


Let cool in pan for 10 minutes or so then gently run a knife around the outside of the loaf to loosen from sides of pan. Use the parchment paper "handles" to lift out the loaf. Let cool completely on wire rack.


This slices better when it has had time to cool completely. I left mine, covered, in the fridge over night and then cut it the next day.


It is a lovely way to bring a little bit of color to a plate of squares and loaves. It is also a cute thing to make for Easter (use an egg shape), Halloween (use a ghost or pumpkin shape), Christmas (see HERE, we did a gingerbread man), pretty much any holiday or event. 
It does take a bit of work as you have to make 2 cakes BUT it is sooooo worth it. You can mix up flavors and colors for endless variations. Plus, you can make the first cake far in advance and simply freeze it until you are ready to make the loaf. 


When I finally finish off the loaf I made with the green cake (from the above photos), I will post a photo of that one too!
UPDATE - Here is a pic of the green flower loaf - 


We're sharing at these great linky  parties - Six Sister's Stuff, Horrific Knits, Kitchen Fun With My 3 Sons, Carole's Chatter, Feeding Big